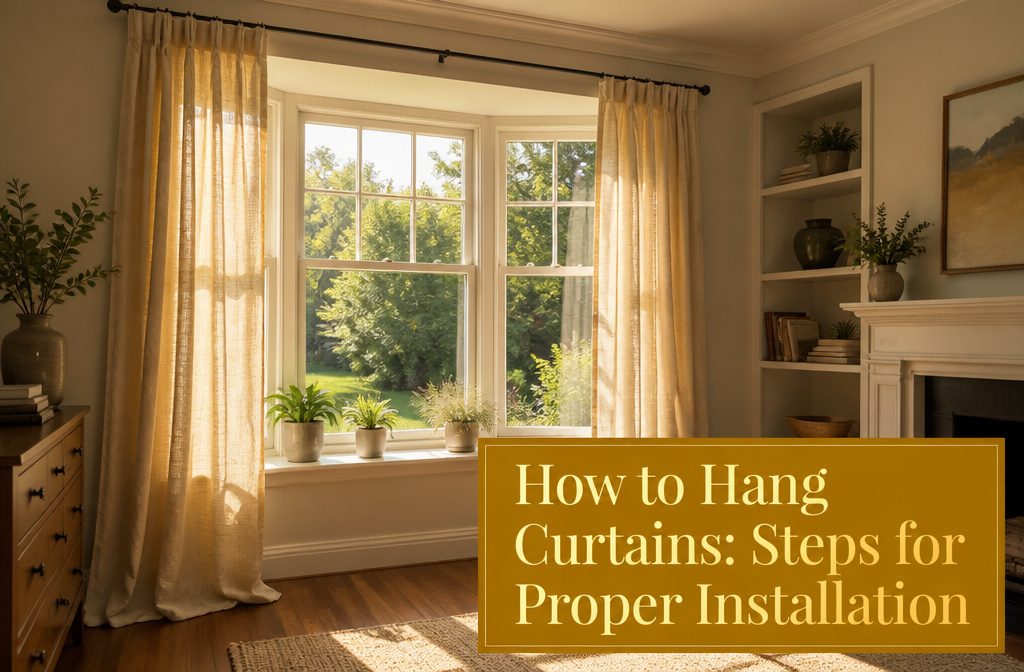
The single most useful thing about hanging curtains is placing the rod 4–10 inches above the window frame, or halfway to the ceiling, because that height draws the eye upward and creates the taller-ceiling effect people actually want.
The catch is that width matters just as much: you need to add 12–24 inches total to your window frame width so the open panels rest against the wall and leave the glass completely clear.
A steel tape measure is the only tool worth using for this job, since fabric tapes stretch and a half-inch error at the rod turns into a curtain that floats or puddles wrong.
1. Measure for Curtain Length and Width
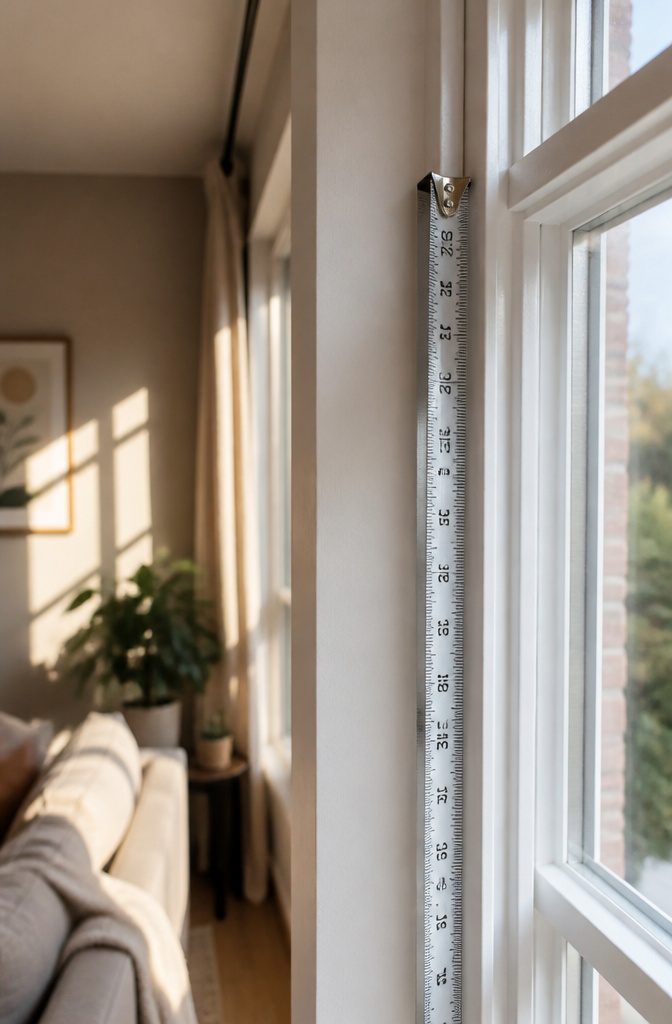
A steel tape measure is the only tool worth using for this job. Fabric tapes stretch, and a half-inch error at the rod turns into a curtain that floats or puddles wrong.
Rod height lands 4–10 inches above the window frame, or halfway to the ceiling if that spacing works in the room. The higher placement draws the eye up, which is what creates the taller-ceiling effect people want from curtains.
Width is where most people stop too early. Measure the window frame from outer edge to outer edge, then add 12–24 inches total to that number.
That puts the rod 6–12 inches past the frame on each side, so the open panels rest against the wall and leave the glass completely clear.
A quick check once installed: with the curtains drawn open, you should see the entire window frame. Any fabric covering the glass means the rod is too narrow.
For the panels themselves, total drapery width should run 1.5 to 3 times the window width, depending on how full you want them to look and how much stack space you have on each side.
Heavier fabric or a fuller pleat sits at the higher end of that range; a flat panel or lighter weave works closer to 1.5.
2. Choose the Right Curtain Style
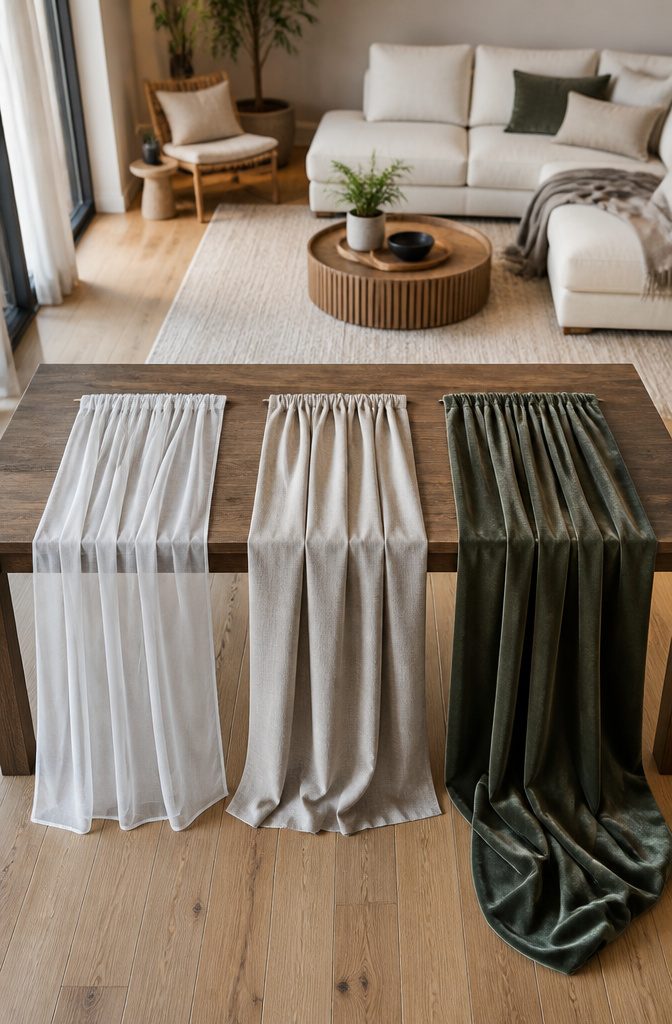
The three standard curtain lengths each read differently in a room, and the choice comes down to how the space gets used.
A float of ½ inch above the floor keeps the hem clear of dust and foot traffic, which is why it works in kitchens or kids’ rooms where curtains move often and cleaning needs to stay simple.
The look stays crisp and intentional, not accidental. A kiss, where the hem just grazes the floor, takes the most exact measuring since even a quarter inch too long or short breaks the effect.
When the math is right, it reads as custom and polished, the usual pick for a living or dining room where the drapes stay put.
Puddling extends the fabric 1 to 3 inches onto the floor and leans into drama; heavy fabrics pool better than light ones, and the style belongs in low-traffic spots where no one will trip on the excess or track it through.
What you want to avoid is the in-between, the hem hanging awkwardly above the floor with visible gap. That shortens the wall visually and makes the whole install look unfinished, like the curtains were bought for a different window.
3. Select Hardware and Tools
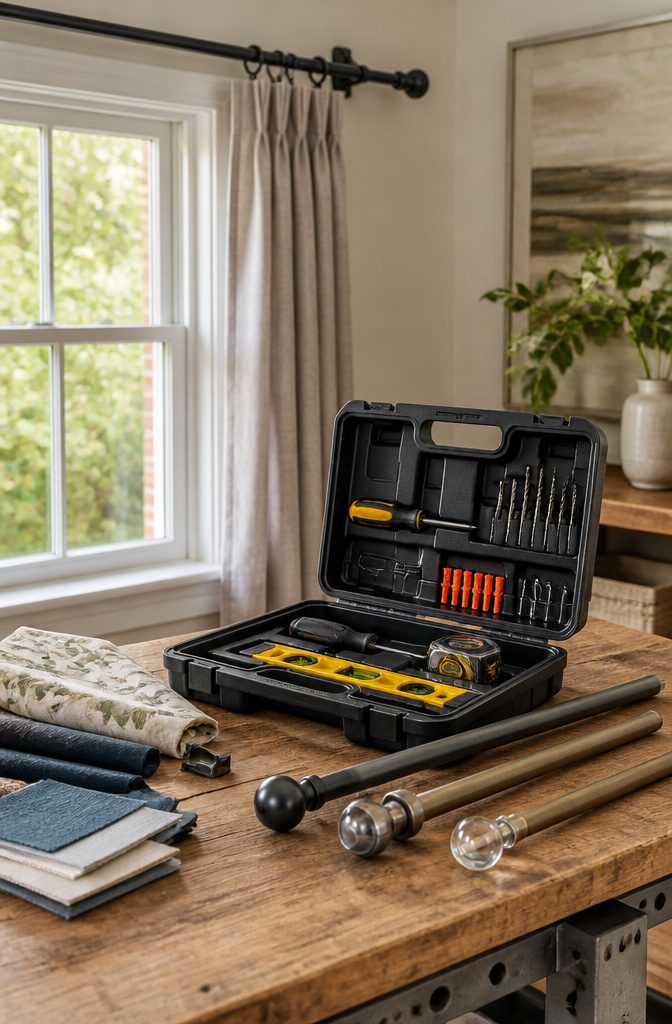
Rods come in four styles that change what you can do with them.
Single rods are the standard. Double rods let you layer sheer and blackout panels.
Tension rods wedge into the frame without hardware, which is great for renters until the rubber gives out. Wraparound rods curve back to the wall and block more side light than any straight rod can.
Brackets match the rod diameter: 5/8-inch or 1-inch. Wider rods need the 1-inch cradle or they will sit loose and tilt.
The toolbox is smaller than most people think. A steel tape measure, level, pencil, drill, and stud finder cover almost every install.
Fabric tapes stretch; steel does not. The stud finder matters because drywall anchors sag over time, and a bracket in actual wood holds firm.
Kwik-Hang brackets are the exception to the drill rule. They tap into window trim with built-in pins, hold up to 20 lbs, and skip every tool on that list except the rod itself.
A hammer helps on harder trim, but the claim is no drill, no level, no stud finder needed. For a weekend project with a security deposit at stake, that is worth weighing against the permanence of drilled brackets.
4. Install Brackets and Rod
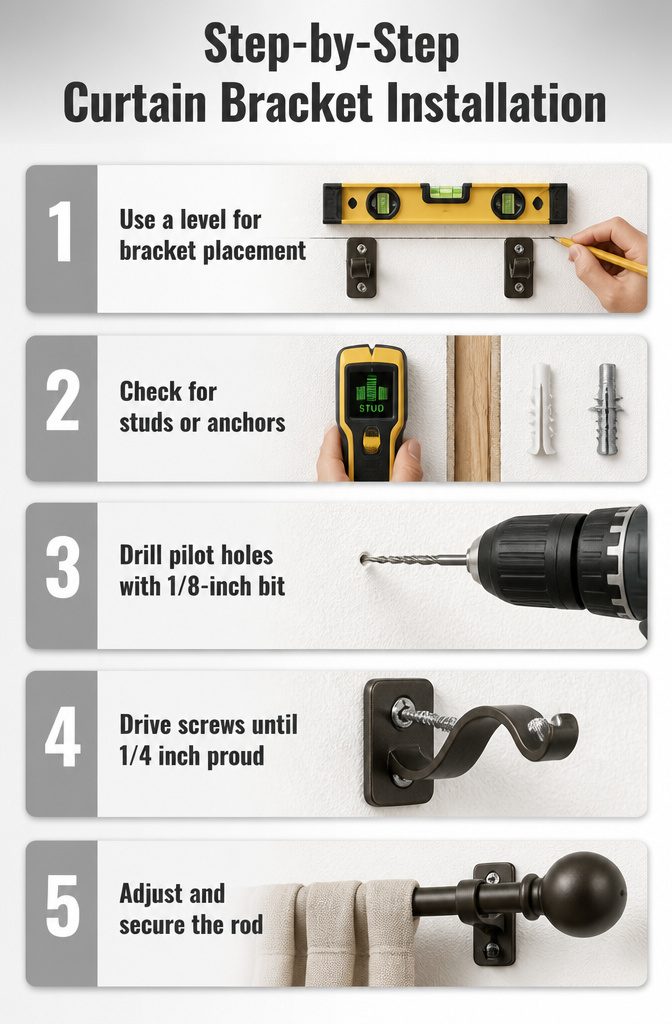
- Use a level to mark bracket placement, not just a ruler: a bracket even a quarter-inch off shows up the moment the rod is up. I draw the full line with pencil so the mark survives drilling.
- For wall type, the choice is stud or anchor, never screw-into-drywall alone. Run a stud finder first. If you hit wood, a 2-inch wood screw holds the bracket directly. No stud means a wall anchor is mandatory: plastic expansion anchors for standard drywall, plaster-rated anchors for older brittle walls. Drywall crumbles under direct screw tension; the anchor spreads the load behind the surface.
- Drill pilot holes with a 1/8-inch bit, slightly smaller than the screw diameter. This stops the wall material from cracking and keeps the bracket seated flat.
- Drive screws until 1/4 inch remains proud, hang the bracket on that lip, then tighten fully. Check level again after the first bracket is snug; the second bracket often drifts during tightening.
- Set the rod into both brackets, step back, and adjust. Most brackets have a small set screw or thumb tab to lock the rod in place once the drape sits right.
5. Hang the Curtains
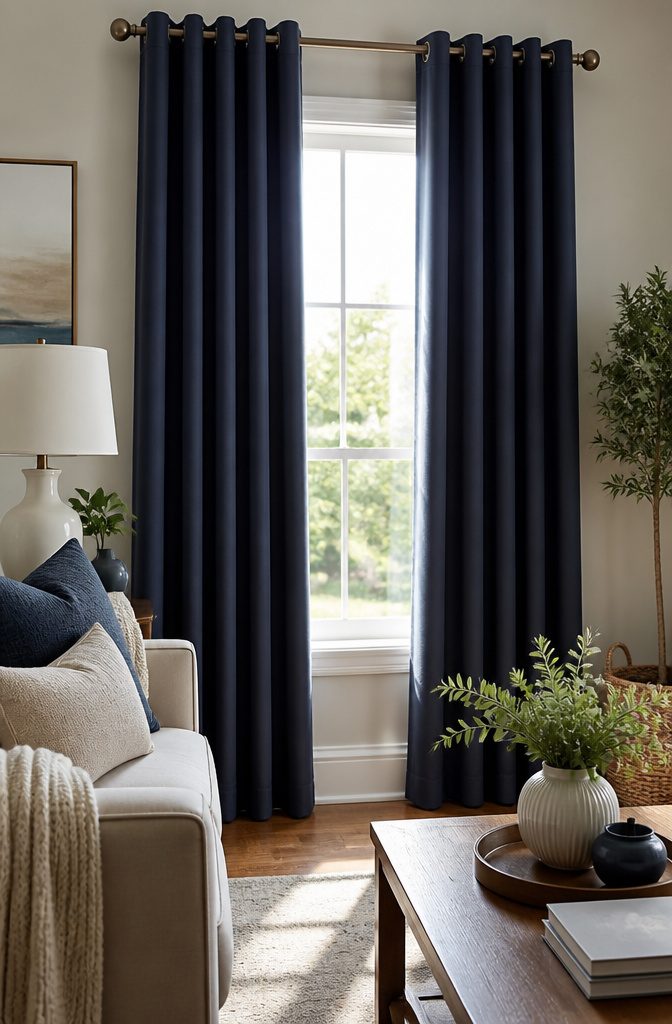
Threading curtains onto the rod is where patience pays off or falls apart entirely.
Grommet panels are the simplest: slide the pole through the metal rings, matching up the eyelets so the first and last pleats both point inward, then let the fabric settle into those wide, modern folds.
Rod pocket curtains demand more work. Bunch the fabric and guide the rod through the sewn channel slowly; rushing here leaves the panel bunched at one end.
Pinch pleat headers, the most formal of the three, attach to rings with hooks rather than sliding directly onto the rod, which gives that tailored, structured drape but takes longer to space evenly.
The bracket-side grommet should sit between the bracket and the finial, not outside it, or the panel will creep outward every time you draw it.
Once both panels are on, lift the rod into the brackets and tighten the set screws before you step back to look.
Uneven draping usually means the fabric was rushed onto the rod, not that the rod itself is wrong. Give the panels a gentle tug at the bottom to let gravity do the final adjustment.
6. Final Touches and Styling
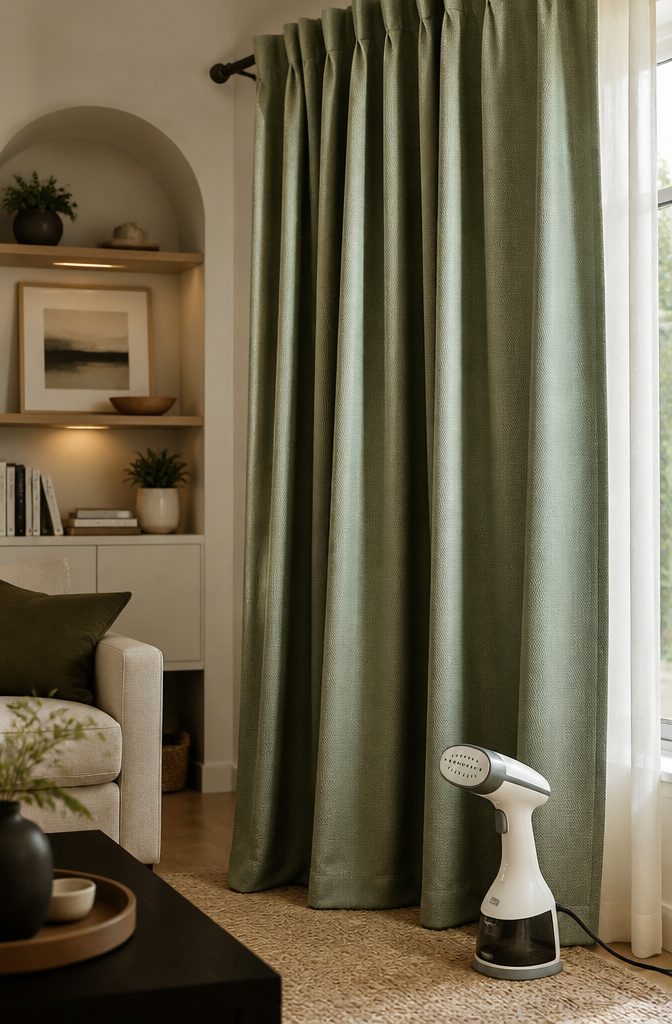
Fresh out of the package, curtain panels look like they slept in a suitcase. The folds are random, the hems may kick out at odd angles, and the whole thing reads temporary until you fix it.
A handheld steamer run from top to bottom will pull most wrinkles out without the scorch risk of an iron.
I keep the fabric taut with my free hand and move slow enough that the steam actually penetrates rather than just dampening the surface.
The part that separates installed curtains from finished ones is training the fabric into pleats.
For pinch-pleat or rod-pocket styles, I gather each panel into uniform folds while it is still slightly warm from steaming, then loosely tie strips of ribbon around the bundle: one near the top, one at mid-height, and one near the bottom.
The curtains hang tied for a day or two. When the ribbon comes off, the folds fall back into place on their own instead of splaying open.
Pencil-pleat curtains need a different approach. The cords at both ends should be tied off, one end with a slipknot so you can undo it later for washing or width adjustments.
The pleats start uneven after the first hang. I spend ten minutes redistributing them by hand until each pleat sits roughly the width of a pencil, then insert hooks four to five pleats apart with one at each end.
The final hook on a pole goes between the bracket and finial; on a track, it catches the fixed runner. That spacing is what keeps the heading from sagging between support points.
Common Mistakes in Hanging Curtains
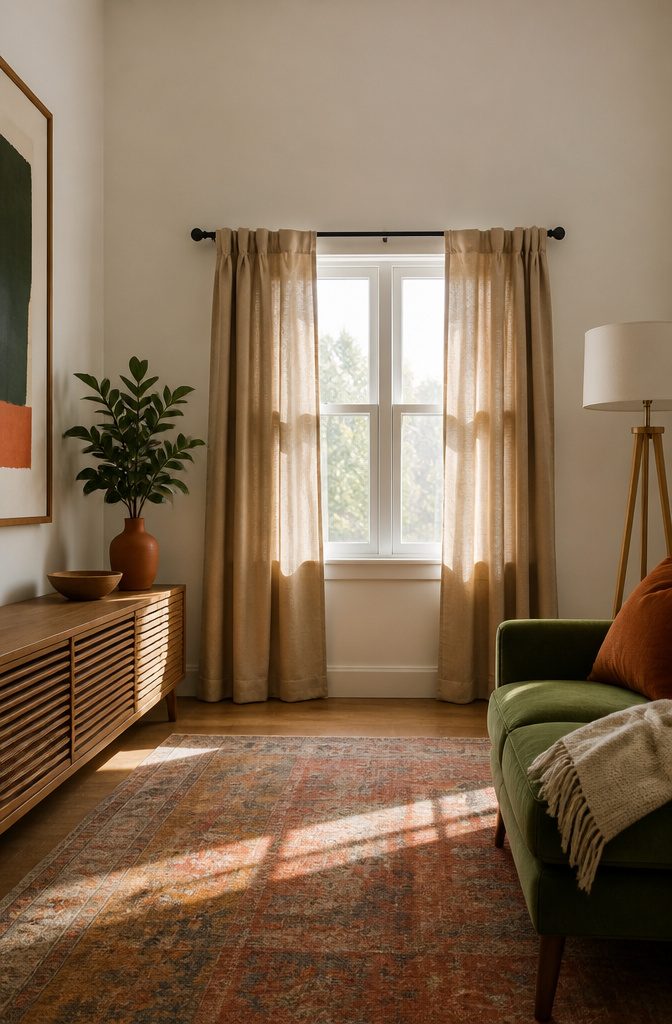
Curtains hung flush with the window frame are doing the opposite of what you want. That placement makes the window look smaller and the ceiling feel lower, because your eye stops at the frame instead of traveling upward.
I learned this the hard way in my first apartment, mounting the rod just a few inches above the sill to avoid buying longer panels. The room felt cramped for two years before I understood why.
The rod should sit roughly half to two-thirds of the distance between the window frame and the ceiling, or about 20 inches above the frame if you have standard eight-foot ceilings and the space to spare.
Going wider matters just as much: extend the rod at least 6 to 10 inches past each side of the frame so the pushed-back panels clear the glass entirely. Otherwise you block light and visually shrink the wall.
Length trips people up too. Eighty-four-inch curtains, the standard big-box stock size, are almost always too short for modern windows.
Ninety-five inches is the safer buy even if you need a hem; the slight extra cost beats the "waiting for a flood" look that cuts the room off at the ankle.
No-Drill Options for Renters
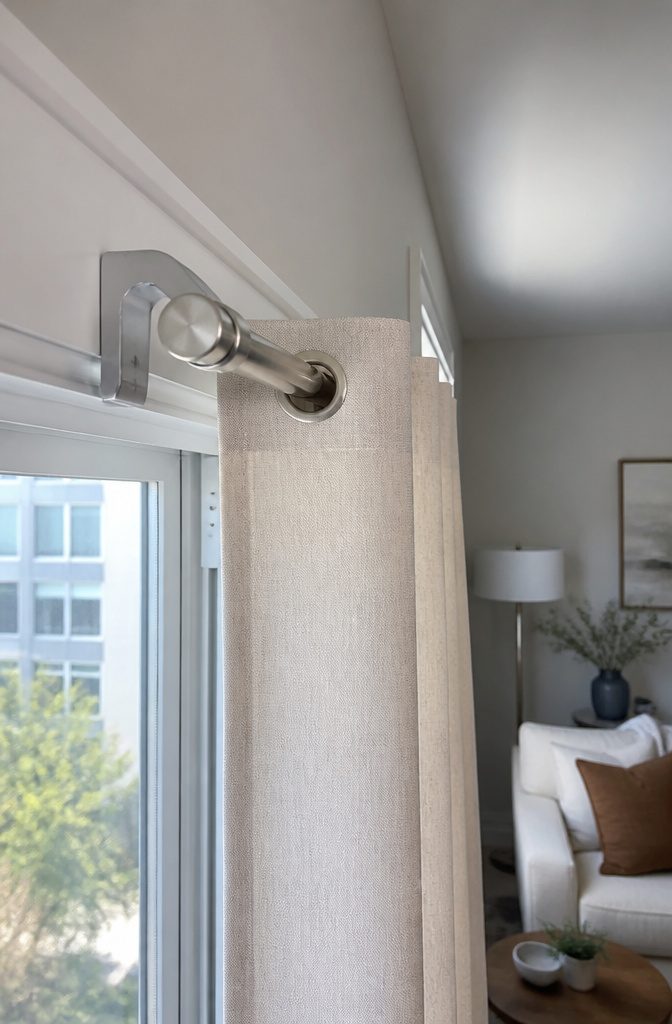
No-drill brackets that tap into window trim instead of the wall have become the go-to fix for renters who want proper curtains without a drill, a level, or a fight with the landlord later.
Kwik-Hang brackets slide into the trim and hold up to 20 lbs, which covers most lined drapes but probably not a blackout velvet on a wide rod. The bracket lifts out clean when you move, and the trim looks untouched.
The limitation is the window itself.
Older apartments with damaged or narrow trim may not have enough solid material for the tap-in design to bite. Five finishes are available: Matte Black, Silver, Brass, White, and Bronze.
Special Window Shapes
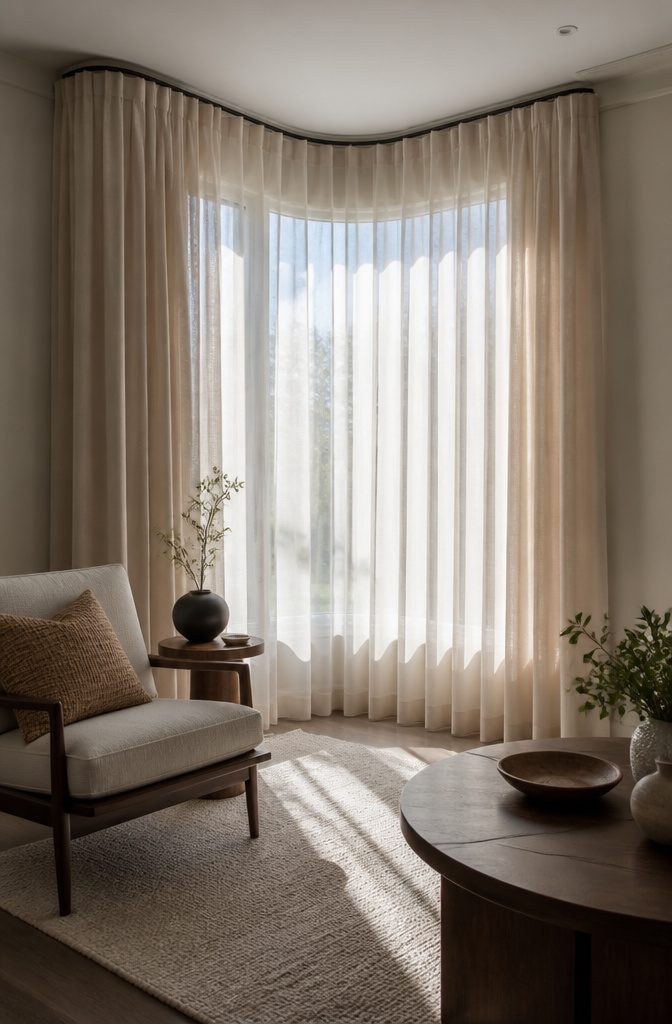
Corner windows look dramatic until you try to dress them. The glass meets at an angle the standard rod was never built for, and two separate rods shoved together leave an awkward gap where light leaks through.
A curved or corner-connector rod lets the fabric travel continuously around the bend, which reads as one intentional gesture rather than a workaround.
If you do use two rods, end caps where they meet keep the intersection from looking like hardware store clutter.
Short windows and short ceilings are a different problem. The usual advice says hang high to stretch the wall, but with six inches or less between trim and ceiling, that rule collapses.
Ceiling-mounting the track or rod buys back the height the room does not actually have. Cathedral ceilings need the opposite restraint: about 8 to 10 inches above the frame keeps the window from looking marooned in all that vertical space.
Crown molding creates its own border; the rod sits just below it so the molding and fabric do not compete for attention.
Curtain Fullness and Panel Count
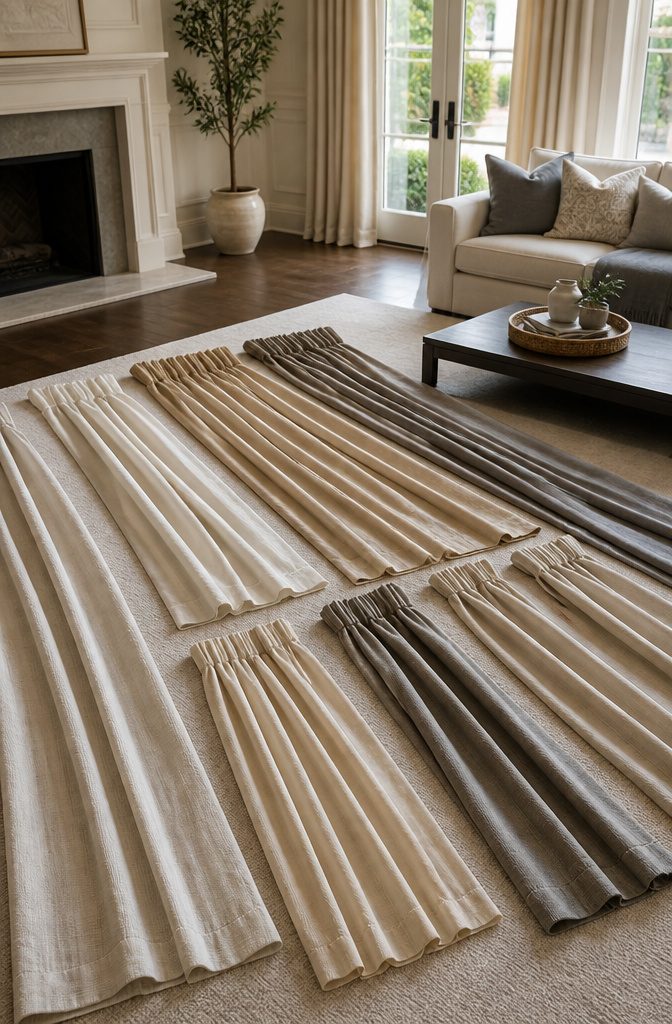
The fastest way to ruin a curtain job is stretching fabric too thin.
I learned this the hard way on my first apartment window, where two standard panels barely covered a 56-inch frame and the result looked like a bedsheet pinned in place.
Total curtain width should run 1.5 to 3 times your window width, and the math matters because store panels are sold in fixed sizes, not custom cuts.
For a standard, full look, aim for 2x fullness. A 50-inch window needs 100 inches of panel width total, which usually means two 50-inch panels.
But panel widths vary by brand, so check the tag before you buy. I now measure the labeled width of each panel and add until I hit my target, rather than assuming two panels will always do the job.
For something more dramatic, push toward 2.5x or 3x. On a 60-inch window, that means 150 to 180 inches of fabric, so three panels minimum, or four if you want the gathers to hide the seams and read as one continuous drape.
The seam between panels will vanish into the folds if you stack them close on the rod.
Frequently Asked Questions
How do you hang curtains without drilling holes in the wall?
Use no-drill brackets that tap directly into window trim with built-in pins.
Kwik-Hang brackets install by hand or with a hammer in under a minute, hold up to 20 lbs, and lift out clean when you move. They work on solid trim but may not grip damaged or narrow molding.
Should curtains touch the floor?
For a polished look, yes.
The three standard lengths are a float of ½ inch above the floor for high-traffic areas, a kiss where the hem just grazes the floor for formal rooms, or a puddle of 1–3 inches onto the floor for drama in low-traffic spaces.
What you want to avoid is the awkward in-between gap that makes curtains look unfinished.
How many curtain panels do I need?
Total curtain width should run 1.5 to 3 times your window width, which usually means two to four panels.
A 50-inch window needs about 100 inches of fabric for standard fullness, so two 50-inch panels typically suffice. Check the labeled width on each panel before buying, since sizes vary by brand and two panels are not always enough.
What is the best way to measure for curtains?
Use a steel tape measure, not a fabric one. For height, measure from the floor to where the rod will sit, which is 4–10 inches above the frame or halfway to the ceiling.
For width, measure the window frame from outer edge to outer edge, then add 12–24 inches total so the rod extends 6–12 inches past each side.