

Clean grout takes about a weekend, roughly $45 in supplies, and enough elbow grease to make you wish you had called a pro.
The step most people skip is the first one: sweeping or vacuuming before any water touches the tile. I learned that the hard way when my mop pushed grit deeper into the bathroom joints and the rinse water turned gray.
A vacuum with a hard-floor attachment, run slowly enough to empty the channels between tiles, is what separates a real clean from pushing dirt around.
1. Preparation
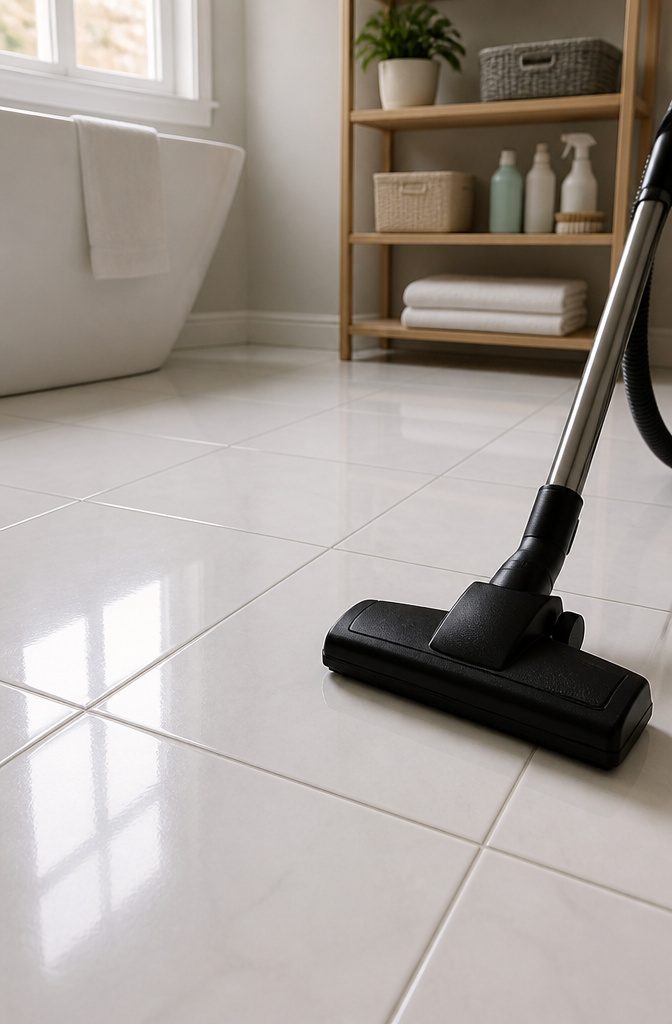
Loose dirt on the tile surface turns into a bigger problem the moment water hits it. That grit gets pushed straight into the grout lines, and because grout is porous, it settles in and stays there.
Sweep or vacuum the floor before any cleaner touches it. Skipping this step means embedding debris deeper instead of lifting it out.
I learned that the hard way on my bathroom floor, rushing through with a mop and watching the water turn gray in the joints.
The mop had become a delivery system for exactly what I was trying to remove. Now I run a vacuum with a hard-floor attachment across every tile area first, even the small ones.
A robot vacuum scheduled daily helps, but for a deep clean, nothing beats getting down close and making sure the channels between tiles are actually empty before the real work starts.
2. Apply Cleaner
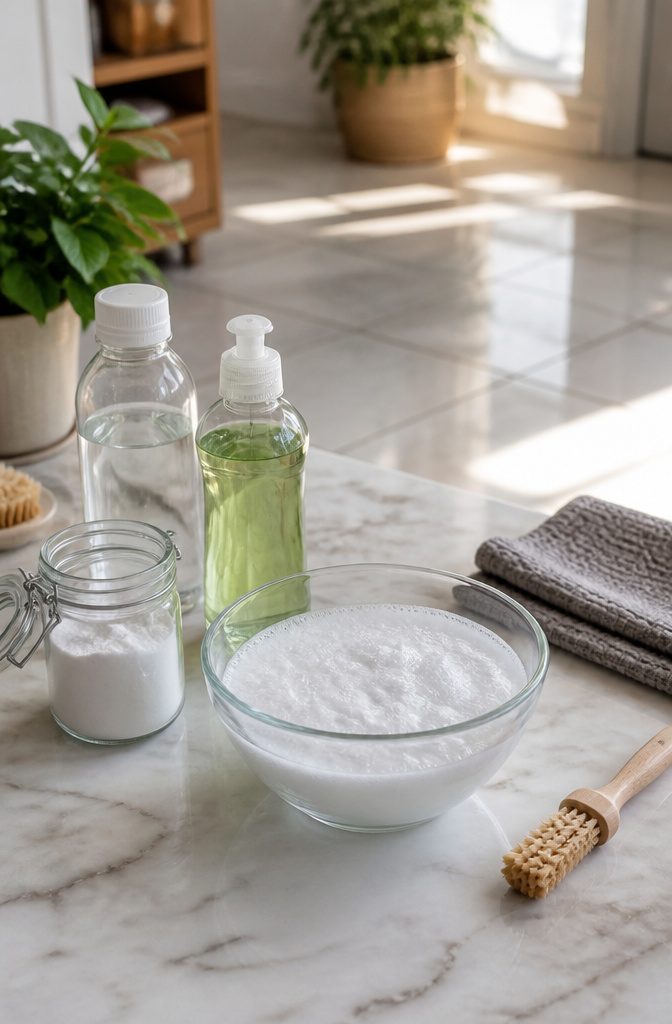
Commercial grout cleaners are easy enough to find, but the DIY route costs almost nothing and works just as hard.
Hydrogen peroxide mixed with baking soda into a paste, plus a few drops of dish soap, breaks down the surface grime without the chemical smell.
Another option that covers more ground at once: 3.5 cups hot water, 3 tablespoons lemon juice, 1/2 cup baking soda, and 1/6 cup white vinegar in a spray bottle. Shake it hard before each pass because the baking soda settles fast.
Home Armor Instant Mold Remover and Grout Eez are the two commercial names that come up most often from people who want something ready to pour.
Grout Eez in particular gets repeat mentions for floors with years of buildup where a weekend project actually has to finish in a weekend.
Homemade paste goes on with an old toothbrush or a grout brush; spray solutions need complete saturation, then a second pass in about an hour before mopping away.
Either way, the cleaner has to contact the grout itself, not just the tile around it.
Puddling on the tile face wastes product and risks dulling some finishes, so a thin, even coat along each line is the move that saves both time and trouble.
3. Let it Sit
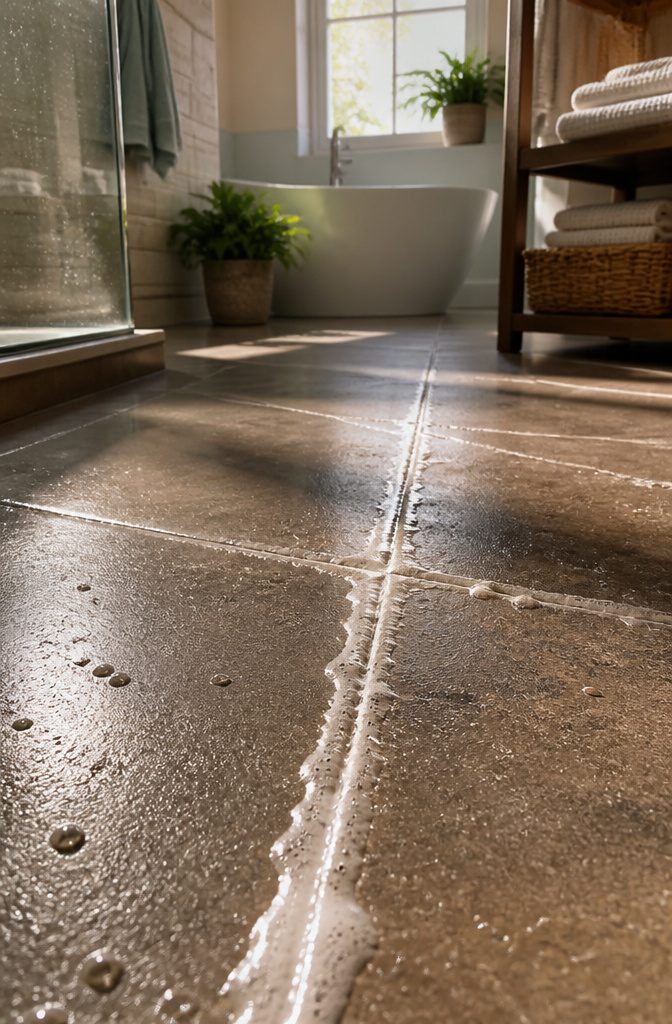
Five to ten minutes feels longer than it sounds when you are staring at dirty grout, but that wait is where the work actually happens.
The cleaner needs time to break the bond between the porous surface and the grime that has settled into it.
Cut the time short, and you end up doing far more scrubbing for far less result. The same elbow grease that lifts a softened stain barely touches one that was rushed.
A stiff brush and vigorous scrubbing come next, but only after the solution has had its window.
Letting it dry out completely works against you too, so set a timer and check the lines before they turn to a film. The easier afternoon projects are the ones where patience does the heavy lifting first.
4. Scrub
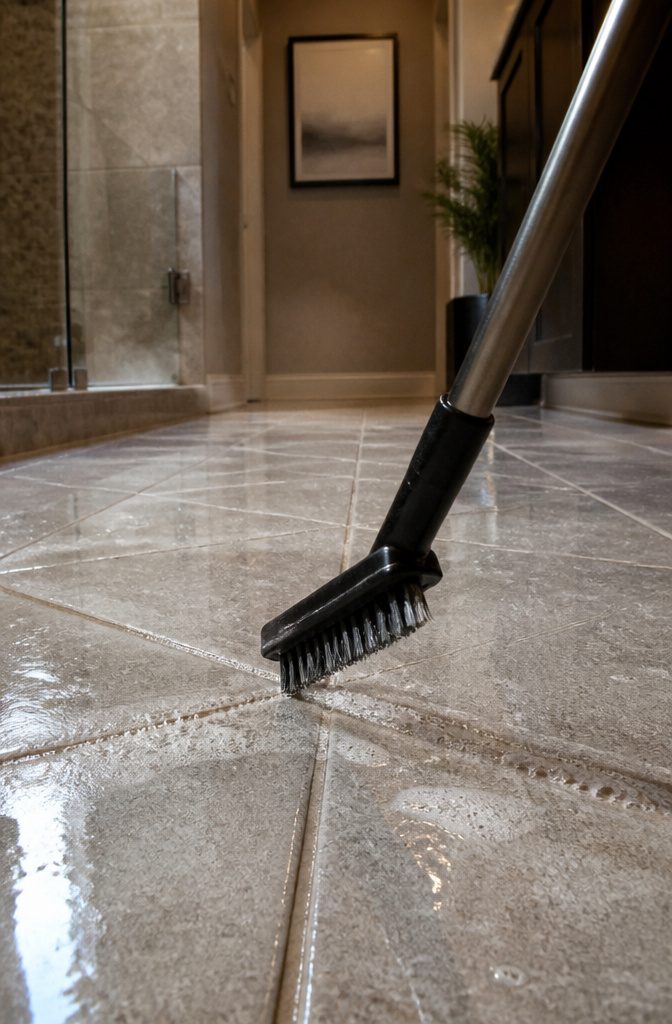
The brush matters more than most people expect. A toothbrush will get into corners and along the edge where tile meets tub, but the bristles bend fast on stubborn grime.
For sand-and-cement grout with ground-in dirt, a grout brush with stiff, narrow bristles saves time and saves your wrists.
Latex polymer grout, the newer stain-resistant kind, needs the same gentle rule: grout-rated bristles only, no wire brushes and no acidic scrubs no matter how tempting the stain looks.
Circular motions lift debris better than straight back-and-forth, and the physical work shows where corners get cut. A small section at a time, rinsed and dried before the dirty water resettles, beats half a floor left to dry gray again.
Steam first if you have one; it loosens the top layer so the brush does not fight every grain.
5. Rinse
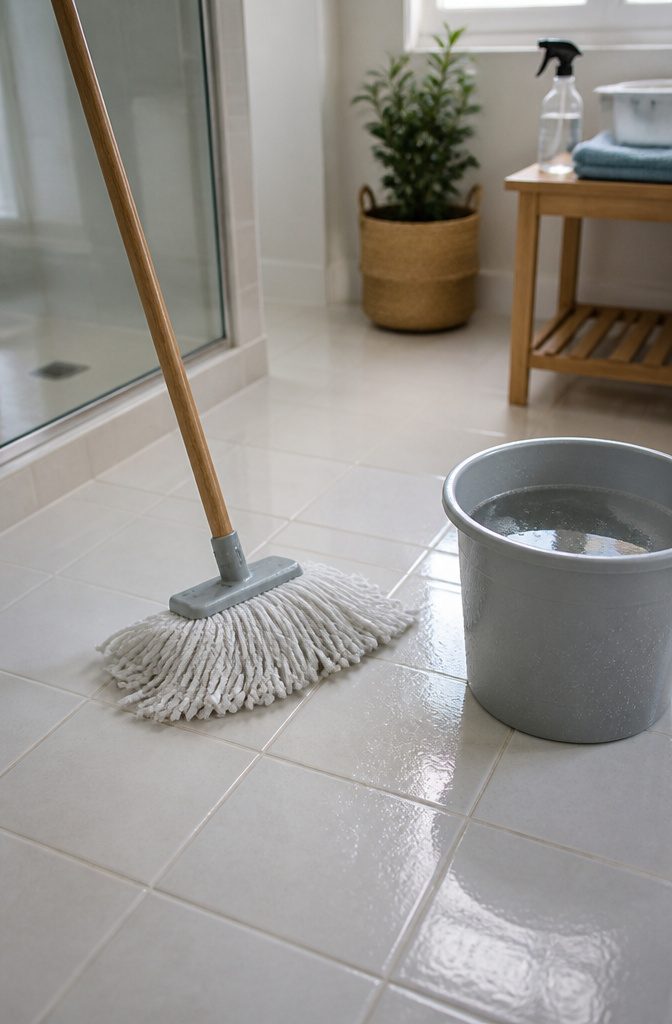
Warm water and a clean mop or cloth lift away whatever cleaner is still sitting on the tile and in the grout lines.
Leftover residue acts like a magnet for dirt, so the floor or wall can look worse in a week than before you started if you skip this.
The water does not need to be hot, just warm enough that you would not mind holding your hands in it for a minute.
I go over the area twice when I have used a stronger solution, changing the rinse water in between, because the second pass almost always picks up suds I missed the first time.
For deeply stained grout, a single rinse probably will not be enough to finish the job; you may need to run through the whole cleaning sequence again before the lines actually stay clean.
6. Dry
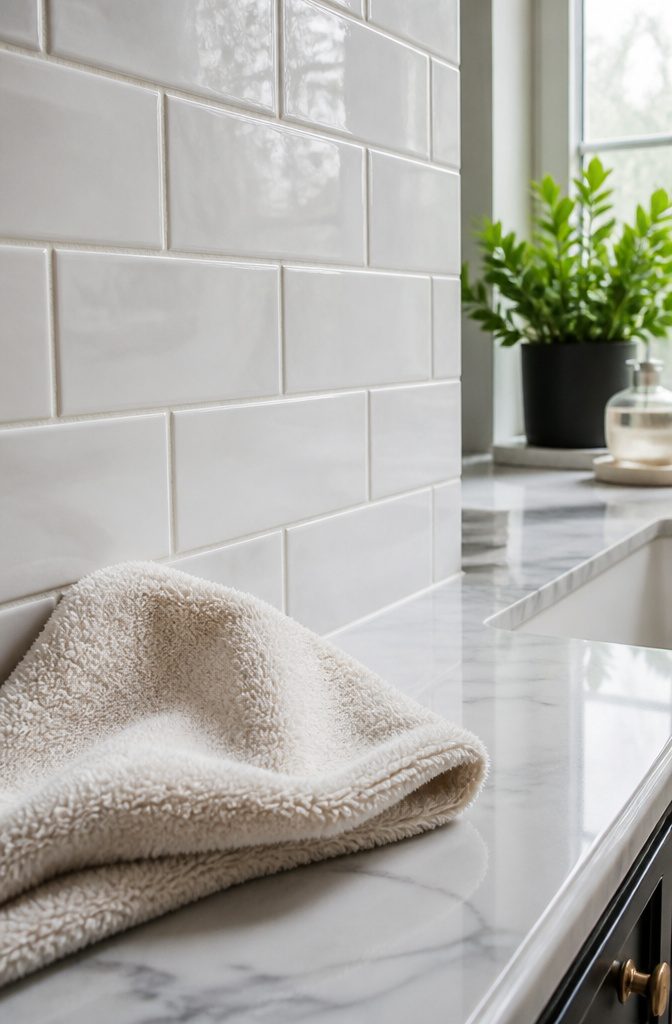
A clean towel and about ten minutes of patience finish the job better than rushing to the next step. Grout is porous, and any moisture left in those pores becomes a trap for the exact grime you just lifted out.
Sealant applied over damp grout fails within weeks instead of months, because water vapor still escaping from below pushes the protective layer away from the surface.
The result is patchy coverage that lets foot traffic and shower spray seep straight back in, and six months later the stains reappear exactly where they started.
Reseal every 6 to 12 months depending on wear, but only if the sealer went onto bone-dry grout to begin with.
A full 24 to 48 hours of cure time before any moisture hits the surface is standard, and that clock only starts once the lines actually read dry to the touch, not merely "not dripping."
In a bathroom with poor ventilation, waiting an extra half day costs nothing compared to repeating the entire cleaning process.
7. Seal
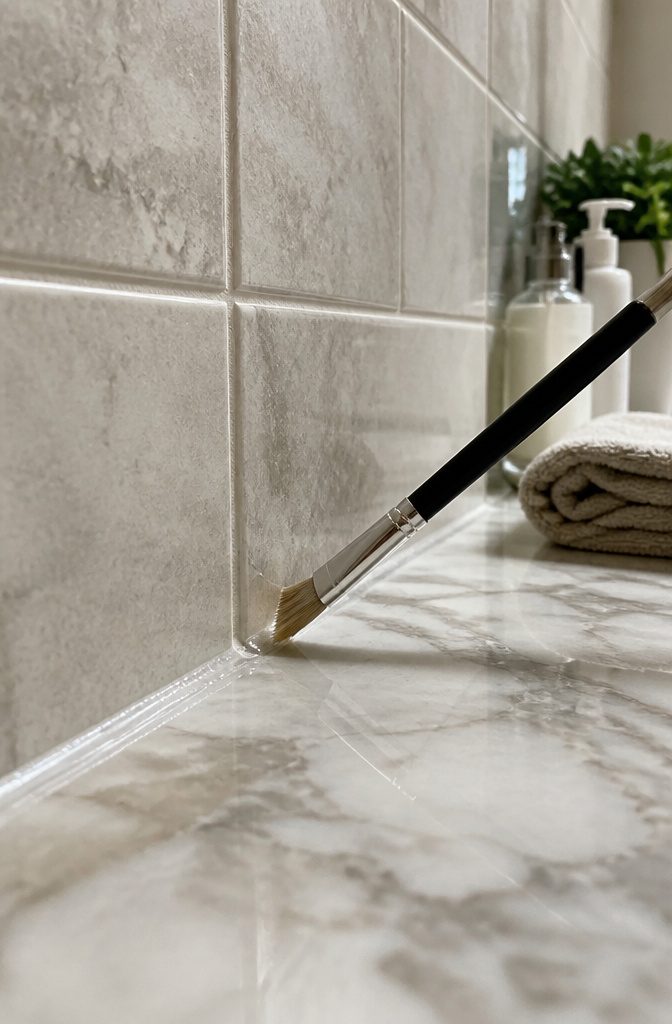
Grout is porous, which means every cleaned line is already waiting on its next stain. A sealer fills those pores so moisture and grit stay on the surface where a wipe removes them.
The choice comes down to two formulas. A penetrating sealer soaks in and repels water and oil from inside the grout, while a membrane-forming sealer leaves a top layer that blocks moisture but wears away with traffic and mopping.
I have used both, and the penetrating route wins for floors that actually get walked on.
Two products worth the shelf space are Aqua Mix Sealers Choice Gold, a water-based formula with a no-sheen finish that forgives a sloppy application, and Stonetech Heavy Duty Grout Sealer, a professional-grade option that handles sanded and unsanded grout alike though the gallon jug is overkill for a small bathroom.
Both can leave occasional haze or darkening on certain grouts, so test a hidden corner first.
Application is simple once the grout is fully clean and dry. A small brush or sponge runs the sealer evenly along the lines, then the surface cures for 24 to 48 hours before it sees water.
Skip this step and you will be back on your knees in three months. Treat it as maintenance, not a one-time fix, and reseal every 6 to 12 months depending on how much foot traffic and water the area sees.
Cleaning Solutions
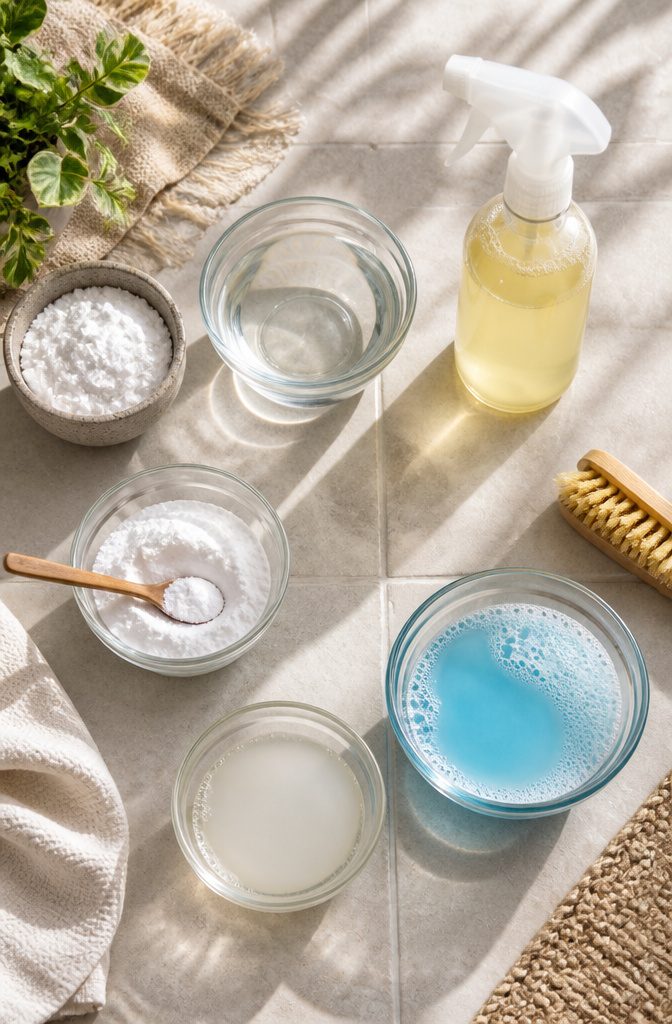
The five cleaning solutions for grout each carry a different balance of power, risk, and effort.
Vinegar and baking soda fizz on contact, which physically lifts surface dirt without scrubbing, though the reaction is brief and the paste needs reapplying on larger jobs.
Hydrogen peroxide swaps the fizz for a slower, deeper sanitizing action. It pairs with baking soda when stains have settled past the top layer, and it leaves no residue that later traps grime.
Commercial grout cleaners and oxygen bleach sit at opposite ends of the chemical safety spectrum.
Store formulas like Grout Eez strip heavy buildup without scrubbing, but the fumes run strong enough to need ventilation and the product is strictly for floors.
Oxygen bleach, the kind sold as OxiClean, breaks down stains through oxidation rather than chlorine erosion, so it does not eat away at grout over repeated use.
Steam cleaning skips chemistry entirely; pressurized vapor loosens dirt from the pores, though it works best as maintenance or after a chemical pre-clean on set-in stains.
| Solution | Best for | Grout safety | Ease | Environmental note |
|---|---|---|---|---|
| Vinegar + baking soda | Light, fresh grime | Safe; do not use on unsealed natural stone | High; kitchen ingredients | Fully biodegradable |
| Hydrogen peroxide | Deeper stains, sanitizing | Safe for most grout | Moderate; longer dwell time | Breaks to water and oxygen |
| Commercial grout cleaner | Heavy, aged buildup | Check label; some etch tile | Low effort, high ventilation needed | Varies by formula |
| Oxygen bleach (OxiClean) | Persistent stains without erosion | Safer than chlorine bleach | Moderate; needs 5–10 minute soak | Oxygen-based, no chlorine gas |
| Steam cleaning | Maintenance, chemical-free homes | Safe; heat can stress loose tiles | Moderate; equipment rental or purchase | No discharge |
Vinegar gets a caution here: one common tip warns it can corrode grout with repeated use, while others list it as standard.
For sealed grout in ceramic or porcelain tile, the risk stays low; for unsealed or natural stone, hydrogen peroxide or oxygen bleach is the safer call.
Why Grout Gets Dirty
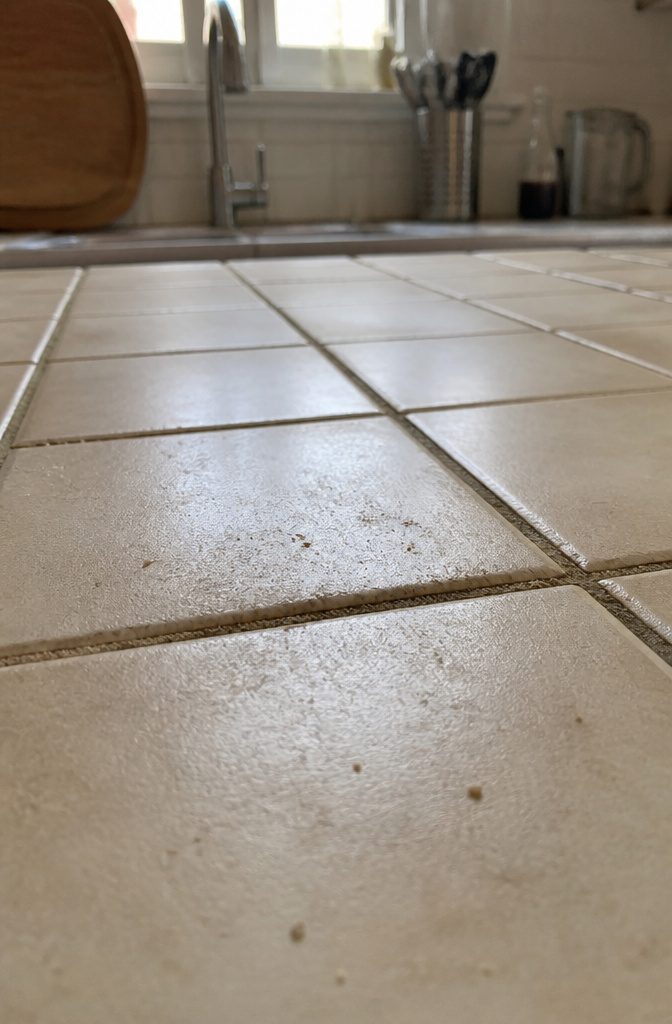
Grout looks solid enough until you realize it behaves more like a sponge than a seal. The material is porous, meaning thousands of tiny channels run through it like the holes in a pumice stone.
Every dribble of cooking oil, every splash of shampoo, every bit of road grit tracked in on shoes drains straight into those channels instead of sitting on top where a mop could lift it off.
The geometry of a tile floor makes this worse. Those grout lines sit lower than the tile surface, so they act like tiny gutters collecting whatever the mop pushes around.
A traditional mop and bucket can actually deposit dirty water there; the liquid evaporates, but the grime stays behind and sinks deeper.
Kitchen grease and bathroom soap scum are especially stubborn because they bond with the porous structure and accumulate with every spill.
Unsealed grout stains fastest because nothing blocks that absorption. Even with regular mopping, discoloration builds over time since the cleaner often cannot reach the debris lodged inside.
Sealing creates a barrier, but it wears down and needs renewing, and many renters move into spaces where that maintenance was skipped years ago.
Mold shows up for the same reason: the porosity traps moisture in a dark crevice, which is exactly the environment mold wants.
Tools for Cleaning Grout
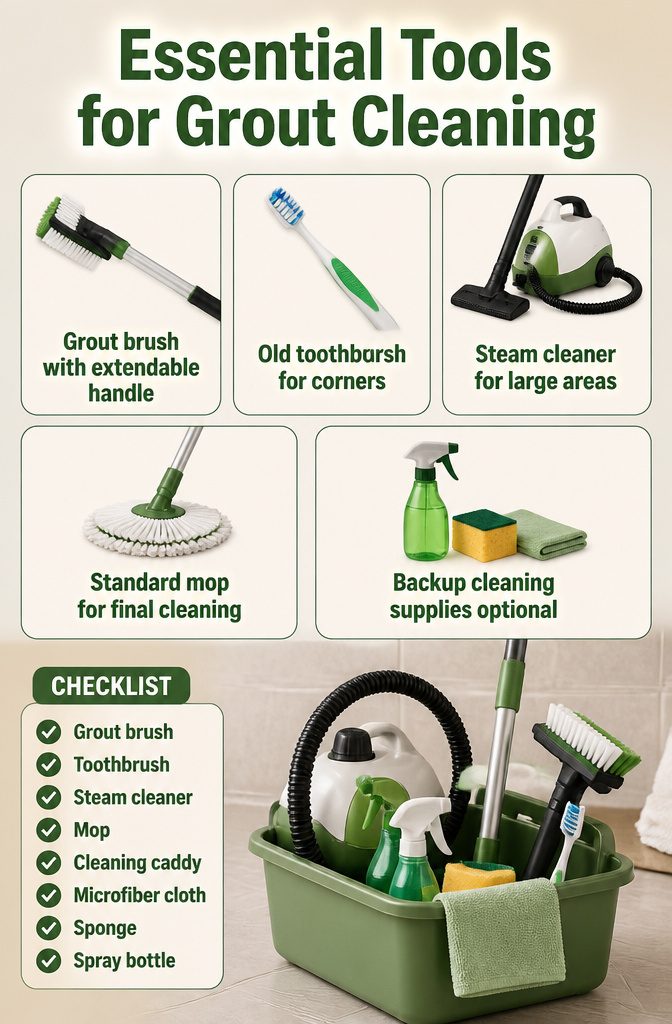
The right tool depends on how bad the grout looks and how much square footage you’re facing. A few things pulled me through a bathroom floor last spring, and a few others stayed in the closet.
- A grout brush with stiff, v-shaped bristles and an extendable handle is what I reach for on medium to heavy grime. The shape lets the bristles sink into the line without chewing up tile edges, and the handle saves your back on anything larger than a backsplash.
- An old toothbrush works for tight corners and small touch-ups. The bristles are soft enough that you won’t damage anything, but that same softness means you’ll fight hard on heavily soiled grout. I keep one in the cleaning caddy; it gets used, just not for the main event.
- A steam cleaner sits in the closet more than I expected. The hot steam loosens dirt and kills mold without chemicals, which sounds ideal, but I only drag it out for large areas. For a single bathroom floor, the setup and cooldown eat the time you save.
- A standard mop never came out at all for grout work. It spreads water across tile and barely touches the lines. Sweep or vacuum first, then put the mop away until you’re done.
If you’re buying one thing, make it the grout brush. The rest you probably already own or can skip until the job grows.
Regular Maintenance Tips

A ten-minute wipe-down after a shower beats a weekend on your knees with a brush. These are the habits that keep grout from turning into a project.
- Wipe tiles daily with a squeegee or microfiber cloth while they are still wet. The thirty seconds this takes removes the moisture that feeds mildew before it can set into the lines.
- Spray with a mild solution weekly. Water and vinegar in a spray bottle works, or a pH-neutral store-bought cleaner if you prefer. Either way, let it sit a minute, then rinse.
- Run the exhaust fan or crack a window during showers and for fifteen minutes after. Stagnant humidity is what turns clean grout grimy in the first place.
- Spot clean stains the day they appear. The longer they sit, the more likely they are to need scrubbing that wears the grout down.
- Seal grout every six to twelve months, sooner in bathrooms and kitchens where water hits daily. Unsealed grout is porous; stains sink in and do not lift out with a weekly wipe.
- Light cleaning stays weekly. Deep cleaning with a brush and stronger solution comes every one to three months depending on traffic and how many people share the space. High-use kitchen floors need it closer to monthly; a guest bath might stretch to quarterly.
The difference between a weekend project and a weekend recovery is mostly whether you kept up during the week.
Health Implications
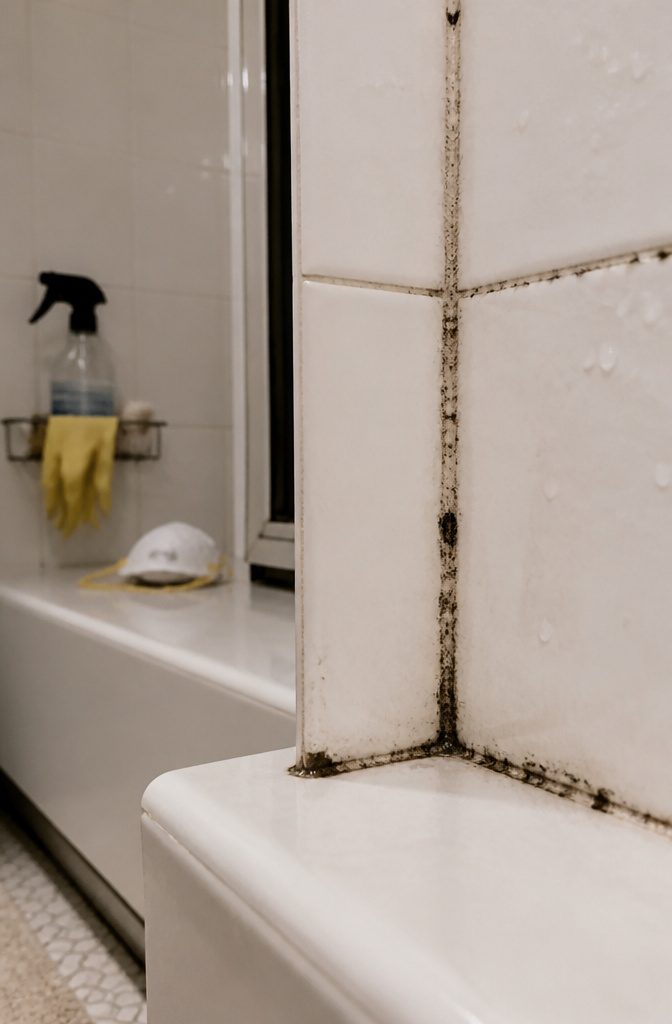
Bathrooms and kitchens are the rooms where grout does its hardest work, and those warm, moist conditions are exactly what mold and mildew need to take hold.
Once that dark stuff shows up in your shower lines or near the kitchen sink, it is not just a stain problem.
The EPA notes that mold can affect indoor air quality and trigger allergic reactions or respiratory issues, which is why the entryways and mudrooms where you track in moisture matter too.
Grout is porous by nature, so it pulls in whatever sits on it. That trapped dampness breeds bacteria you cannot see long before the black or green spots appear.
Regular cleaning is what keeps it from becoming a bigger issue, but the real risk is letting it go until someone in the house starts noticing headaches or congestion they cannot explain.
For renters especially, this is worth acting on before move-out inspection, but more immediately it is worth acting on for the air you breathe every morning.
A weekend scrub with the right cleaner beats a month of wondering why the bathroom feels harder to be in.
Professional Cleaning Services
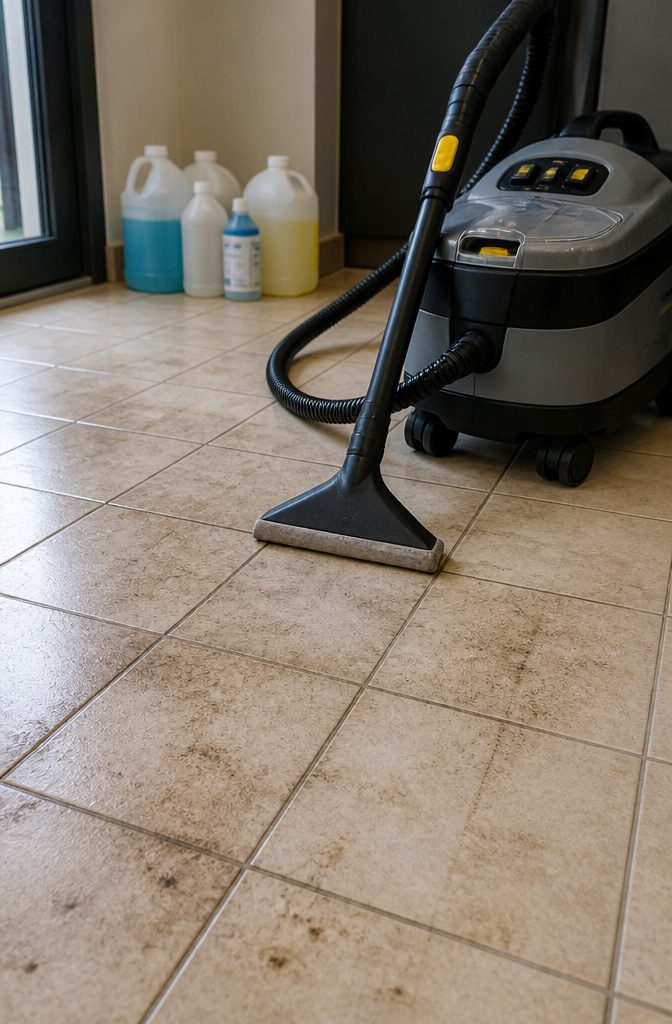
Some grout has moved past what a weekend and a bottle of cleaner can fix. The passage of time, moisture that never fully dried, or actual crumbling means the stain is structural, not surface.
Professionals assess the damage first, vacuum and mop away loose debris, then run steam equipment that reaches temperatures and pressures no rental unit matches.
That steam kills mold spores in crevices and lifts years of embedded grime without the abrasion that would weaken already compromised grout. Afterward, they dry the surface thoroughly and can apply a sealant to slow future staining.
The quote I got for a 200-square-foot kitchen floor was $340.
Supplies for doing it myself ran about $45, and the scrubbing took six hours across two Saturdays. For a single bathroom or a few stained corners, that tradeoff leans toward DIY.
But large areas, recurring mold, or grout that is cracked and falling out justify the call. The pro’s steam equipment and the option to seal afterward tip the balance when the job is beyond elbow grease.
Frequently Asked Questions
How often should I clean the grout in my bathroom and kitchen?
Grout should be cleaned lightly once a week and deep cleaned every one to three months, depending on how much traffic and moisture the area sees.
High-use kitchen floors need deep cleaning closer to monthly, while a guest bath might stretch to quarterly. Weekly wiping and prompt attention to new stains keeps the job from turning into a weekend project.
Can I use bleach to clean grout from tiles?
Chlorine bleach can weaken grout over time and is not safe for all tile types, so gentler methods are better for regular cleaning.
Oxygen bleach products like OxiClean are a safer alternative because they break down stains through oxidation rather than erosion. For most jobs, hydrogen peroxide mixed with baking soda handles the grime without the risks that come with chlorine.
What is the best homemade grout cleaner?
Mix hydrogen peroxide and baking soda into a paste the consistency of runny toothpaste, then add a few drops of dish soap.
Scrub it into the grout lines with a toothbrush or grout brush, let it sit briefly, and rinse thoroughly. Baking soda can leave haze or residue behind, so a second rinse is worth the extra minute.
Why does the grout keep getting dirty even after I clean it?
Grout is porous, so it absorbs moisture and particles that sit on its surface, and without a sealer it will keep pulling in fresh grime.
The lower level of grout lines also acts like tiny gutters that collect whatever a mop pushes around. Sealing every six to twelve months fills those pores so stains stay on the surface where you can wipe them away.
How do I get my grout white again?
Apply a paste of hydrogen peroxide and baking soda directly to the stained lines, let it sit five to ten minutes, then scrub with a stiff grout brush and rinse twice.
For deeper discoloration, oxygen bleach like OxiClean gives a longer soak that lifts stains without the erosion of chlorine bleach. Once the color is back, seal the grout within 24 to 48 hours of drying or the stains will return.
Will Dawn and vinegar clean grout?
The more effective DIY options are hydrogen peroxide with baking soda, or a spray of hot water, lemon juice, baking soda, and white vinegar.
For actual stained grout, you need the peroxide paste or oxygen bleach to reach below the surface.
Does magic eraser clean grout?
The tools that get results are a stiff grout brush for the main work, an old toothbrush for corners, and steam for loosening dirt before scrubbing.
Magic Eraser works on surface marks but is not designed to reach into the porous structure of grout lines where the real staining happens.