These ideas run from shelf liner to a small lazy Susan and a set of clear bins, with the right pick depending on whether you are rearranging what you have or buying a few things to make the space work harder.
The one constant is measuring: a shelf set just above your tallest yogurt or soda bottle stops the weekly avalanche.
1. Adjust Your Shelves
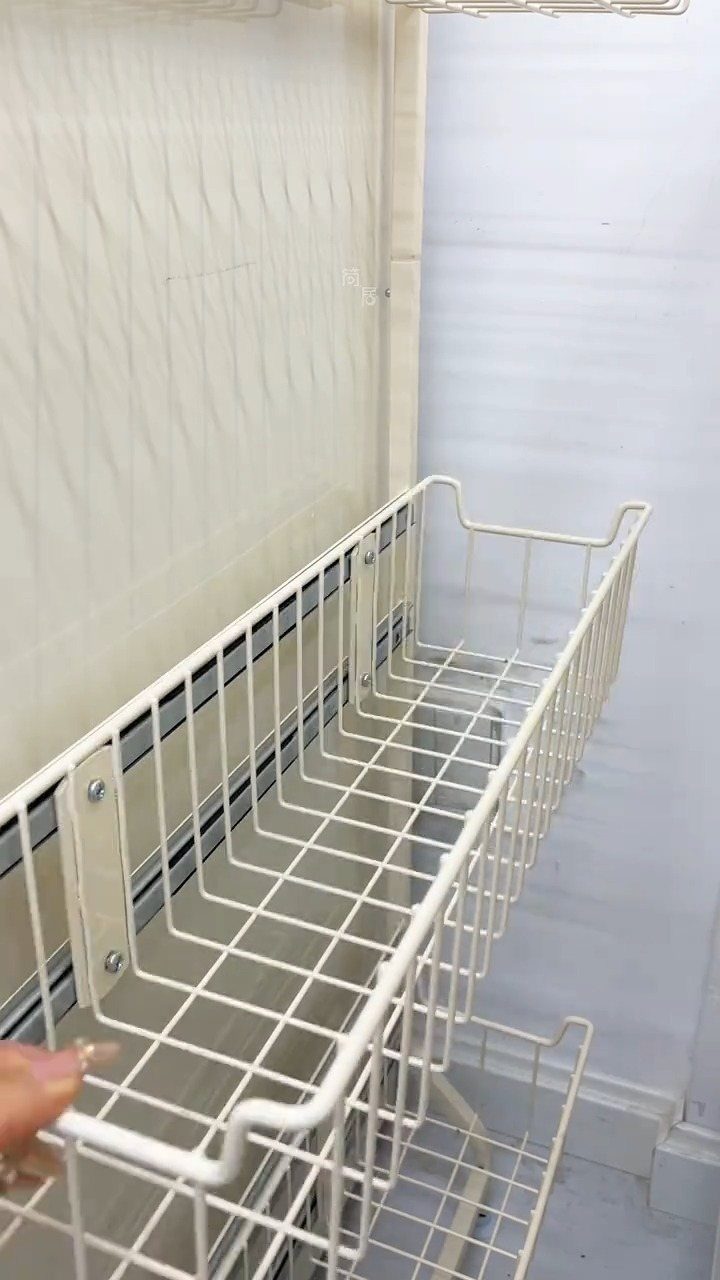
Most refrigerator shelves slide out or lift off with a little pressure, and the brackets underneath move in one-inch increments.
Tall juice bottles stand upright once the shelf spacing is right; reset the height before you unload groceries and nothing leans against the butter dish.
If you buy the same yogurt or soda week after week, measure the tallest item in each category and set the shelf half an inch above it.
That gap you leave is what stops an avalanche when you reach for the milk.
2. Line Refrigerator Shelves
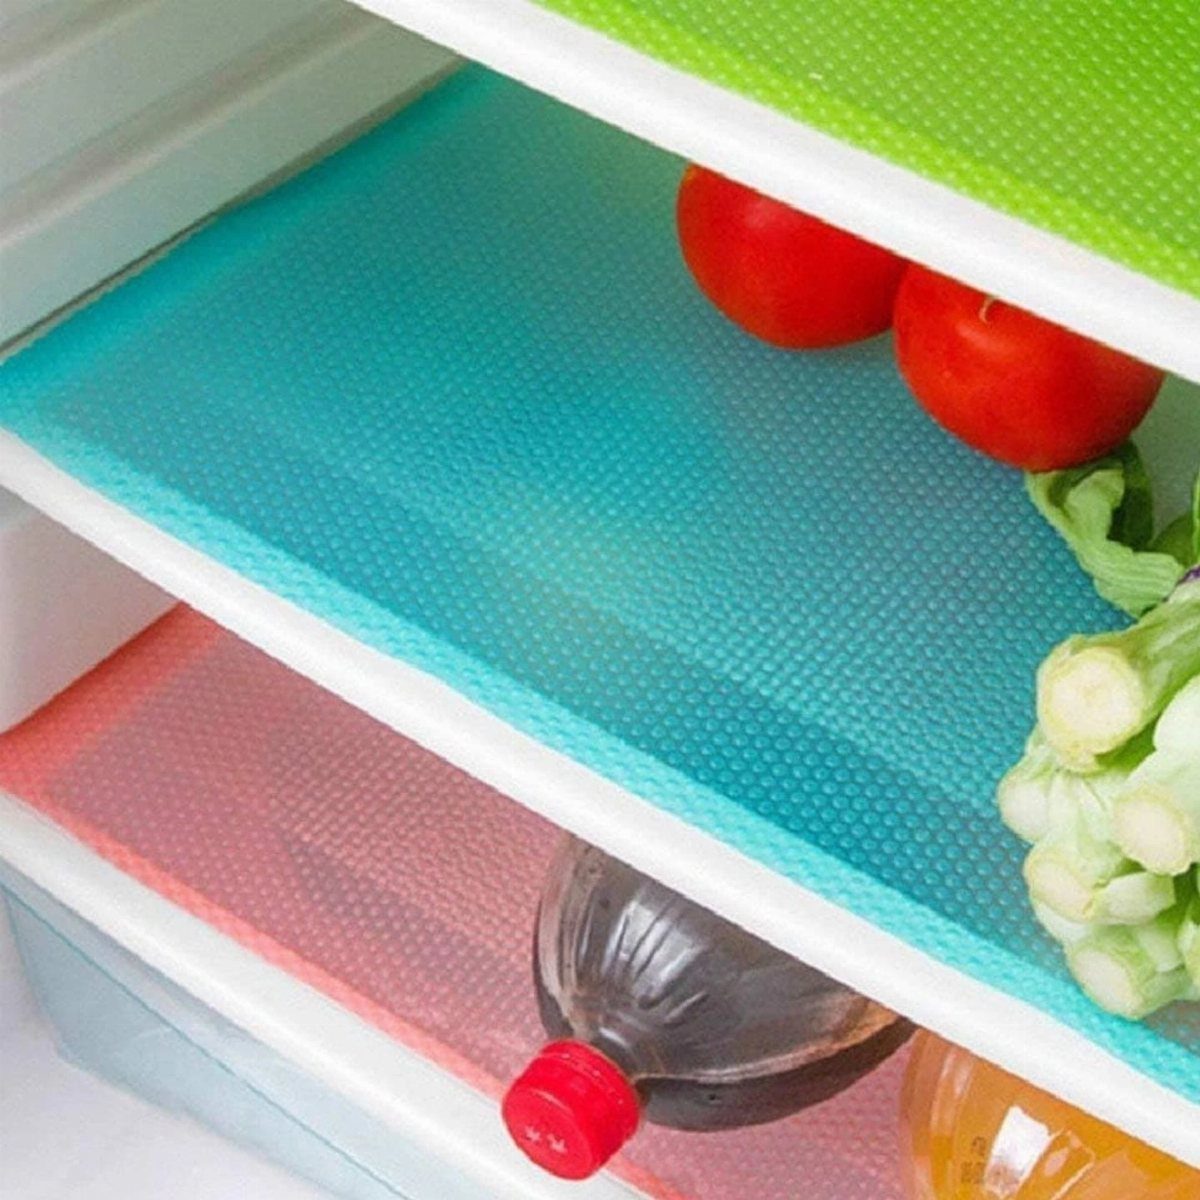
A sheet of washable plastic matting on each shelf catches the soy sauce drip before it pools in the glass crisper below.
Trim refrigerator liner with kitchen shears to leave a quarter inch of bare shelf at the edges so air still circulates. When a jar of olives tips over, the mat lifts out and rinses in the sink in thirty seconds.
A roll beats scrubbing dried sticky rings off glass.
3. Use Clear Storage Containers
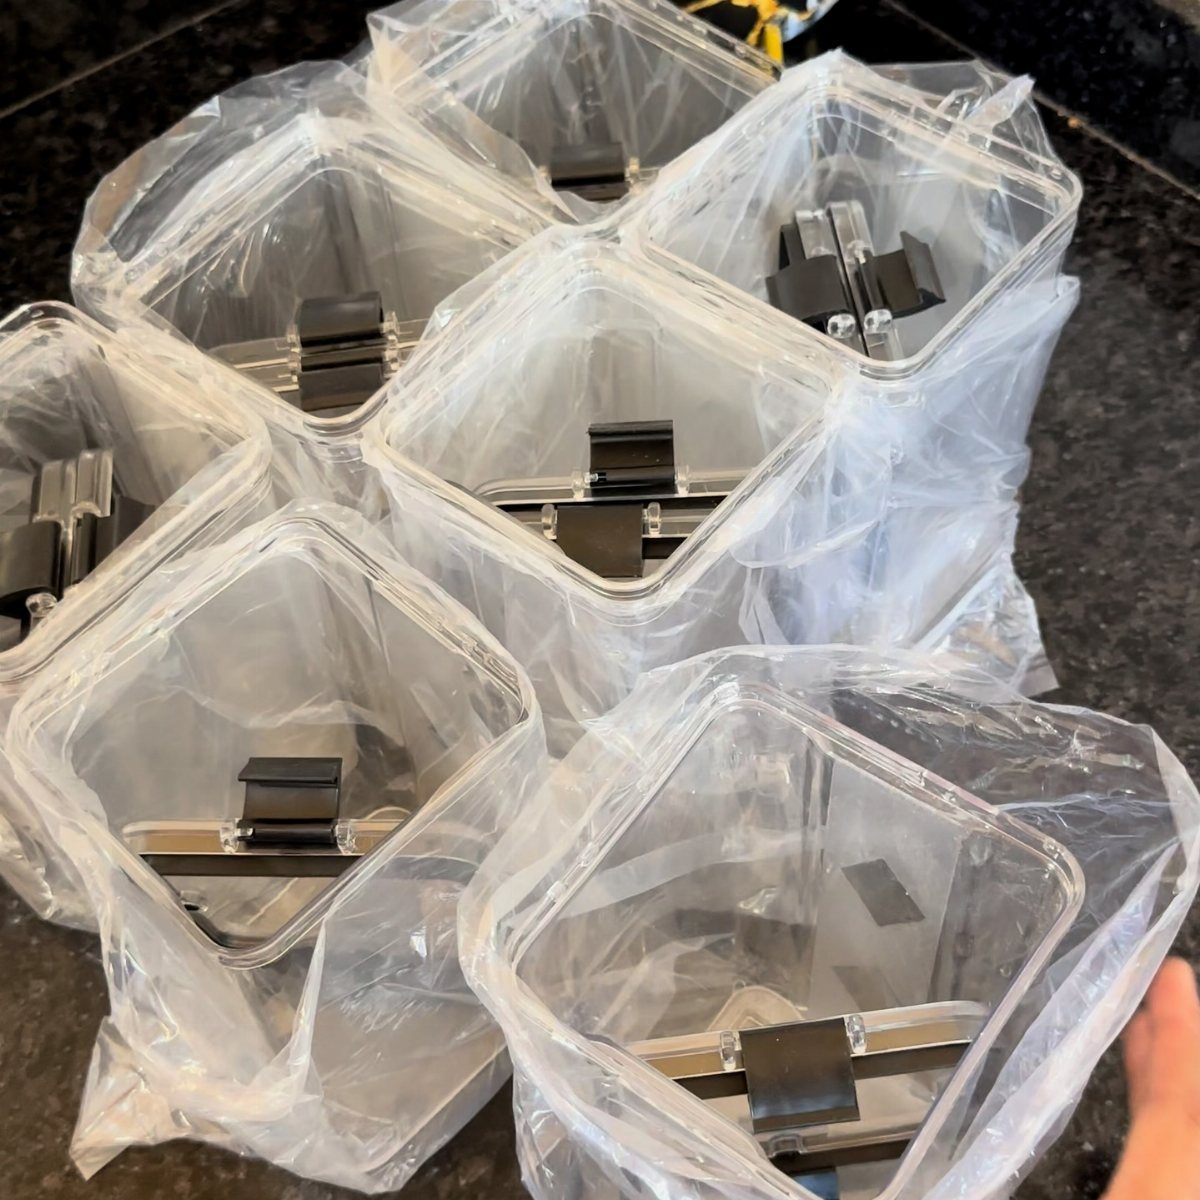
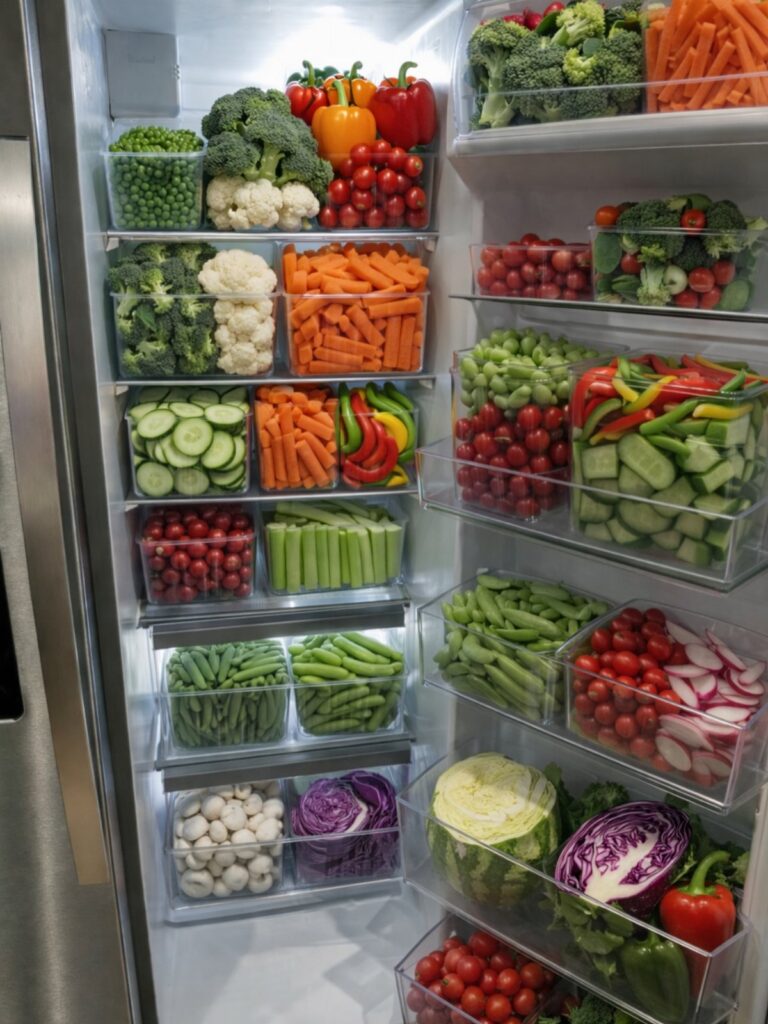
Clear bins with flat lids let you stack three high where two loose bags used to slide around. Rectangular containers, not round, fit refrigerator geometry better because corners match corners.
Glass lasts longer and goes in the dishwasher, but the lighter plastic ones are easier to pull down from a high shelf when your other hand is holding a spatula.
I label mine with a strip of masking tape and a Sharpie; the tape peels clean when the contents change from berries to shredded cheese.
4. Stack to Save Space
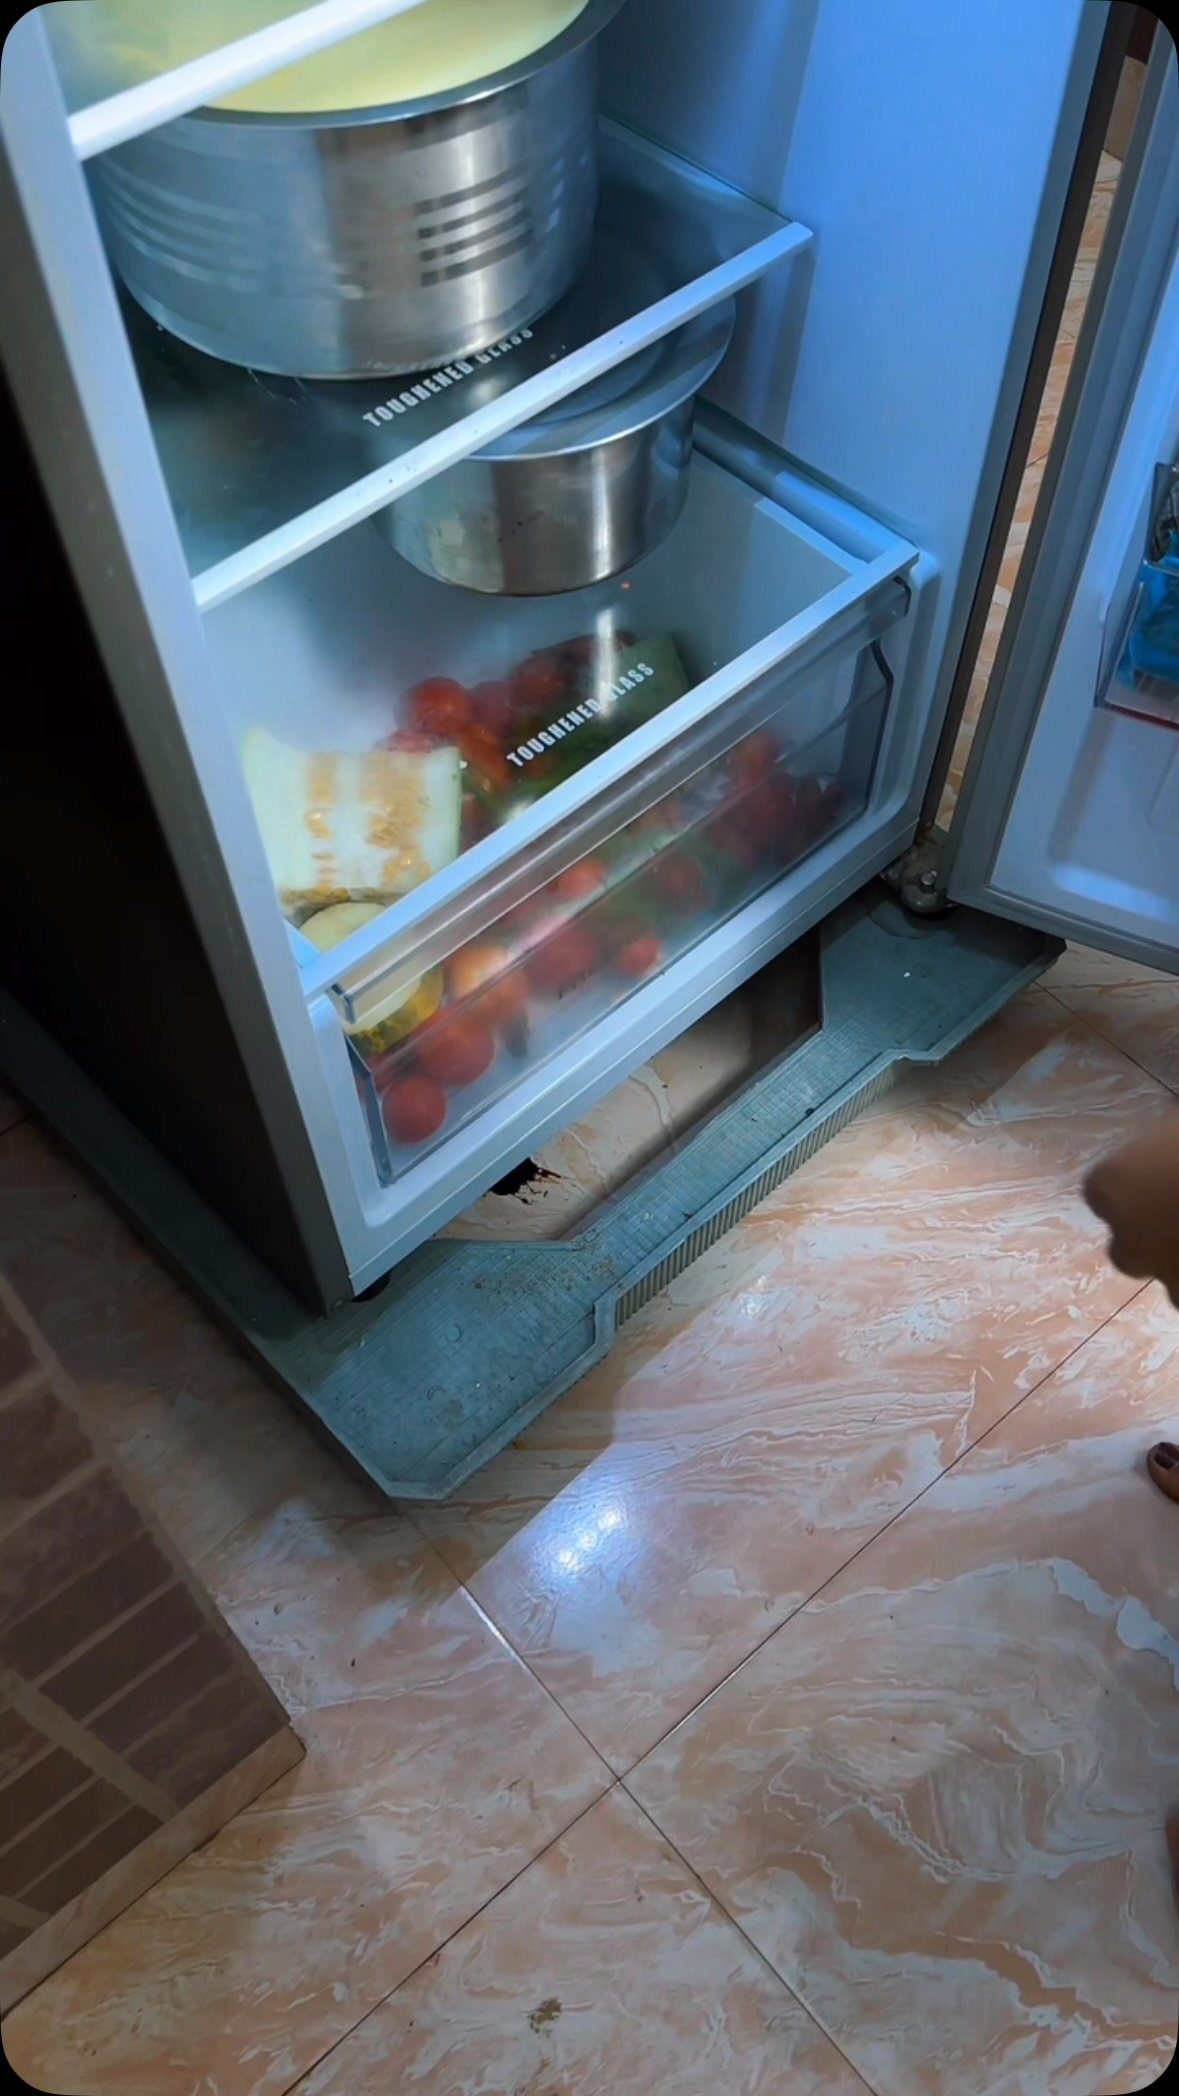
Nested metal bowls work when the upper one holds hardier produce and the lower one catches anything that sheds.
Vertical space in a refrigerator is usually half wasted; a set of nesting bowls or a wire riser splits one shelf into two levels.
I use a cheap wire cooling rack on the top shelf to hold open containers of leftovers above the covered ones.
For cans and bottles, a dispenser that drops the next one forward as you pull one out turns a deep shelf into a narrow slot; the Container Store carries them for soda, beer, and slim water bottles.
5. Group Like Items Together
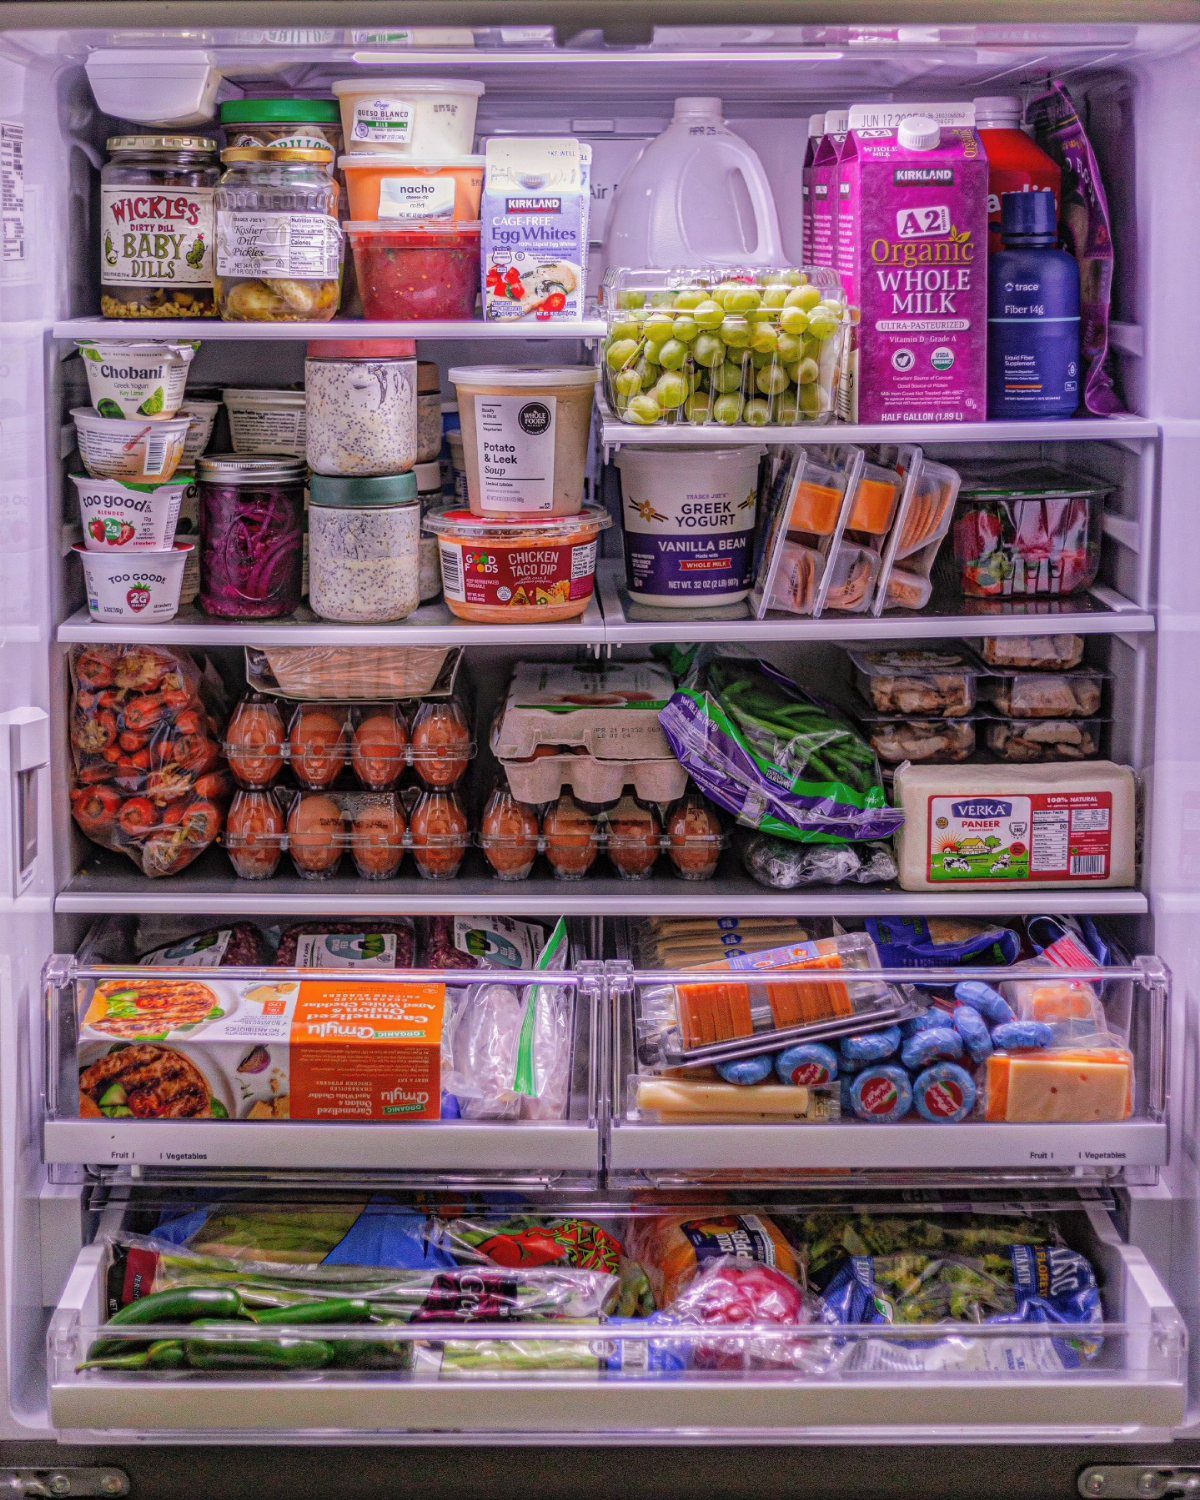
A yogurt shelf, a cheese drawer, a condiment door: that kind of logic holds up when you are rushing.
I use handled bins for the sandwich fixings because the whole bin comes to the counter at noon and goes back after.
One category will outgrow its zone; keep a backup bin folded flat on top of the fridge for overflow weeks. If you share the refrigerator, the labels matter more than the bins themselves.
Shared fridges mean the ketchup wanders; a bin with a label ends the search.
6. Utilize a Lazy Susan
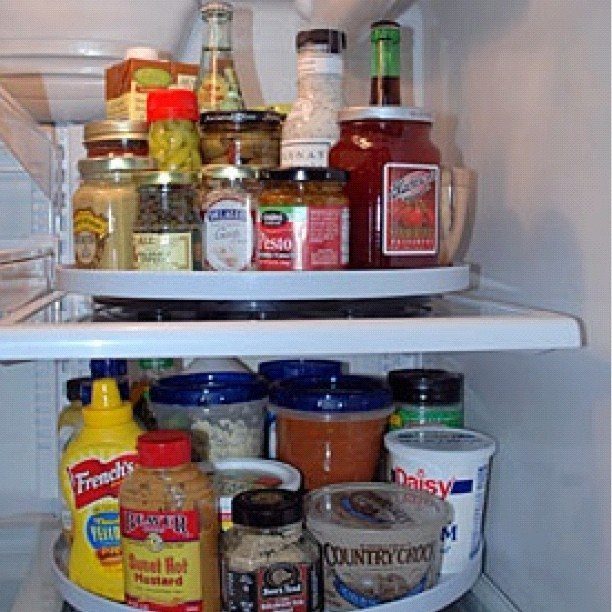
Two turntables fill the depth of a shelf that would otherwise hide half its contents in shadow. Condiments and jars that spin forward on demand are the standard use for a turntable.
I have also used a smaller one for medication bottles in a dorm fridge and a larger one for baby food pouches when my niece visited.
The turntable adds an inch of height; on a short shelf, that can cost you a layer. A white plastic model wipes clean with a damp cloth.
7. Store Raw Meats on Bottom Shelves
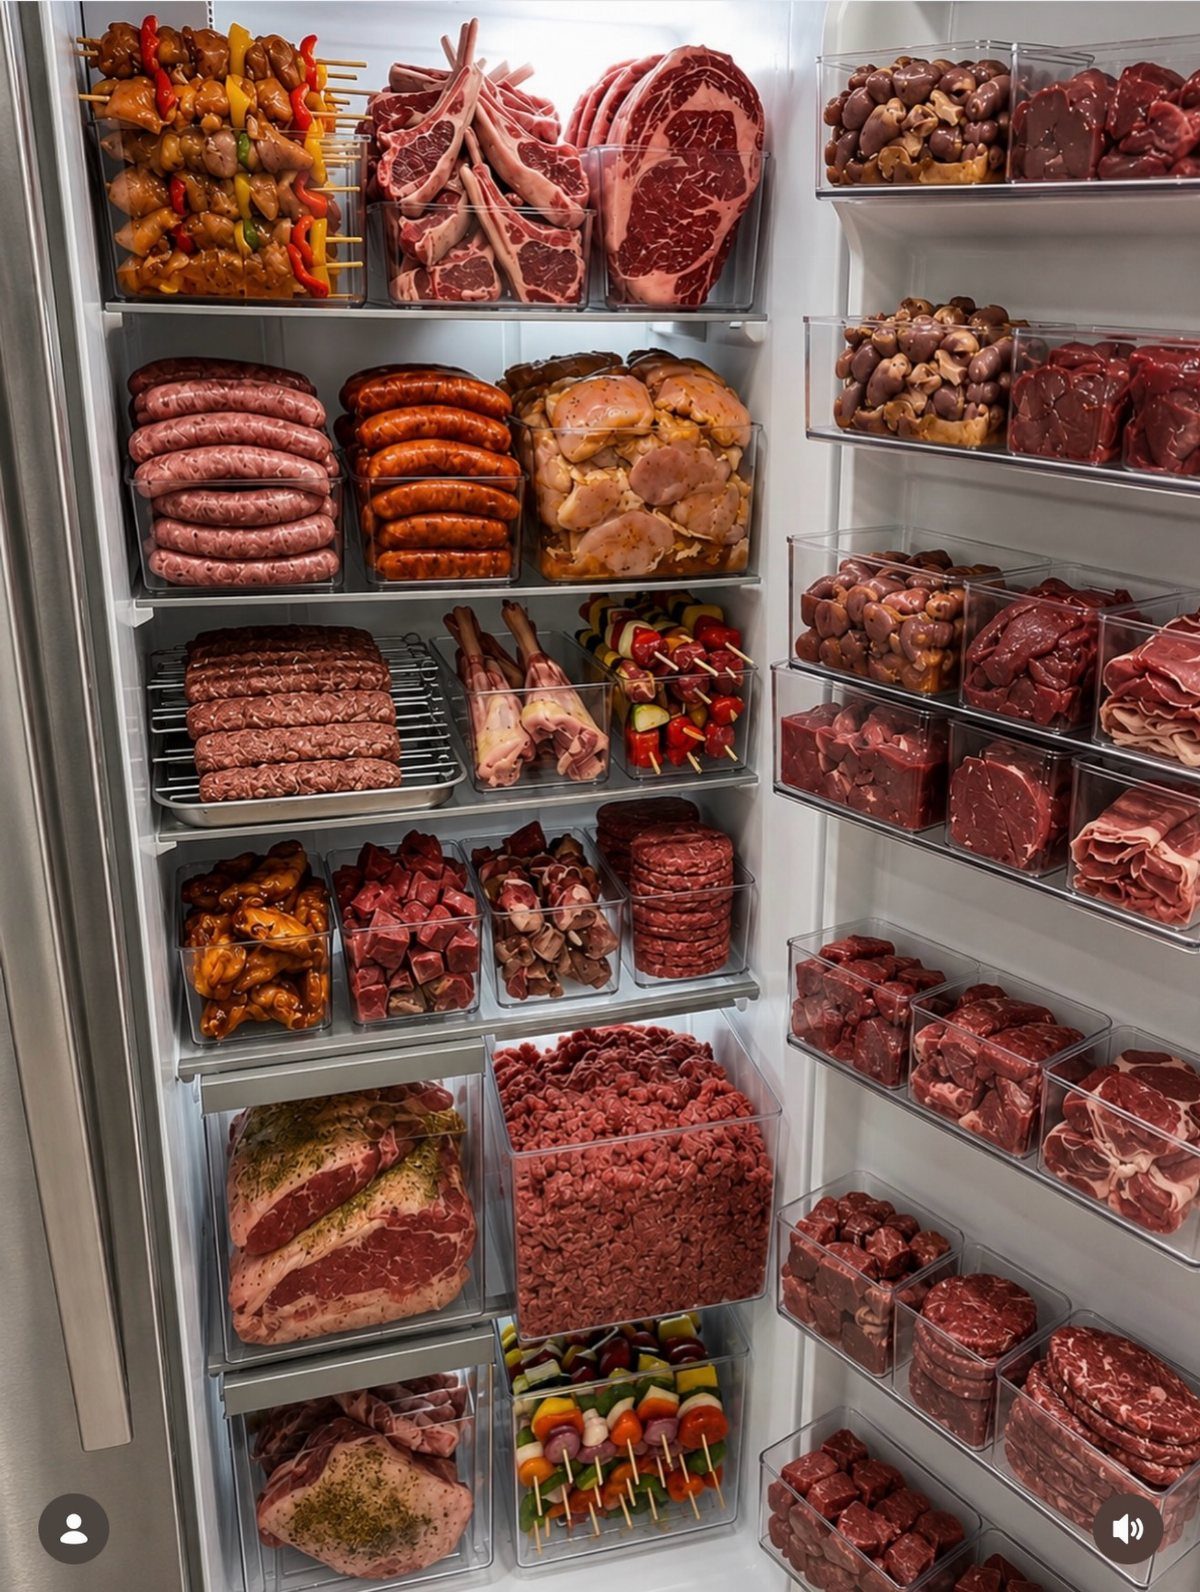
Raw meat belongs on the lowest shelf, full stop. Gravity does the work if anything leaks; juices stay below your produce and leftovers instead of raining down through every crisper drawer.
A rimmed baking sheet or shallow plastic tray under the package catches what the store wrap misses. A quarter-sheet pan fits most fridges and goes straight into the dishwasher after.
If your bottom shelf is also your coldest zone, you get the double win of safer temperatures and no drips. This one matters most for poultry, which spoils fastest and leaks most often.
8. Label Each Category
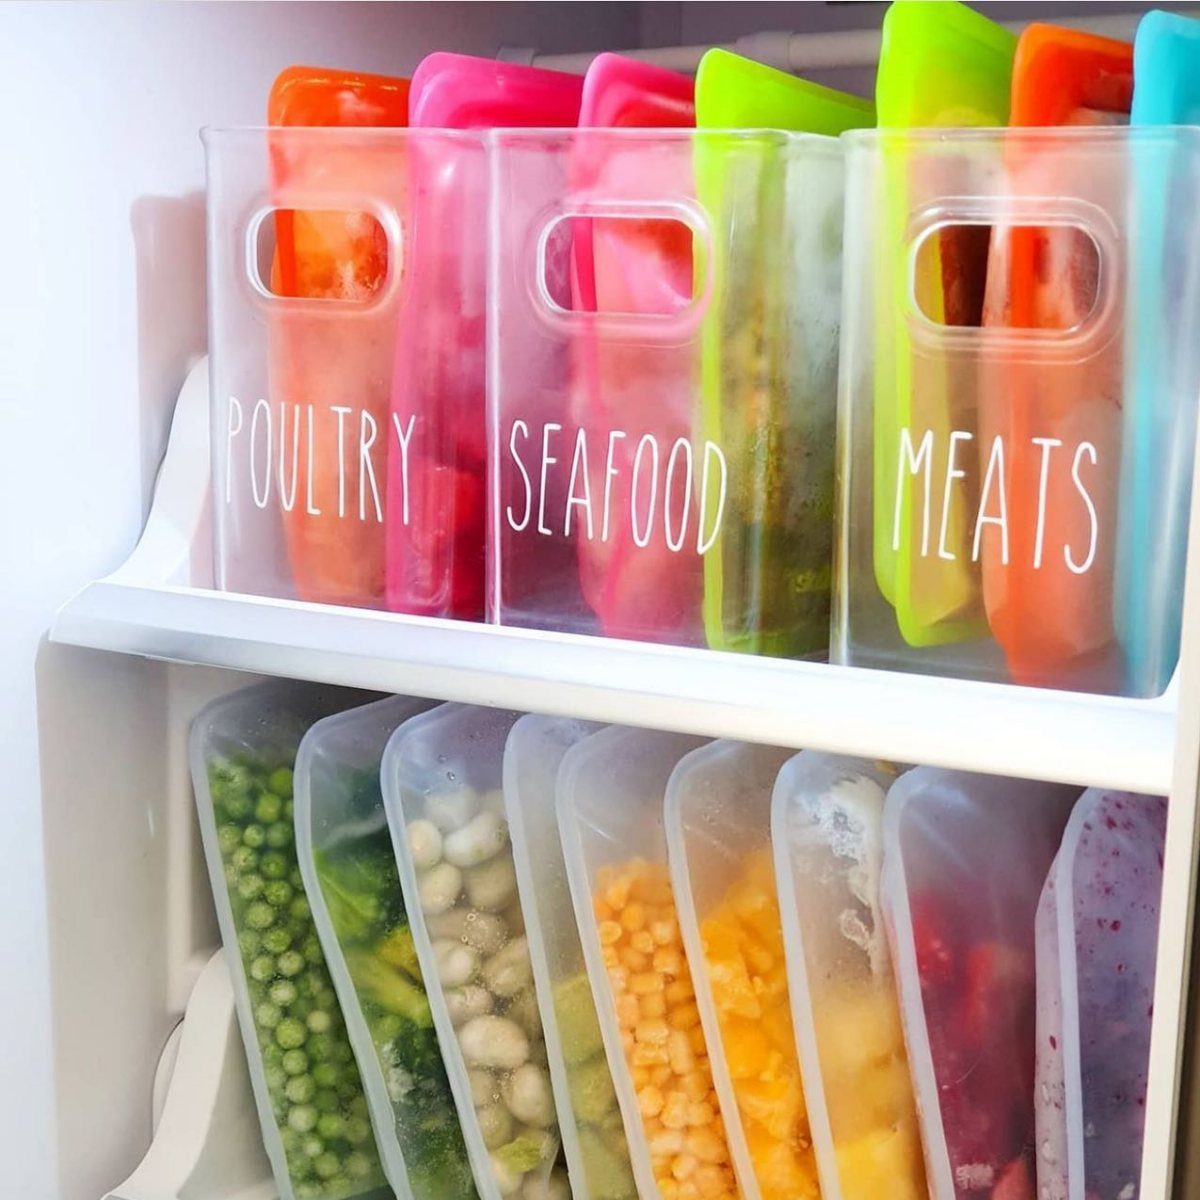
Labels turn a system into a habit the whole household keeps. Broad categories work better than narrow ones; "dairy" and "snacks" survive grocery rotations where "yogurt" or "cheese sticks" would need re-labeling every trip.
White text on a dark strip, or a simple masking-tape flag, reads fast in dim fridge light. I place the label on the bin front, not the lid, so it faces you with the door half-open.
Labels make it obvious when something has wandered into the wrong zone. When the spot for deli meat is marked, someone else puts the new pack there instead of shoving it wherever it lands.
9. Prep and Prosper
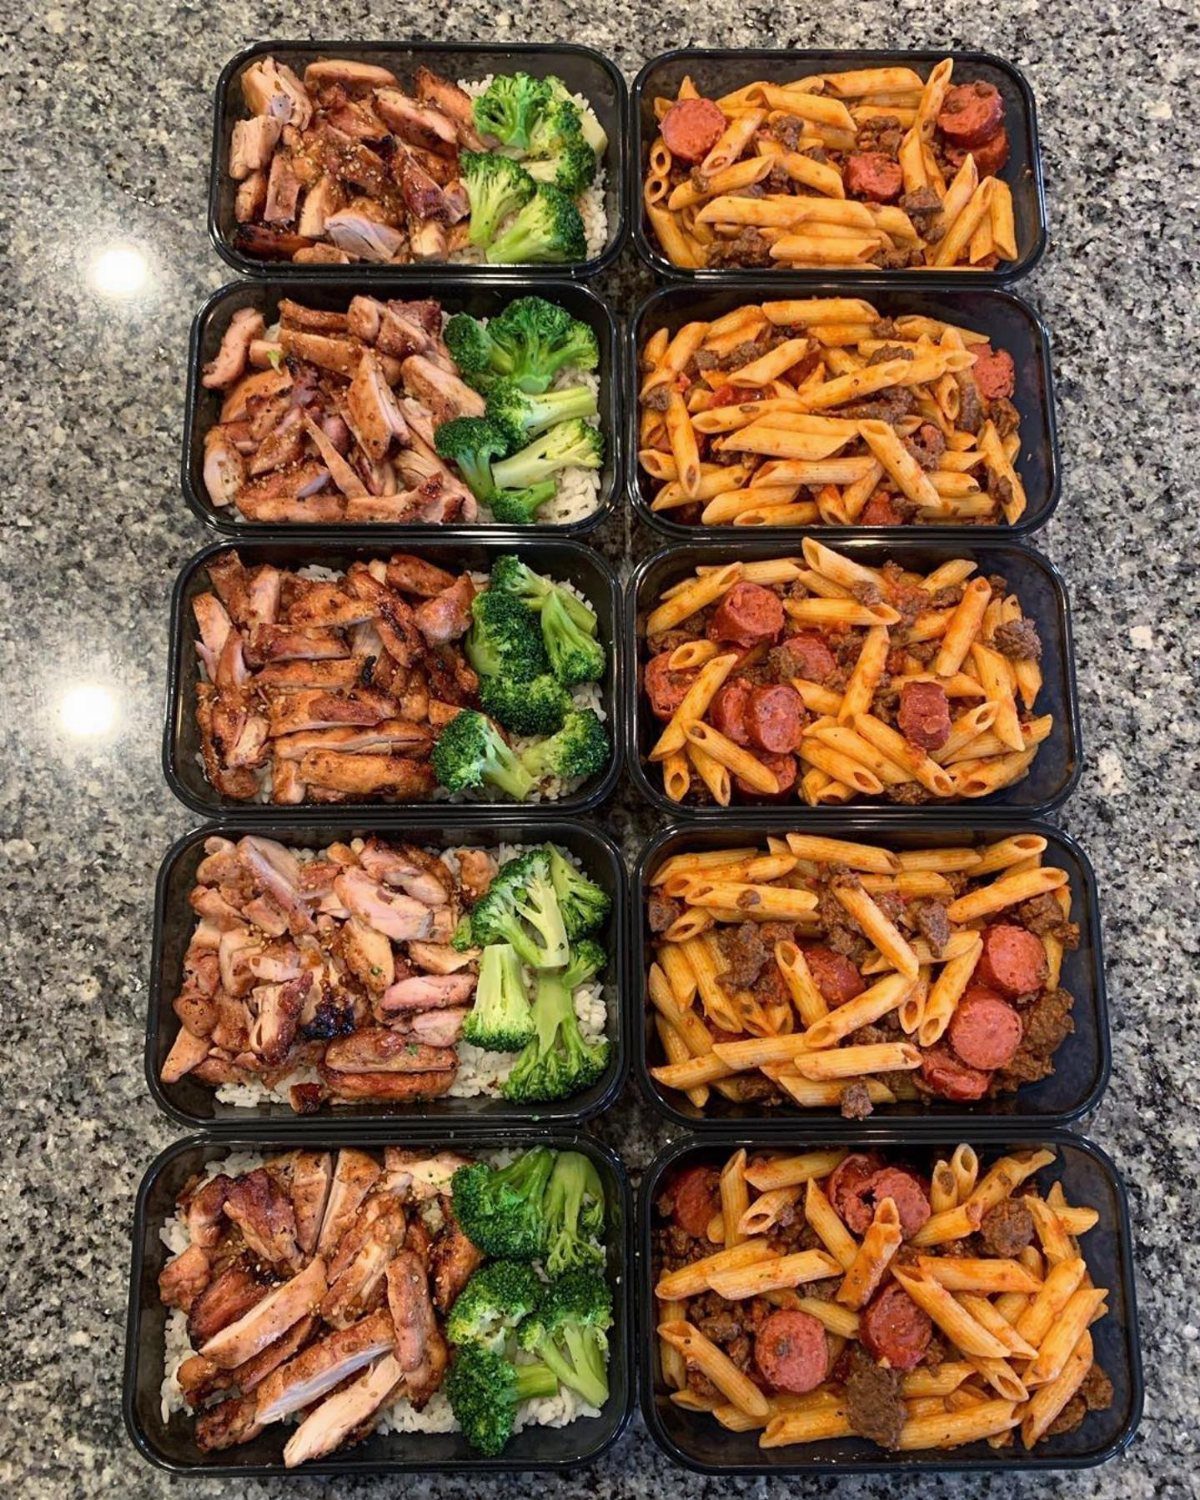
Sunday afternoon chopping pays off in Wednesday evening speed. I cut vegetables into snack-sized sticks or florets, portion proteins into single servings, and stack everything in clear containers at eye level where hunger meets decision.
Weekday lunches need no thought once the prep work is done. Stacking meals by type in columns, one for chicken-rice-broccoli and another for pasta-sausage, keeps the same logic working inside the fridge once the cooking is done.
Airtight containers keep cut produce crisp longer than loose bags. Glass lasts longer than plastic but weighs more; choose based on who carries lunch and who loads the dishwasher.
10. Use Egg Organizer
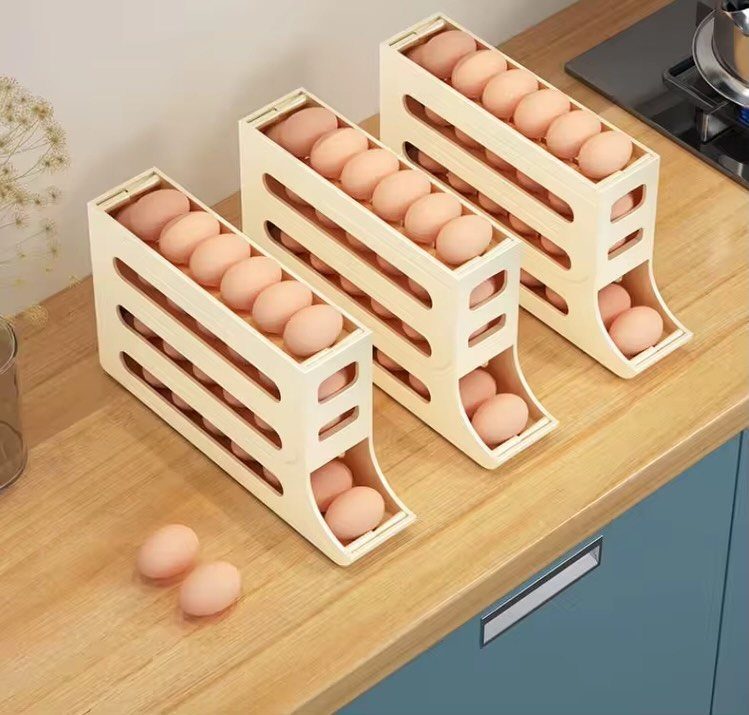
Eggs roll. A slotted organizer with a curved dispensing tray at the bottom stops that, and the tiered design pushes older eggs forward so you use them first.
A plastic egg organizer holds two dozen in a footprint smaller than the cardboard carton. The middle shelf, not the door, is where temperature swings stay smallest.
Brown or white shells both show through the slots, so you know at a glance when the dozen is down to two and the grocery list needs updating.
No more cracking open a box to find one lonely egg hiding in the corner.
11. Store Beverages in Door
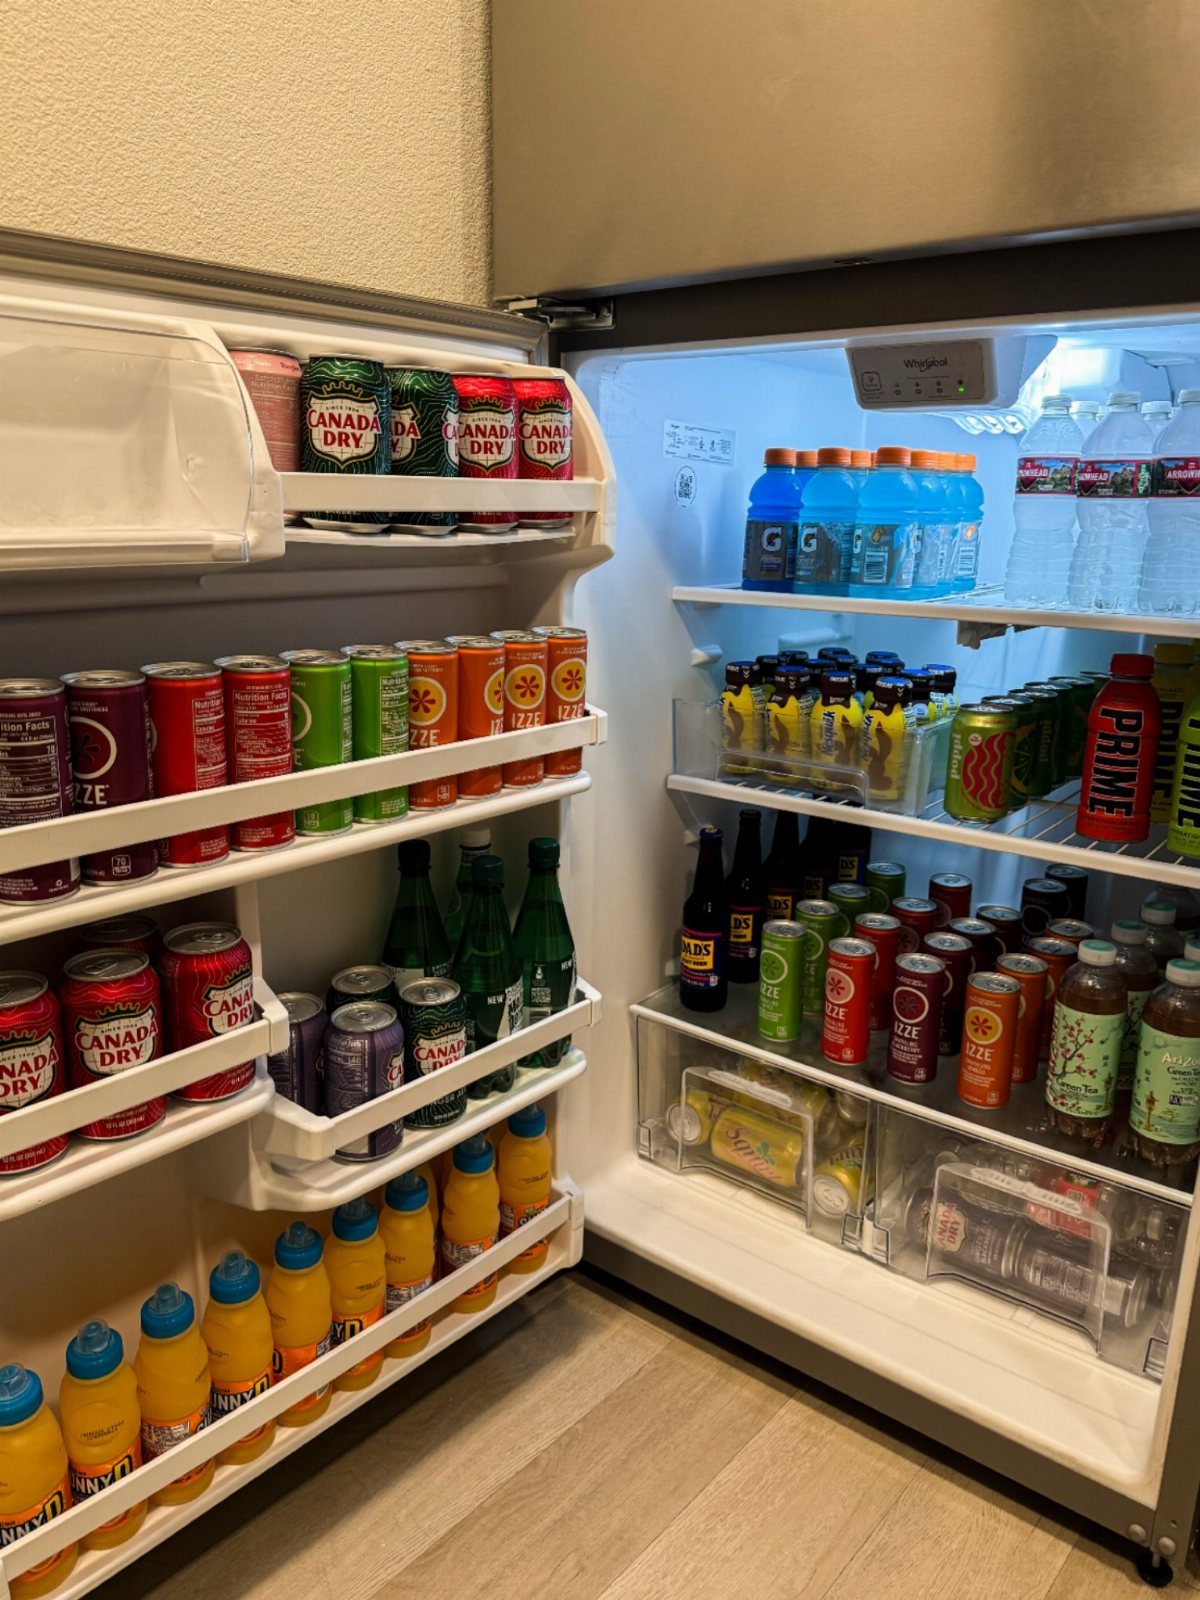
The door is the warmest real estate in your fridge, usually five to ten degrees above the back of the top shelf. That makes it perfect for beverages and condiments, which tolerate fluctuation better than milk or leftovers.
Stackable can dispensers or narrow bottle racks fit most door bins and keep sodas, seltzers, and juices from sprawling sideways into a half-empty mess. Rows that slide forward as you take one keep buried bottles from sitting forgotten for months.
Save the stable interior shelves for what actually spoils. A door loaded with drinks frees up the cold center for the cheese, the yogurt, and the half-onion you will definitely use tomorrow.
Regularly Check for Expired Items
A quick sweep before grocery shopping saves money and shelf space. I pull everything forward, check dates, and toss what expired.
Yogurt hiding behind the milk, half-empty dressing bottles, that takeout container you forgot about; they all go. The move takes maybe five minutes and the fridge already feels larger.
Only food I will actually eat goes back in. Kale bought with good intentions that sits there wilting gets noted and skipped on the next trip.
The same rule applies to condiments. Three open barbecue sauces do not improve a burger.
Professional organizer Alli Bodnar puts function first, and I follow that. A clean fridge before shopping means I see what I have, buy what I need, and stop doubling up on what I already forgot.
Maintain Good Habits
New groceries slide to the back while older items move forward. Pre-cut mango grabbed on impulse actually gets eaten instead of turning to soup behind the milk.
I make this a habit every restocking day. One in, one out does not mean throwing away a full container; it means rotation.
The older yogurt faces forward, the newer sits behind it. Family members rummaging for snacks hit the soon-to-expire stuff first without thinking.
Spills happen, so I wipe as I rotate. A damp paper towel on the shelf while I move items takes thirty seconds and stops sticky buildup.
Multiple people opening the same fridge daily means messes compound fast; stopping them early matters more than a deep clean later.
The routine itself prevents clutter. No system stays perfect, but five minutes of moving and wiping beats an hour of excavation later.
Frequently Asked Questions
What is the best way to organize your refrigerator?
Upper shelves stay coldest, so cooked food and leftovers live there. Raw meat drops to the bottom where a drip won’t ruin anything beneath it.
Group like items together in labeled bins so the whole system holds up when you are rushing. Adjust your shelf heights to fit what you actually buy each week, leaving a half-inch gap above the tallest item in each category.
How to maximize fridge storage?
Flat-lidded bins in a clear rectangle stack three deep where loose bags once slid off each other.
A wire shelf or nested bowls doubles one level into two, and a can dispenser set to drop the next one forward turns deep space into a narrow pull.
Line shelves with washable plastic matting so spills lift out in thirty seconds instead of needing a scrub.
Where should I put everything in my fridge?
The door runs five to ten degrees warmer than the back top shelf, so drinks and condiments live there; they handle the swing better than milk or leftovers.
Ready-to-eat foods, leftovers, and dairy sit on upper and middle shelves where temperatures stay most stable.