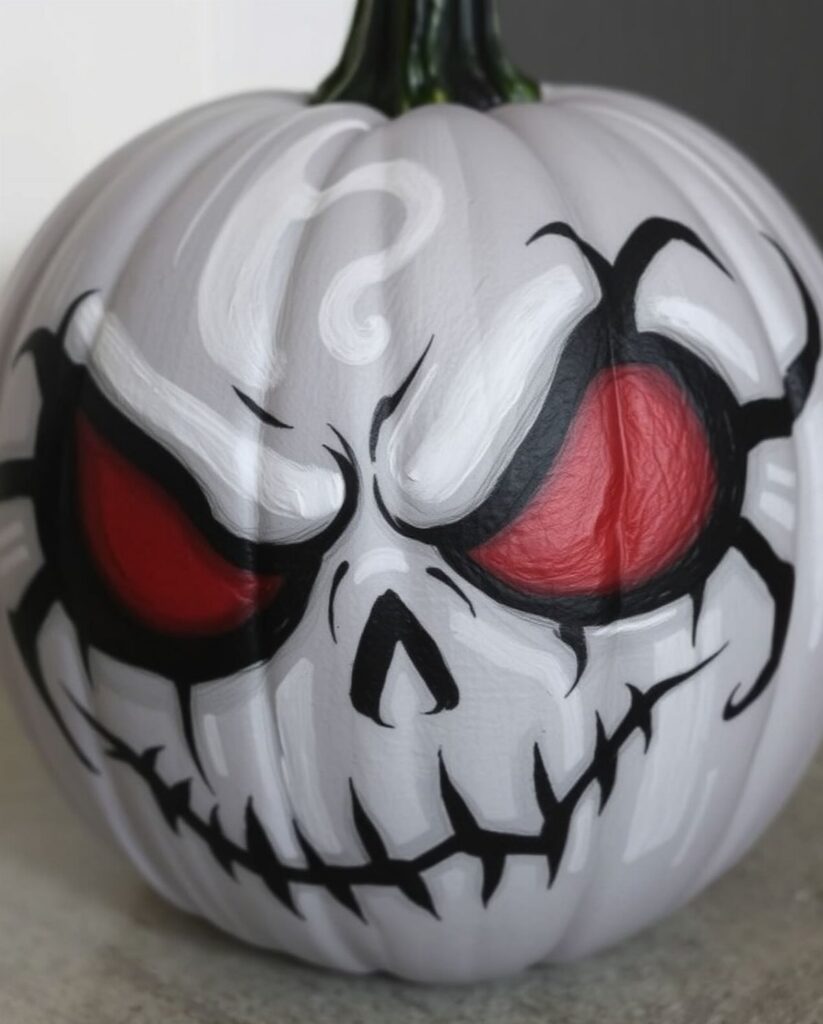
These ideas run from a 15-minute assembly to projects that need an hour plus drying time, and the deciding factor is how much of the work you want the pumpkin to do versus how much you want to control yourself.
Gravity, a flicked toothbrush, or poured nail polish handle the finish in some; others need a fine brush and a steady hand for pressed flowers or painted faces.
1. Glitter Pumpkins
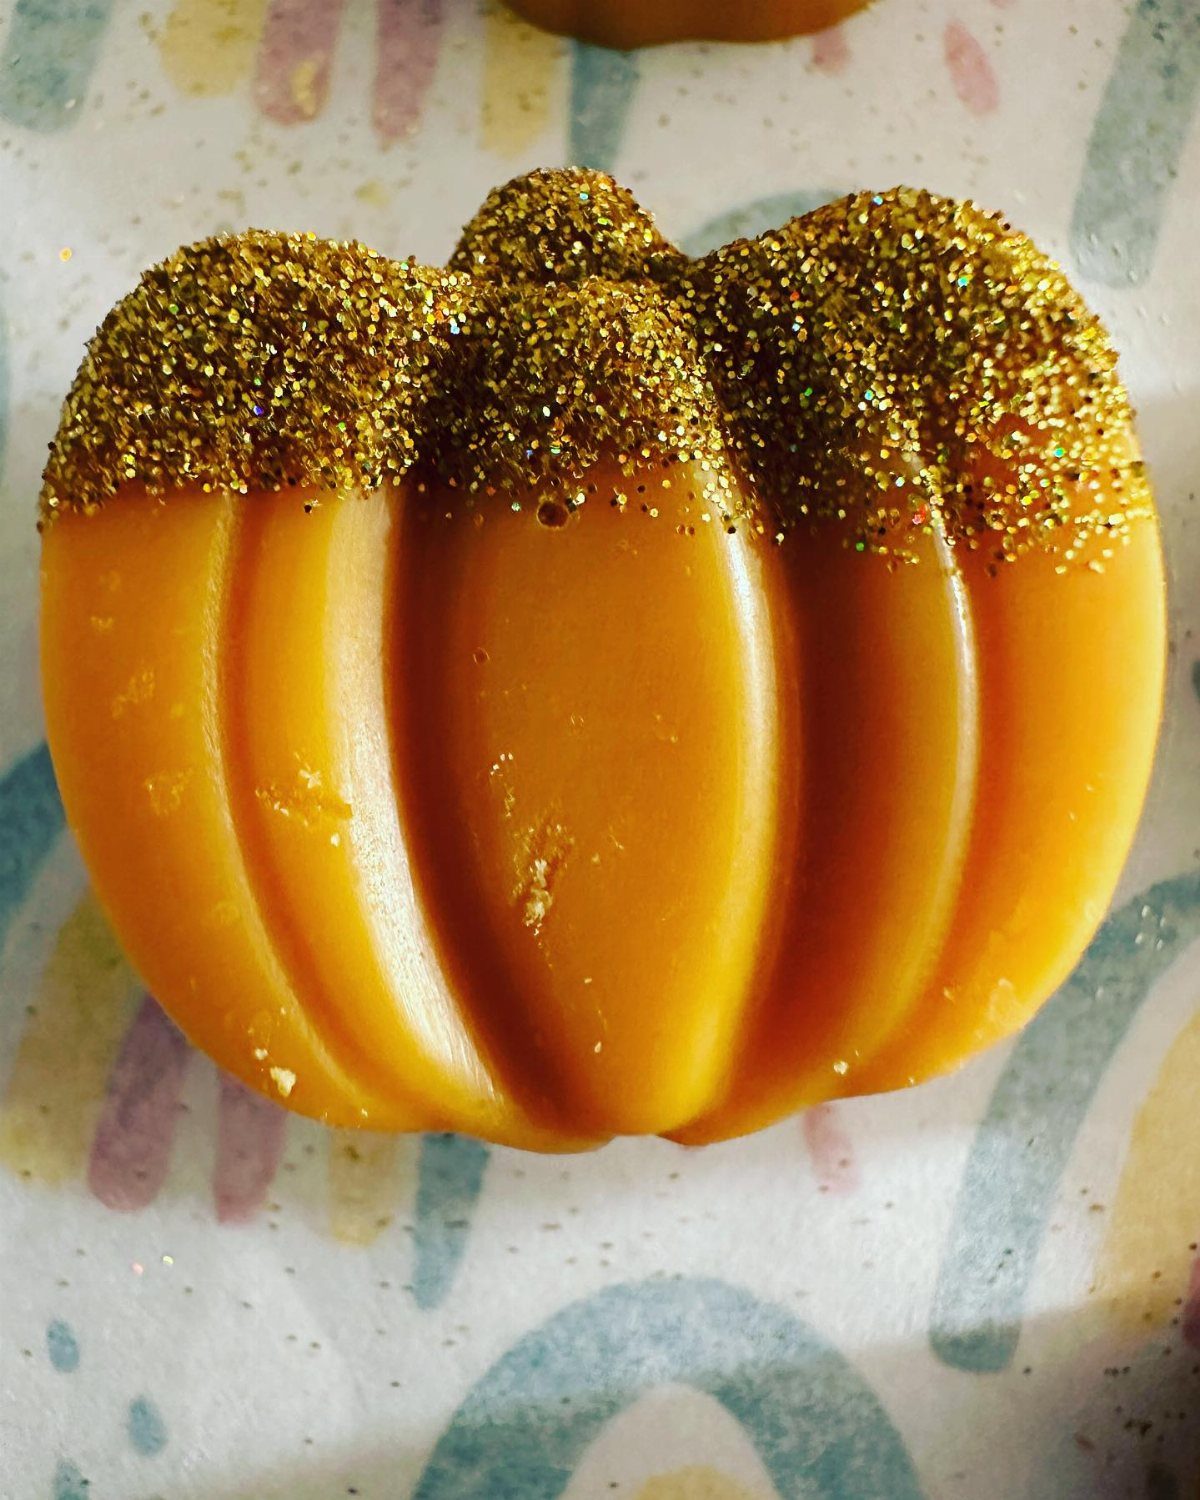
A little Mod Podge and whatever glitter is already in your craft drawer turns a plain mini pumpkin into something that catches porch light after dark.
Brush the glue onto the whole surface or just the stem and upper ridges, then sprinkle before it dries. One coat gives a scattered sparkle; two or three build up a solid metallic shell.
I like working over a sheet of newspaper and tapping off the excess back into the jar, since craft glitter is cheap but not free.
These hold up fine indoors; outside, a quick spray of clear acrylic sealer keeps the sparkle from shedding onto your tablecloth.
2. Funny Faces
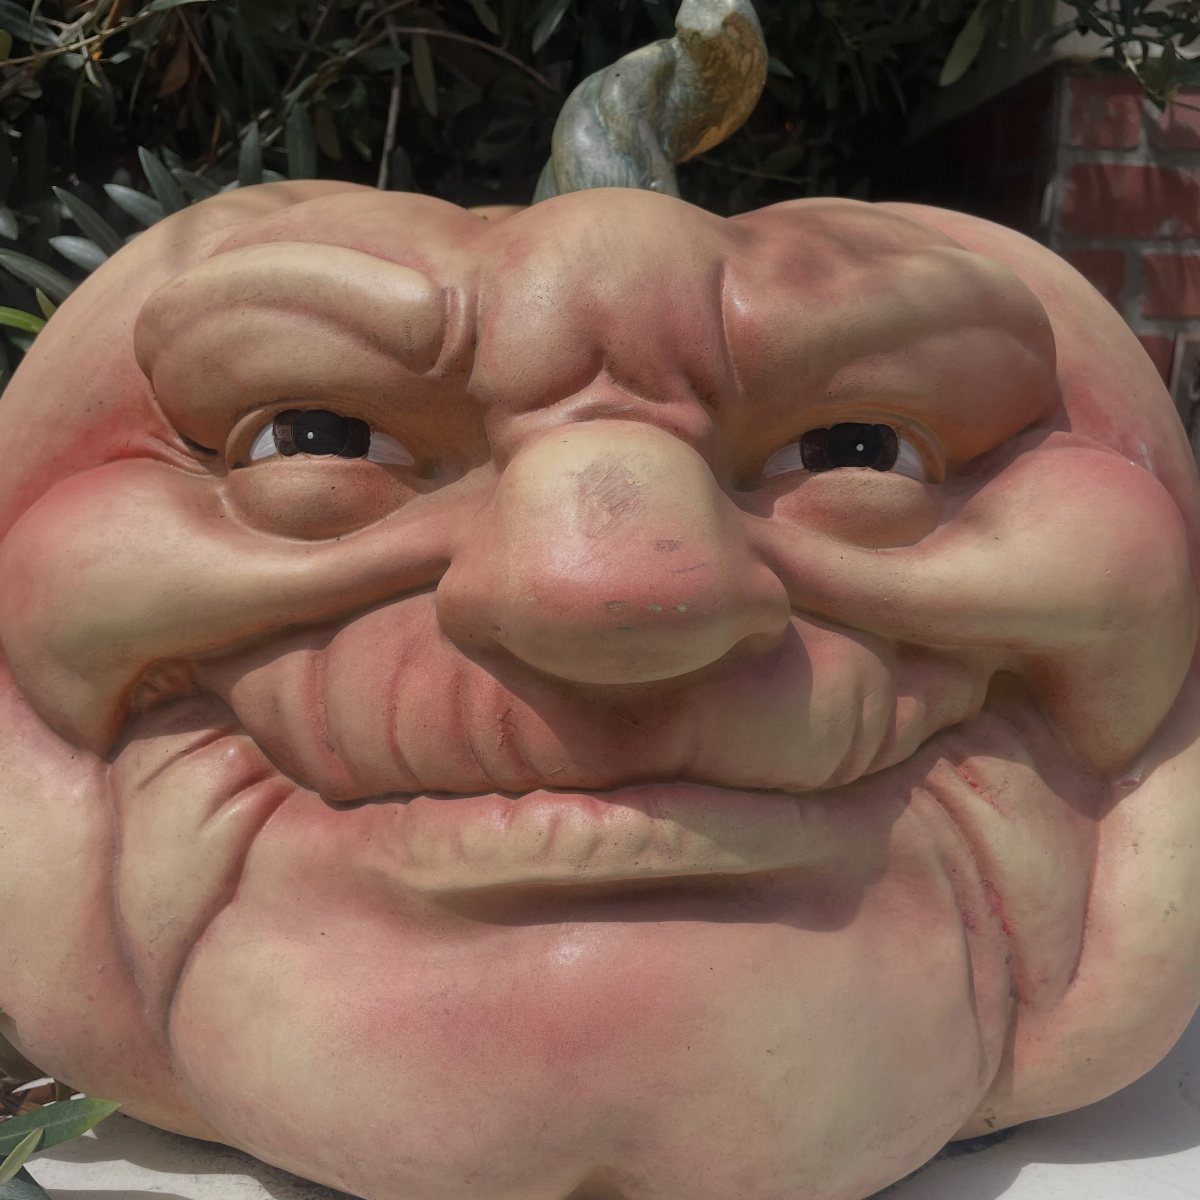
Paint pens and permanent markers move faster than brushes when a kid is waiting to make a pumpkin grin.
The home version is simpler than the exaggerated, wrinkled ones at garden centers: draw the outline, fill with acrylic, add googly eyes from the dollar store if the mood strikes.
Black and white paint alone gives enough contrast to read from the sidewalk. For texture, puff paint from the fabric section of any craft store rises as it dries and gives that same bumpy, cartoonish look.
A dozen mini pumpkins with different expressions turns a windowsill into a crowd.
3. Gold Splatter Pumpkins
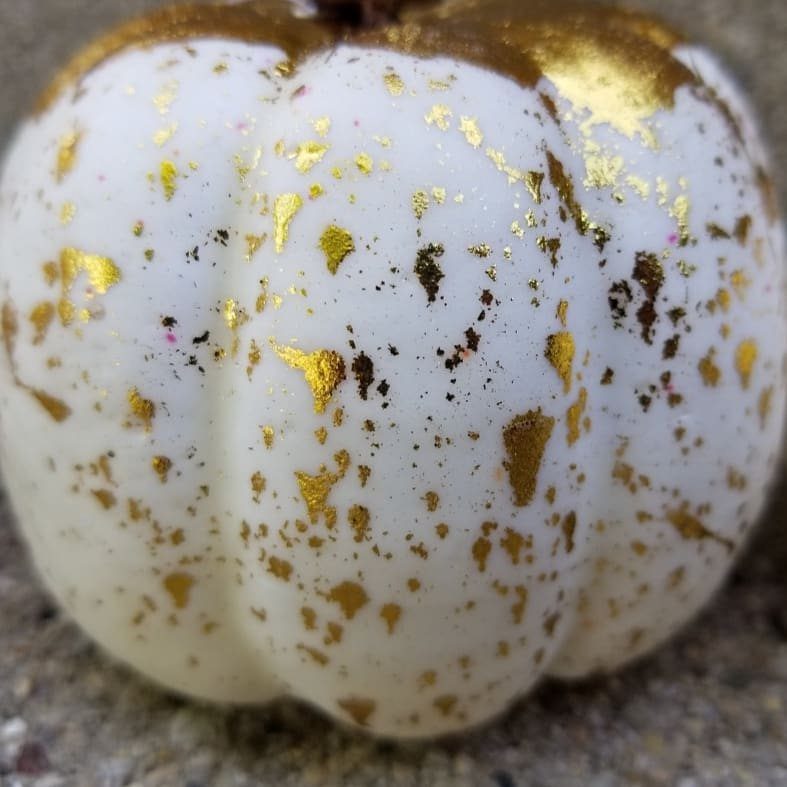
Gold splatter reads expensive without the work of gilding. Spray or flick liquid gold paint off a stiff brush onto a white pumpkin, working outside on cardboard you planned to throw away anyway.
Random flecks hide drips and uneven coverage; perfection here looks wrong. White pumpkins show the metallic contrast best, though orange works if you want something warmer against fall leaves.
A cluster of three or five at stair-step heights, none of them matching, gives the same casual scatter you see in high-end shop displays. Wear old clothes.
The back-spray travels farther than you think.
4. Floral Painted Mini Pumpkins
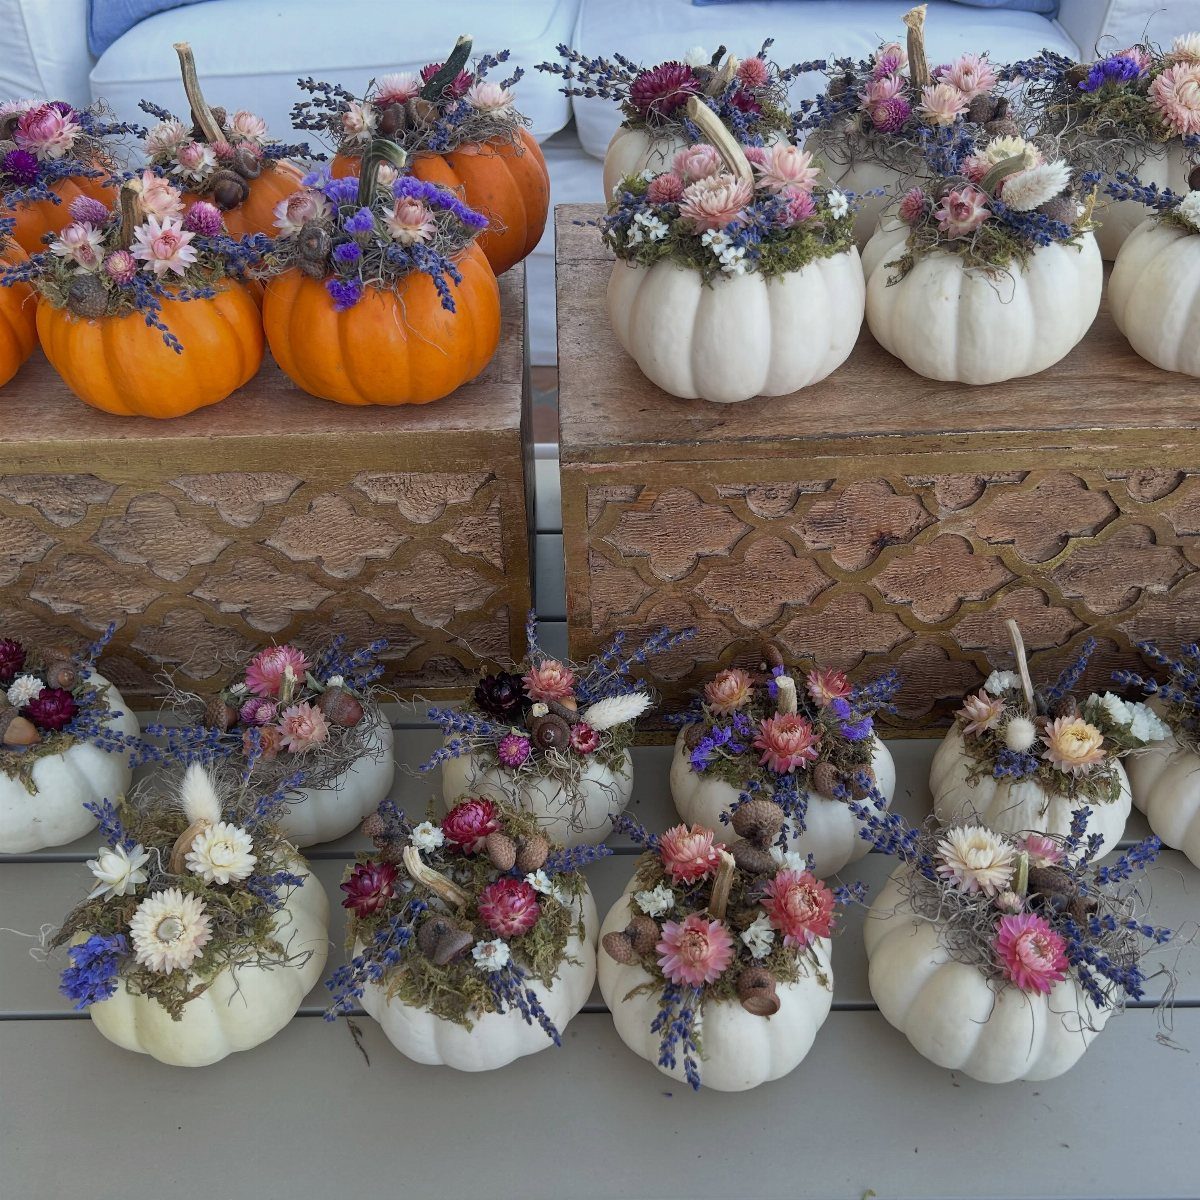
Small dried flowers pressed onto painted mini pumpkins bridge the gap between Halloween and the softer side of autumn.
Pinks and purples read more cottage-core than harvest, which is a deliberate choice if your usual fall palette runs tired of orange.
A fine brush and acrylic in a matching solid base coat unifies the look; then flowers go on with dabs of hot glue or more paint as adhesive.
The creator of this version seals with UV protectant for outdoor use, though I would keep these inside where the detail holds up longer. Grouped on a mantel or down a table runner, they last the full season without wilting.
5. Cute-faced Mini Pumpkins
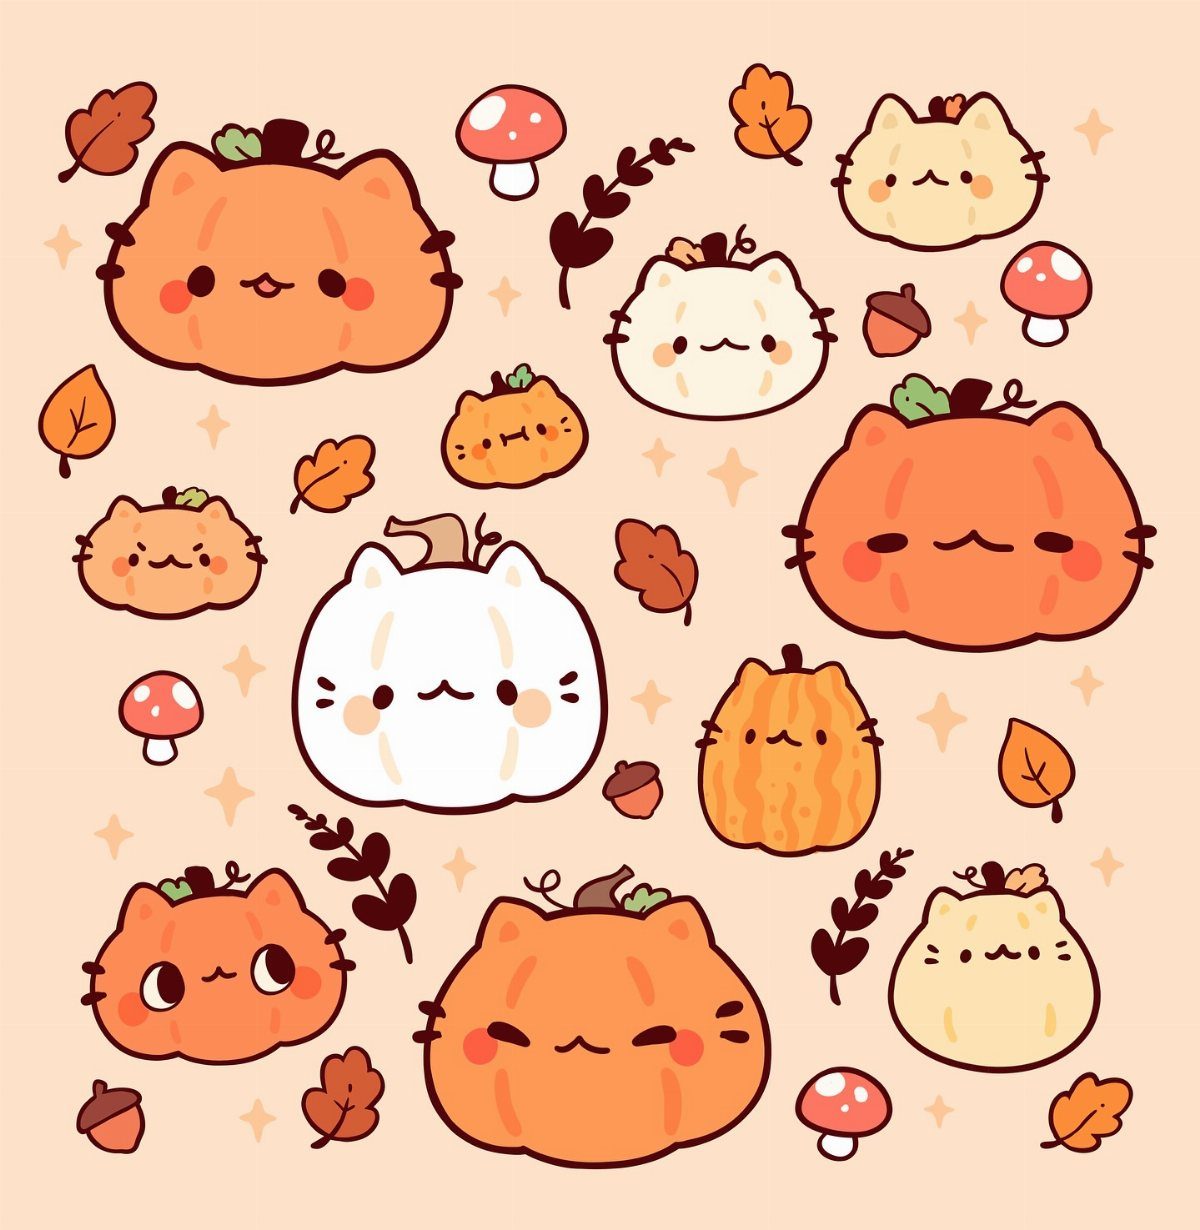
Kawaii faces on mini pumpkins need only a paint pen and a steady hand for two dots and a curve.
Googly eyes and tiny drilled holes for eucalyptus stems as antlers are charming if you have the tools and the patience. Without either, drawn eyes and a paper leaf glued behind work the same nursery-friendly angle.
White pumpkins take the pen marks cleanly; orange needs a white base coat first or the colors turn muddy. These scale down well for place cards at a kids’ table, one per setting with a name label on the back.
6. Marbled Pumpkins
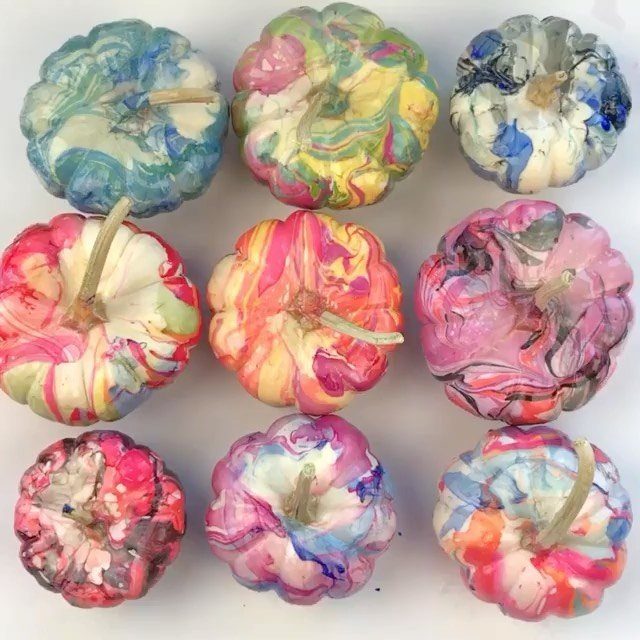
Marbling with nail polish gives the swirled, unpredictable color of expensive hand-dyed silk on a cheap pumpkin. Fill a disposable pan with water, drip polish on the surface, swirl with a toothpick, and dip the pumpkin through the film.
White or white-painted pumpkins show the pattern most clearly; pastels read gentle enough for a wedding or baby shower centerpiece. Regular nail polish carries fumes that mean this is adult work or outdoors with older kids watching.
The creator of this method warns to keep small children clear during the dipping step. Each pumpkin coats fast, though drying needs a full hour before handling.
7. Tissue Painted Mini Pumpkins
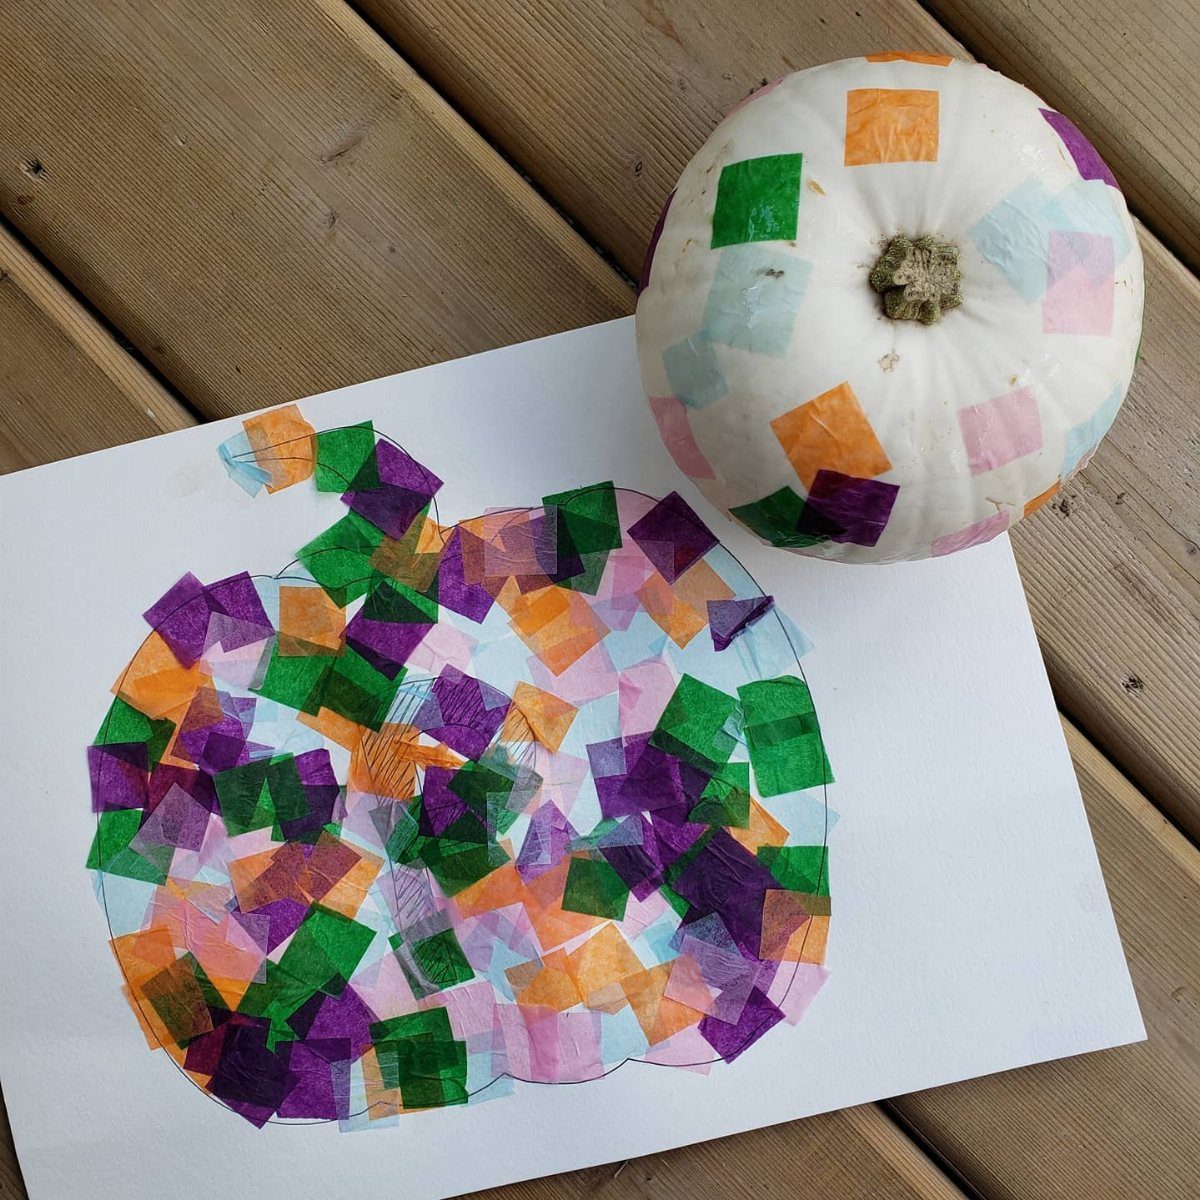
Tissue squares turn a plain white pumpkin into something that catches light like a window in a church. Liquid glue brushed thin keeps the color translucent once it dries; a warm room speeds this up.
Preschoolers can manage the squares if an adult handles the glue, and the finished pieces last longer than you’d expect through October. A narrow ledge or windowsill shows them off best.
8. Galaxy Painted Pumpkins
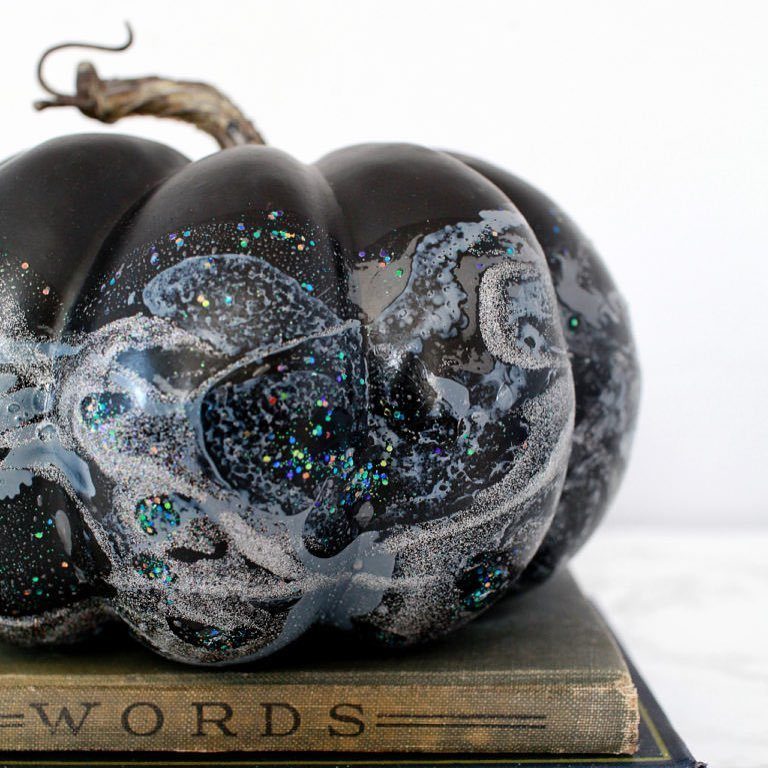
A black basecoat and an old toothbrush flicked with white paint give you stars without the fuss of hand-drawing each one. The iridescent speckles come from glitter glue thinned slightly with water so it splatters rather than blobs.
Allison Murray at Dream a Little Bigger built hers in about an hour plus drying time, and the toothbrush trick means no fine-motor skills required.
These read as Halloween from a distance but hold up to closer inspection better than most quick decorations.
9. Pom Pom Pumpkins
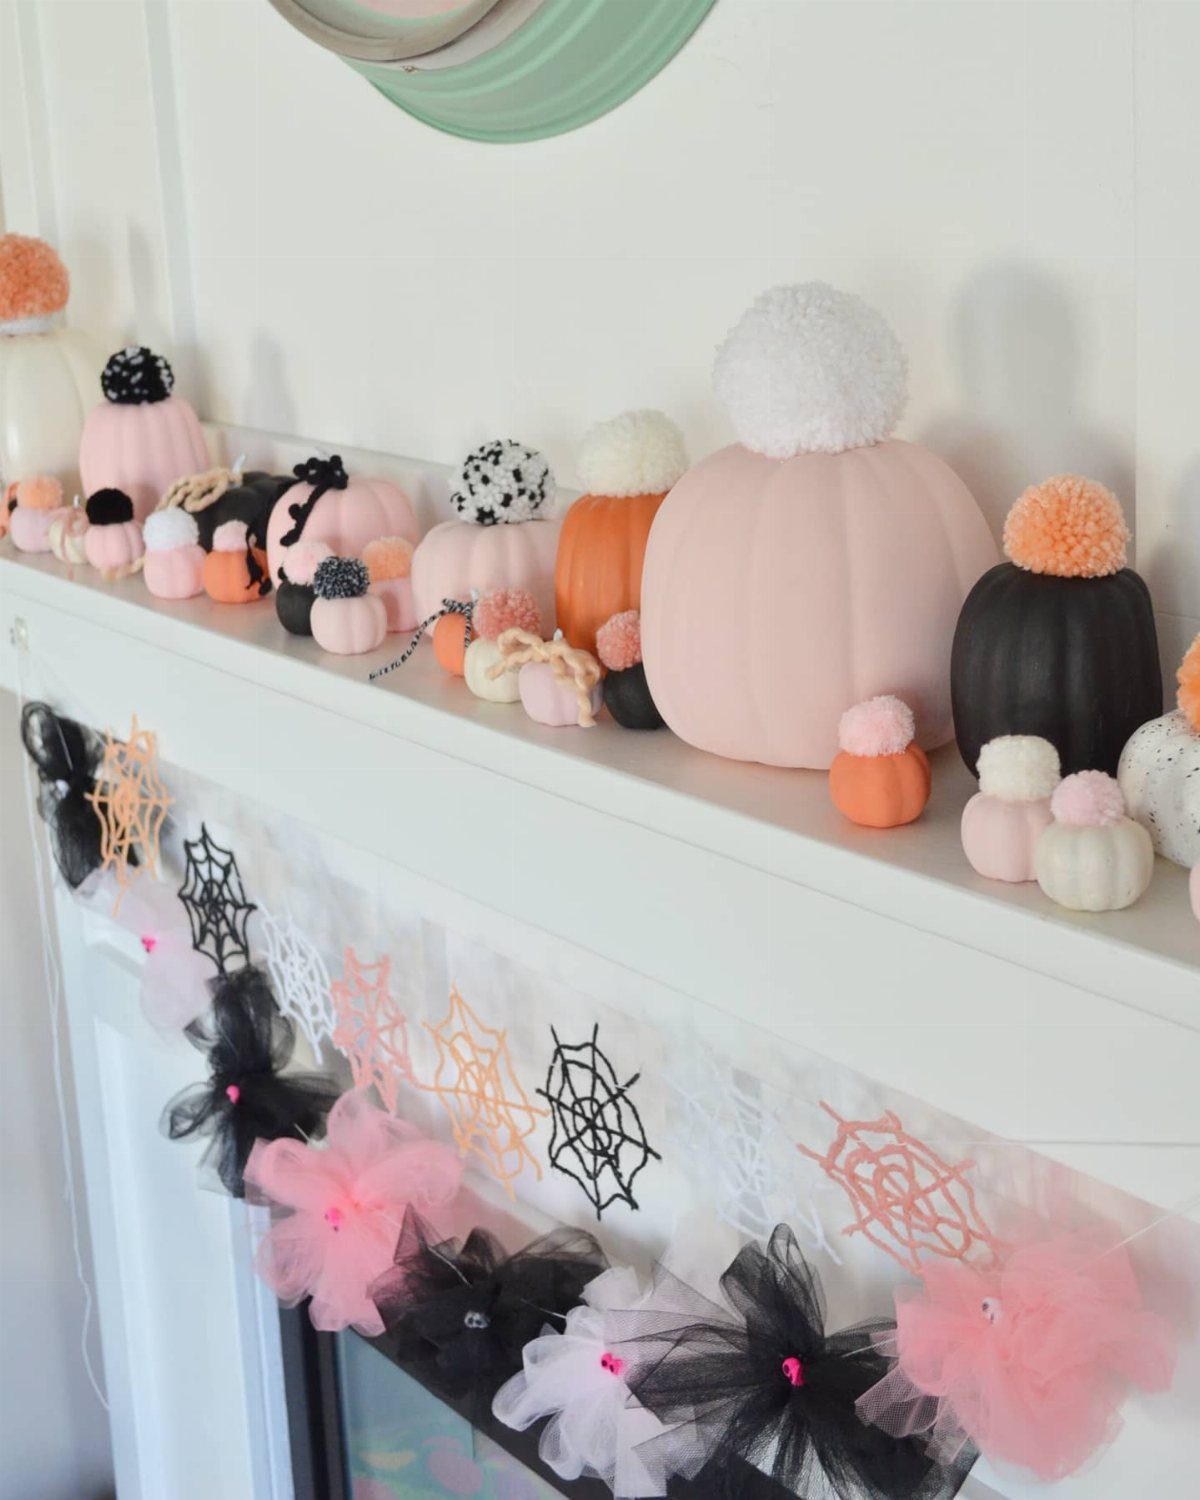
Pastel paint and fuzzy pom poms turn the usual orange pumpkin into something that works past October 31.
Mike Garten’s version clusters the pom poms like flowers or scatters them like polka dots, and hot glue sets fast enough that you can rearrange while it is still warm.
A bag of mixed sizes runs a few dollars and covers several minis. Pink and orange against black is one way to do it; all one color reads more grown-up if that suits your space.
10. No-carve Eyeball Pumpkins
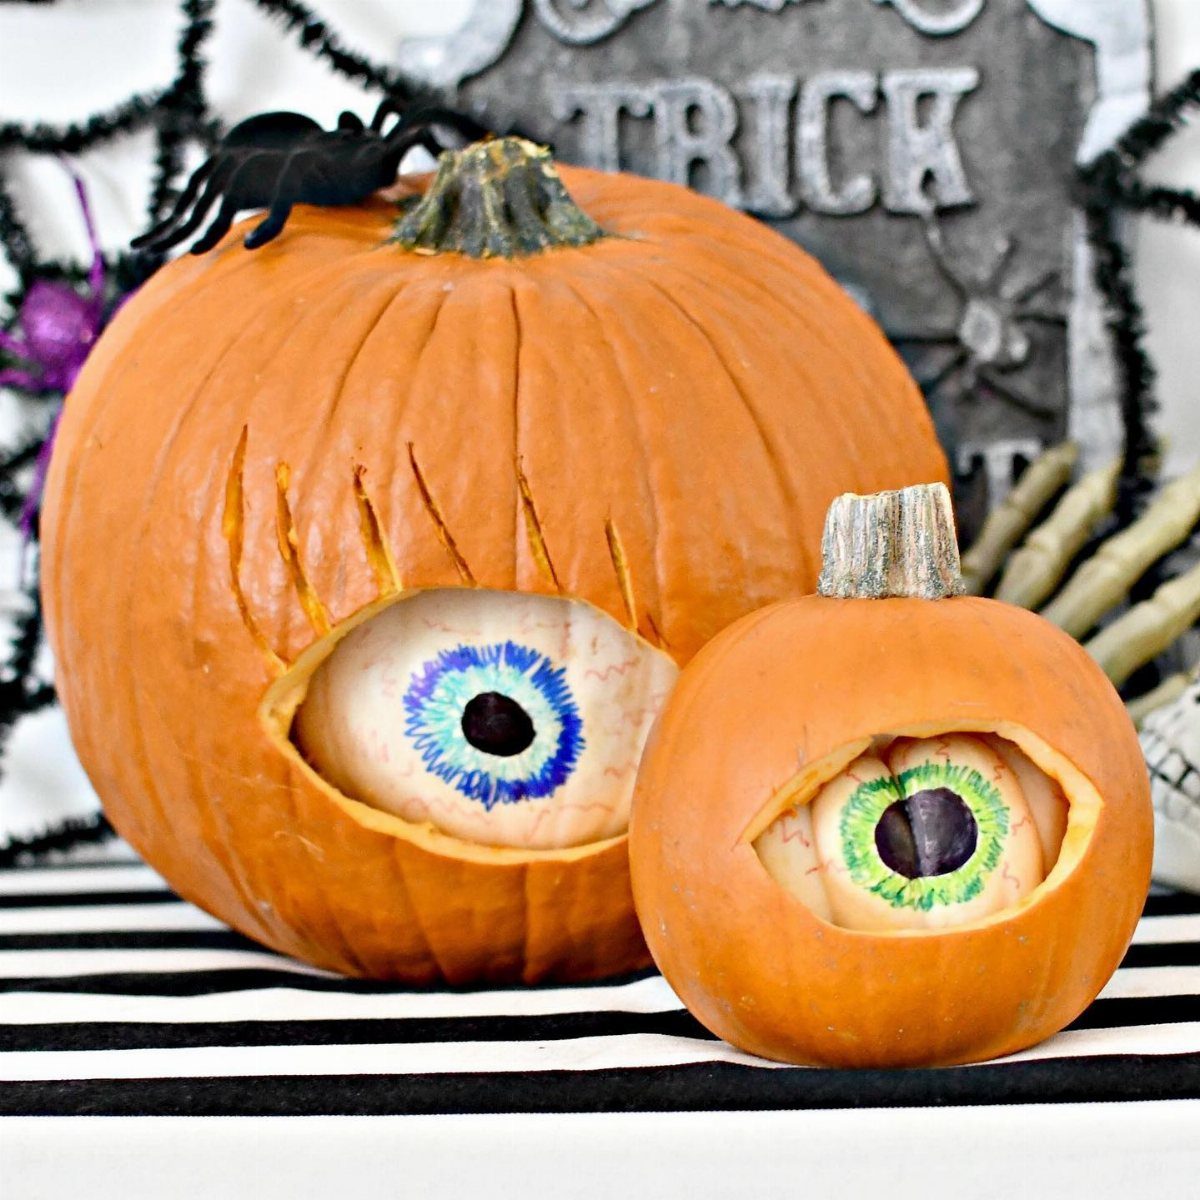
Plastic eyeballs pressed into carved sockets give a carved look without the knife work or the rotting. The 15-minute timing comes from Lina at Hip2Save, who nests hers in bushes where the surprise lands harder.
A spider on top helps sell the joke. You trade the permanence of paint for the speed of assembly, which matters when you remember the porch at 6 PM on the 30th.
11. Drippy Watercolor Pumpkins
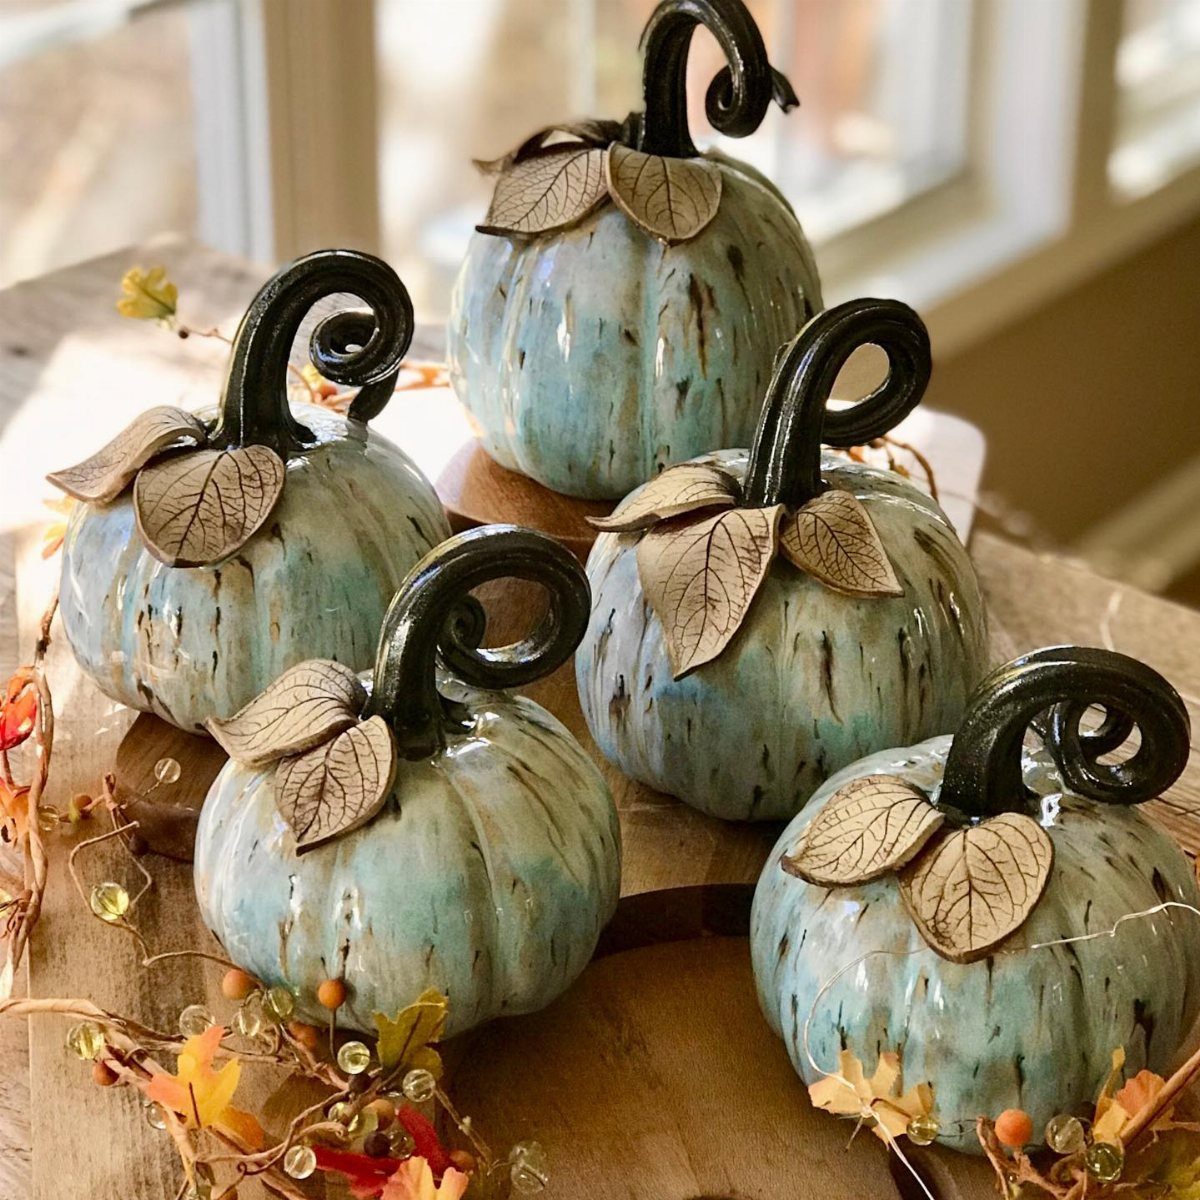
Pouring paint straight from the bottle and letting gravity handle the rest gives a watercolor texture without the brush control.
Paper & Stitch used ceramic pumpkins, which means no rotting and no sealer needed, though real ones work if you dry the surface first. Mottled effects come from pouring two colors one after the other, not mixing them first.
Choose colors that already live in your fall decor so the piece does not become an orphan after Thanksgiving.
Best Paint for Pumpkins
Acrylic paint sticks well to pumpkin skin and dries fast, which matters when you are balancing a dozen minis on a newspaper-covered table. Chalk paint gives a matte, almost dusty look that reads as farmhouse without trying too hard.
Spray paint covers the ridges and grooves evenly; it is the fastest route if you want one solid color as a base for something else.
I would skip anything labeled tempera or watercolor on its own. Tempera flakes off once the pumpkin starts to dry, and watercolor pools in the low spots without really gripping.
If you want that washed look, use acrylic thinned with a little water and build it in layers rather than expecting one coat to do the work.
Cleaning Pumpkins Before Painting
A pumpkin straight from the patch or the grocery bin carries field dirt, waxy coating, and whatever the display table left behind. That layer stops paint from bonding the way it should, so washing comes first.
A quick rinse under the faucet with a soft brush handles most of it. Let the pumpkins dry completely before you open a paint bottle; even a thin film of moisture will lift acrylic right back off.
If you are handing this step to kids, the washing itself becomes its own activity, and the drying time gives you a natural break before the messier part begins.
Frequently Asked Questions
How to paint mini pumpkins?
Start by washing the pumpkins with a soft brush under running water, then let them dry completely so moisture does not lift the paint. Brushes work for most designs, though paint pens and markers move faster when kids are waiting.
What are some easy pumpkin painting ideas?
Funny faces with paint pens or permanent markers come together quickly, and black-and-white contrast reads from the sidewalk without fuss.
Gold splatter on a white pumpkin hides drips and looks intentional, or try Mod Podge and craft-glitter for porch light that catches after dark.
Odd numbers cluster better on a mantel or table: three at one height, five stepping up a shelf, the way stores stagger them without trying too hard.
What kind of paint will stick to a pumpkin?
Acrylic paint bonds well and dries fast, chalk paint gives a matte, dusty finish, and spray paint covers evenly for a solid base coat.
Tempera and watercolor are the two I would leave in the craft bin: the first flakes once the pumpkin starts to shrink, and the second sits in the grooves without ever really grabbing hold.
A washed, almost stained effect takes patience: thin the acrylic until it runs like cream, then brush on three or four sheer coats instead of one heavy one.
What are some creative ways to decorate tiny pumpkins?
Nail-polish marbling looks like stone or water, and no two come out the same: drip polish onto a bowl of water, draw a toothpick through it, and roll the pumpkin through the skin that forms.
Dried flowers glued flat across the top bridge the gap between Halloween decor and the softer autumn stuff that stays out through November; pom poms in two or three sizes do the same by turning the shape into something closer to a toy or a trinket.
Plastic eyeballs pushed into shallow holes carved with a melon baller give the illusion of a jack-o’-lantern face without the blade work or the week-later collapse.