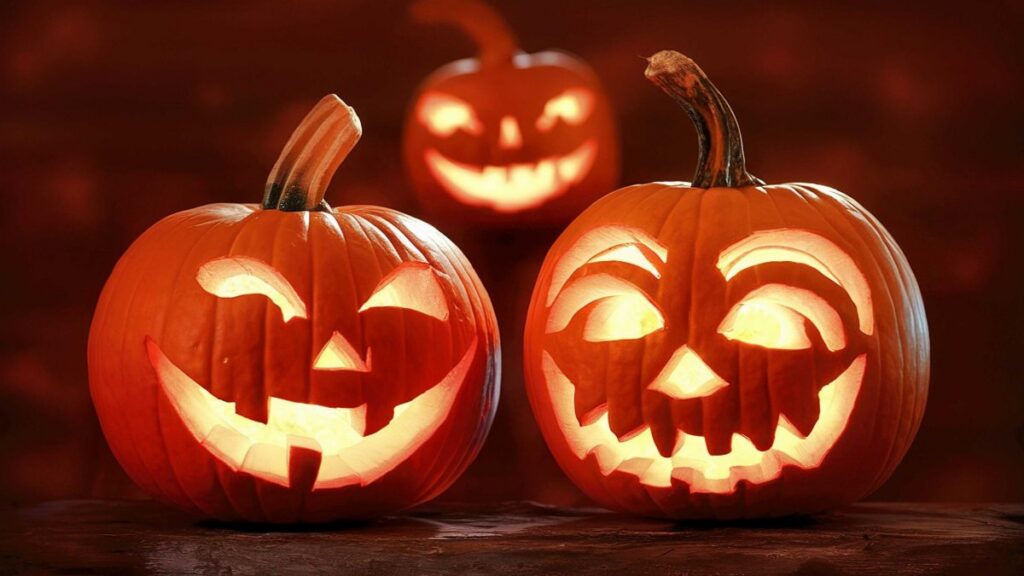
These jack o lantern ideas run from a quick kitchen-knife classic to a full-evening Fortnite relief carve that needs paint, a small blade, and someone else on the door.
The deciding factor is how much time you have before Halloween and whether your porch sits close enough to the street for text to read. A pumpkin carved live at an event proves the range is real.
1. Classic Jack-o’-Lantern
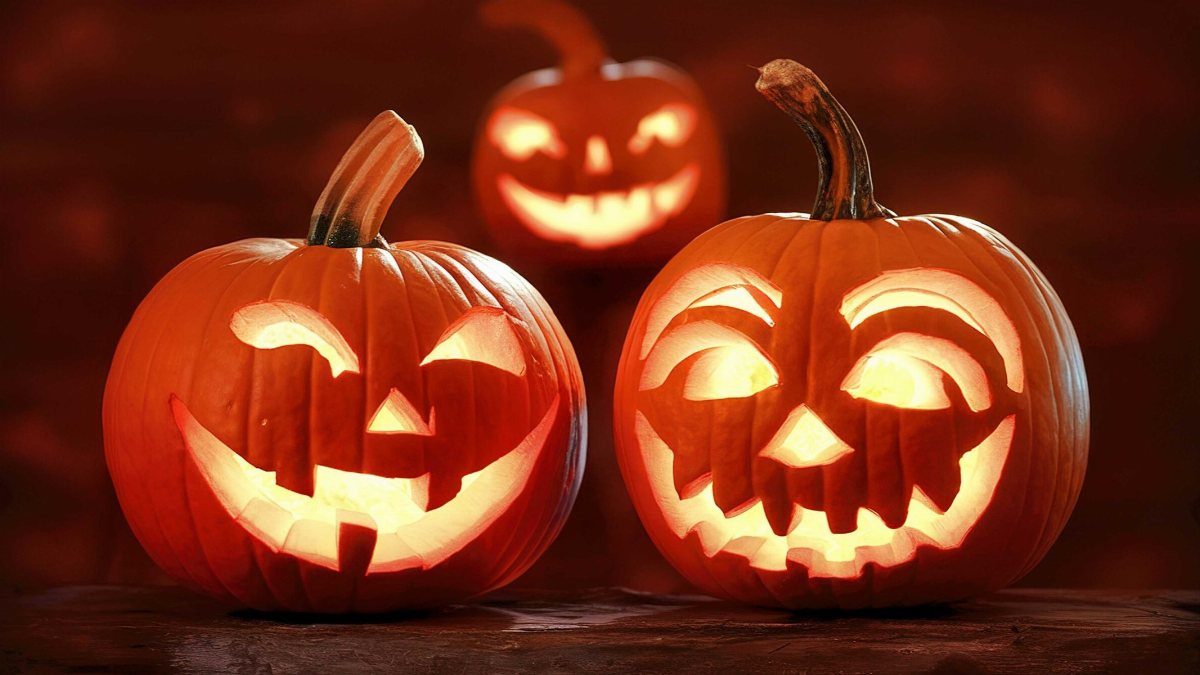
A classic jack-o’-lantern with triangle eyes and jagged teeth still holds up because it reads instantly from the sidewalk and carves fast with a kitchen knife.
The gap between the eyes and the mouth matters more than the shapes themselves: too close and the face collapses into a blob when lit.
I check my pumpkin’s wall thickness at the top where the stem sits; thin walls there mean a shorter glow before the structure softens.
This is the one to pick when you have an hour, one pumpkin, and no patience for tracing paper.
2. Geometric Design
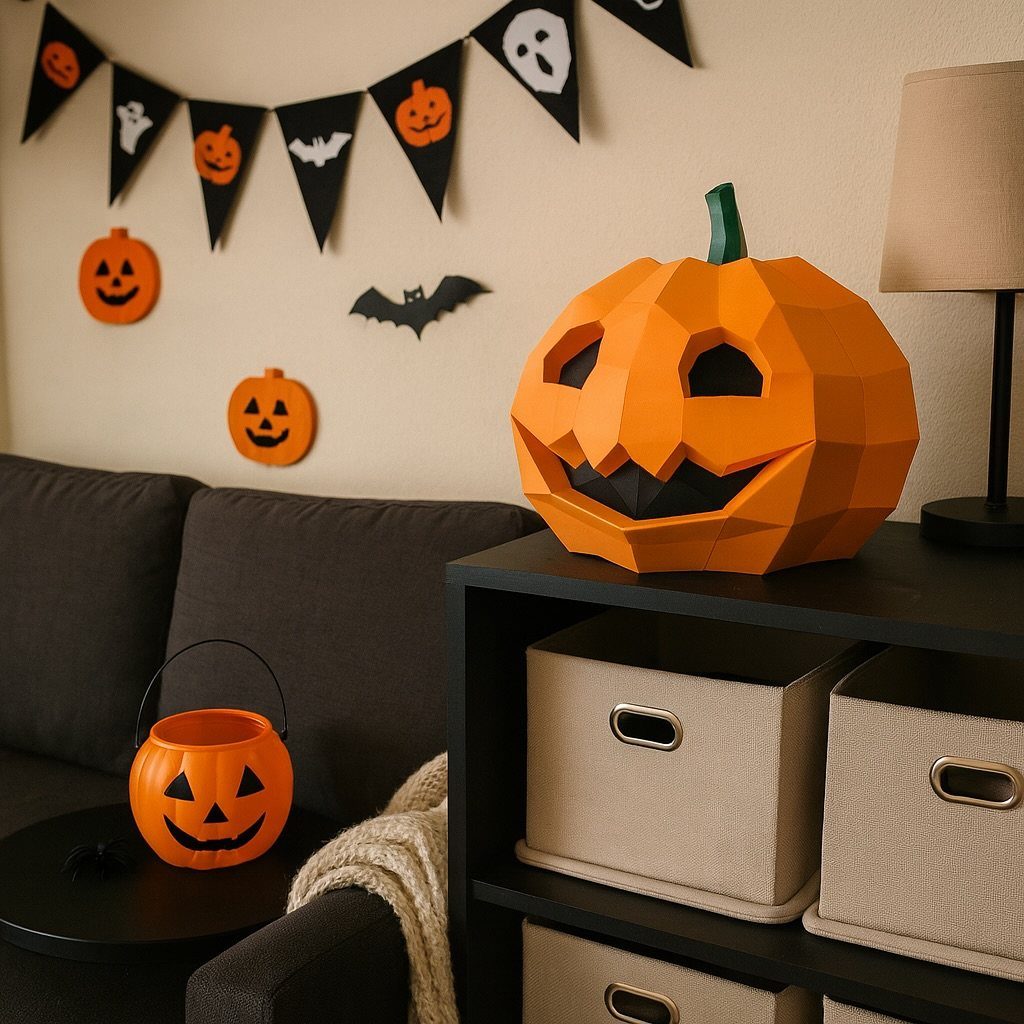
Geometric patterns cover the whole surface in repeating shapes that catch candlelight at every angle. Papercraft builds this out in 3D so it lasts past Halloween without rotting.
For a real pumpkin, the same effect needs a small blade and a ruler: mark one shape, repeat it across the surface, and cut only partway through for the low-relief look.
A hundred-pound pumpkin carved live took this idea to scale. A geometric design suits anyone who finds freehand faces too loose, though the first one takes longer than a classic face.
3. Sweet Tooth Pumpkin
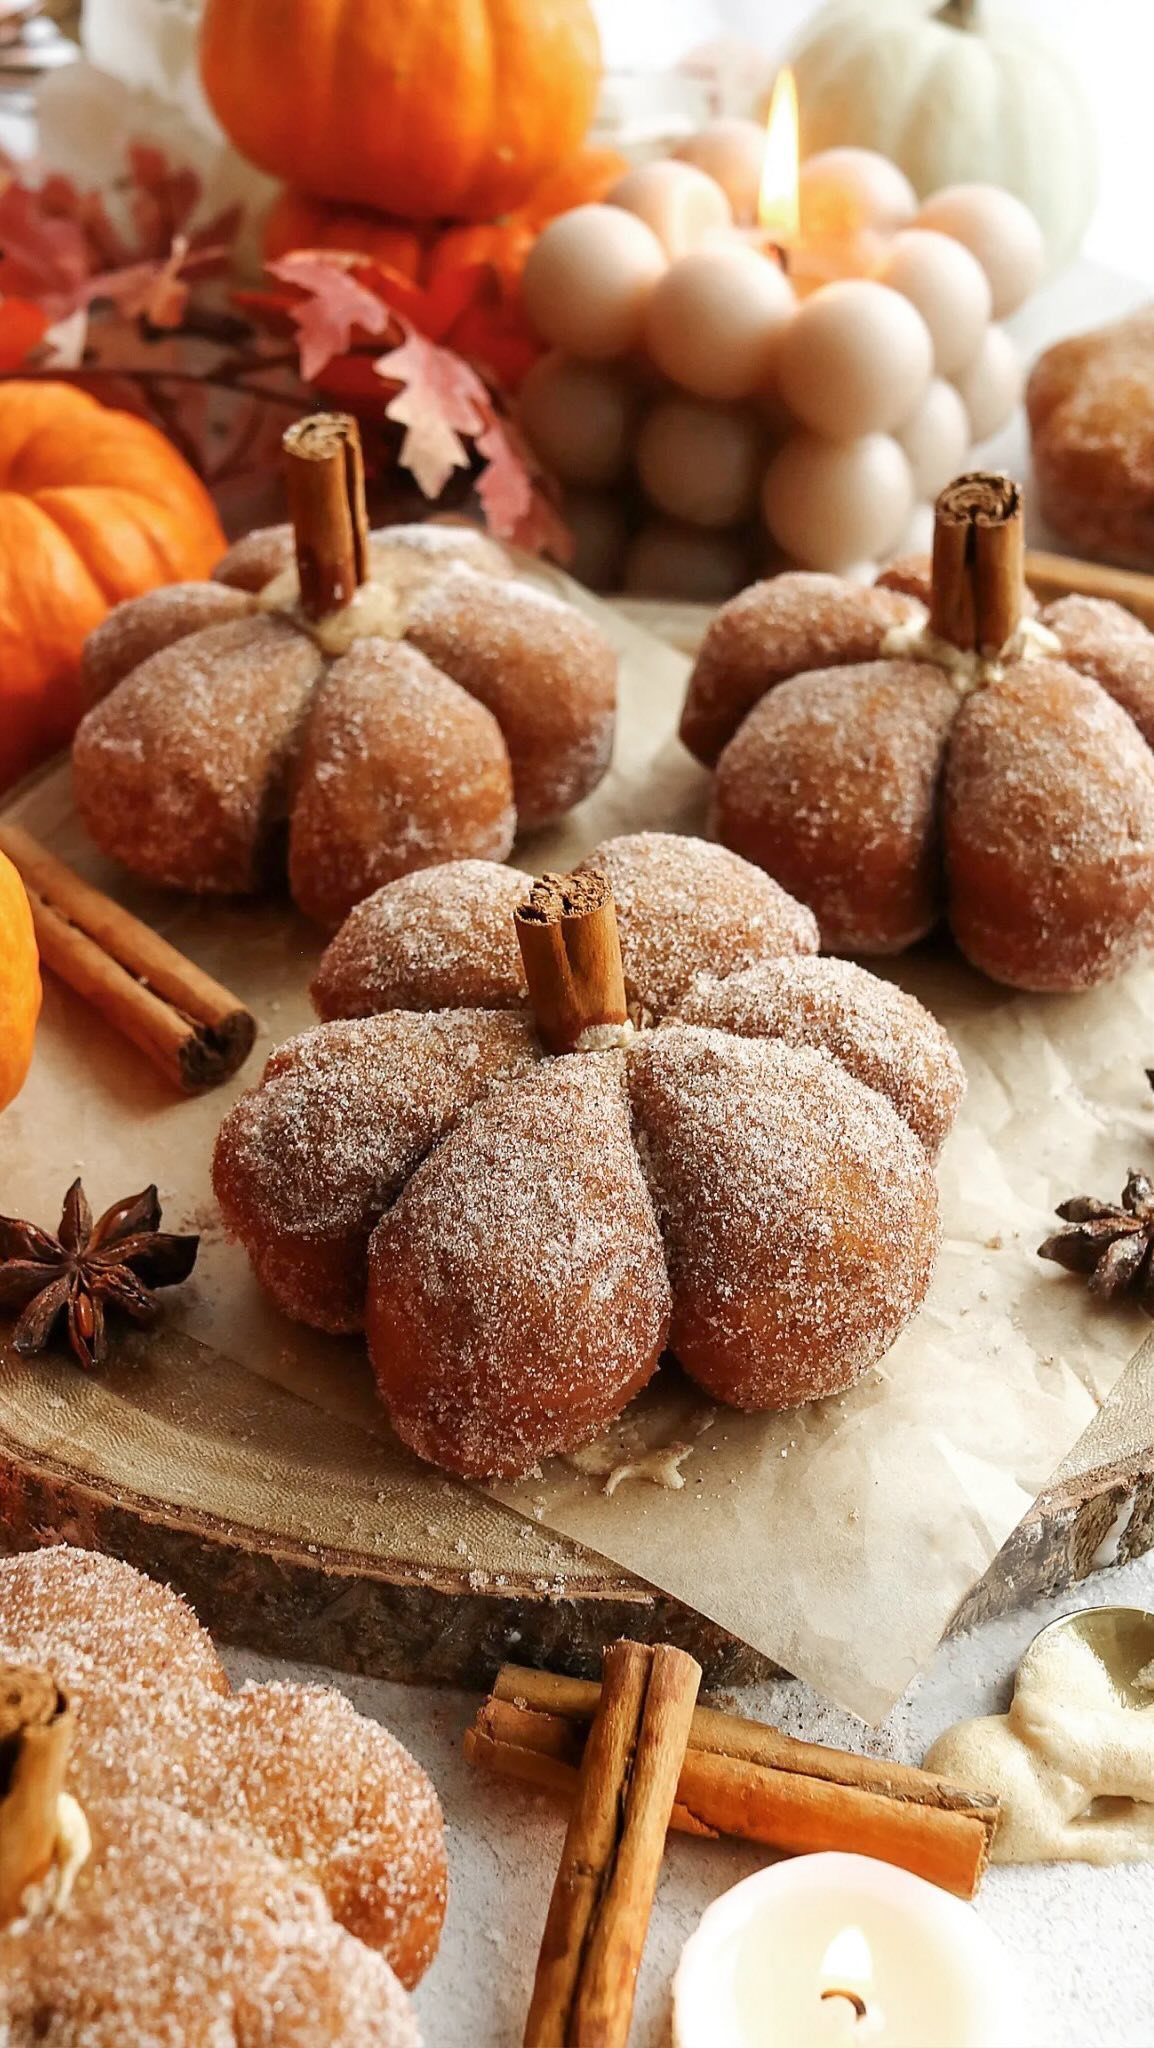
Candy corn pressed into the rind and gumdrops for teeth turn a pumpkin into something that works as a centerpiece through Thanksgiving.
Thomas Gonzales, a dentist who made the original, used chewing gum sticks for braces; the joke lands harder with that detail but works without it.
No carving beyond a mouth slot means this finishes fast and survives until the candy gets stale. I would keep a wet paper towel nearby; sugar-coated fingers grip nothing.
4. Sugar Skull Pumpkin
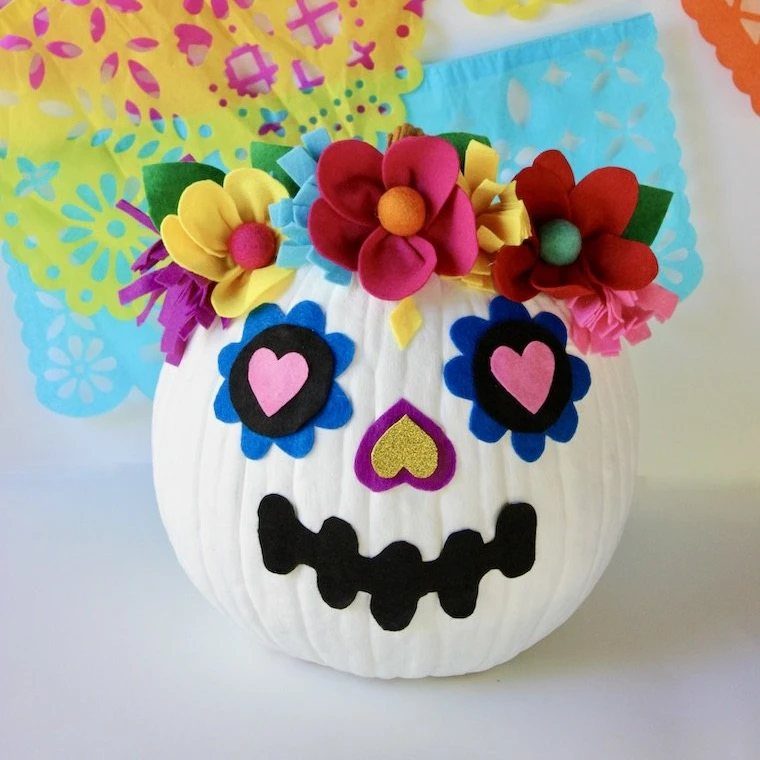
A sugar skull pumpkin trades orange for white and jagged teeth for scalloped black lines, colored felt flowers, and glitter details that show up in daylight as much as at night.
Stencils keep the symmetry tight; sketching freehand works only if you map the face first with a dry-erase marker.
Painted flower shapes around the eyes, hearts, and a nose in bright colors carry the sugar skull style without the fine knife work.
I would place this one where porch light hits it directly; the color is the point, and shadows waste it.
5. Fortnite Pumpkin
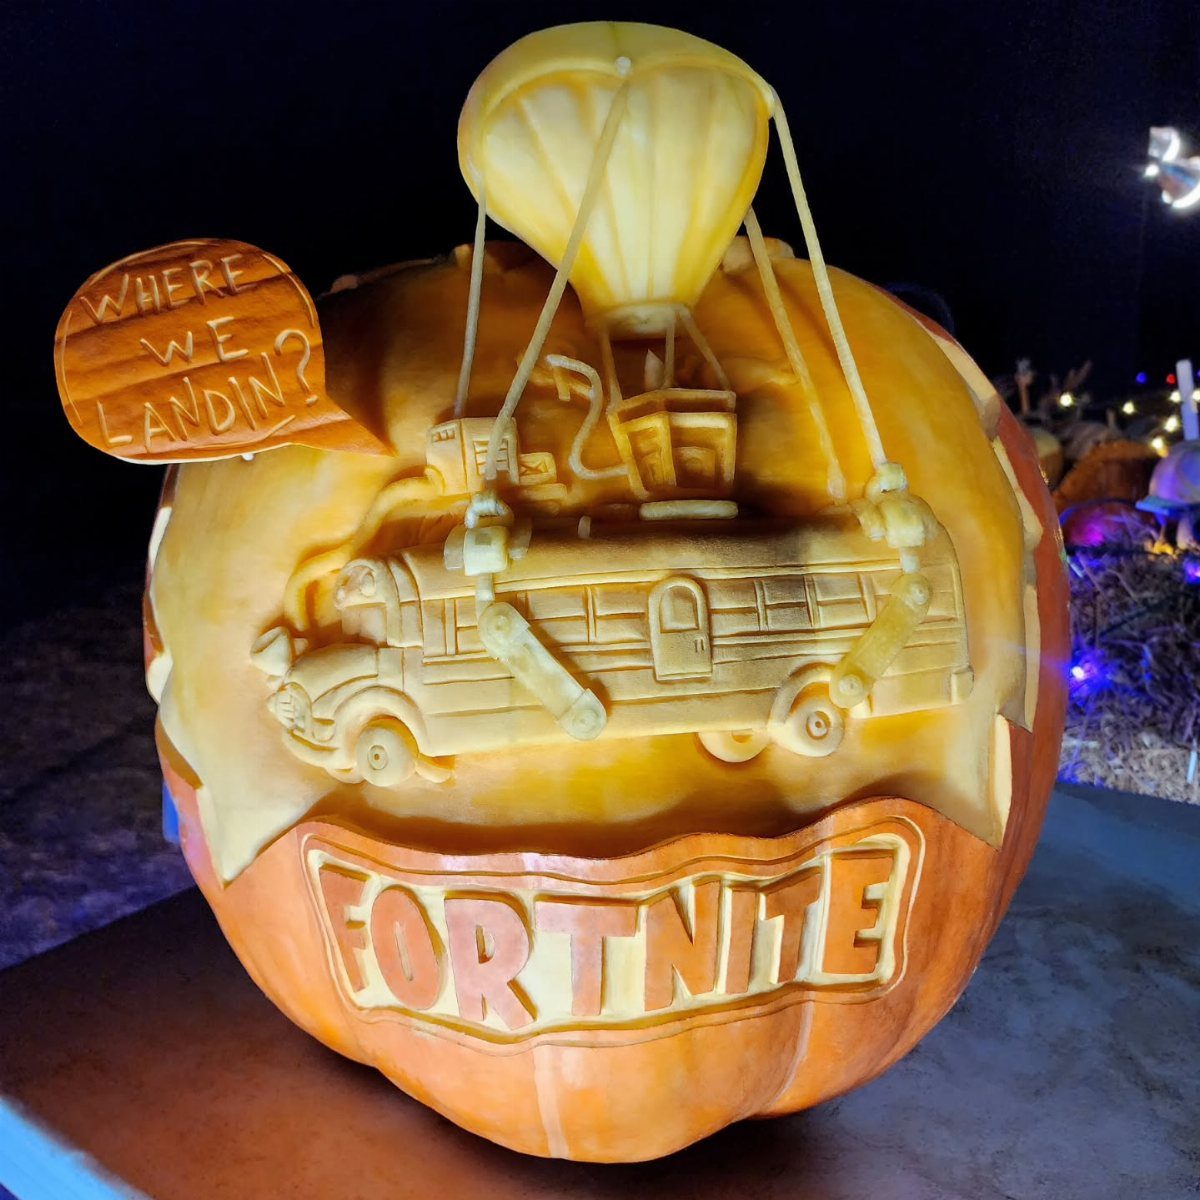
A Fortnite pumpkin needs relief carving, not cut-through, to keep the Battle Bus and speech bubble readable.
Black permanent marker or acrylic paint fills in the fine lines that a knife would break; the maker of the hundred-pound version used both across a night event.
The text "WHERE WE LANDIN?" and the logo at the base are details that sell the theme to anyone who plays. I would start with a flat-fronted pumpkin; ridges distort lettering.
This one eats time, so it suits a household where someone else will handle the trick-or-treat door.
6. Mickey Mouse Pumpkin
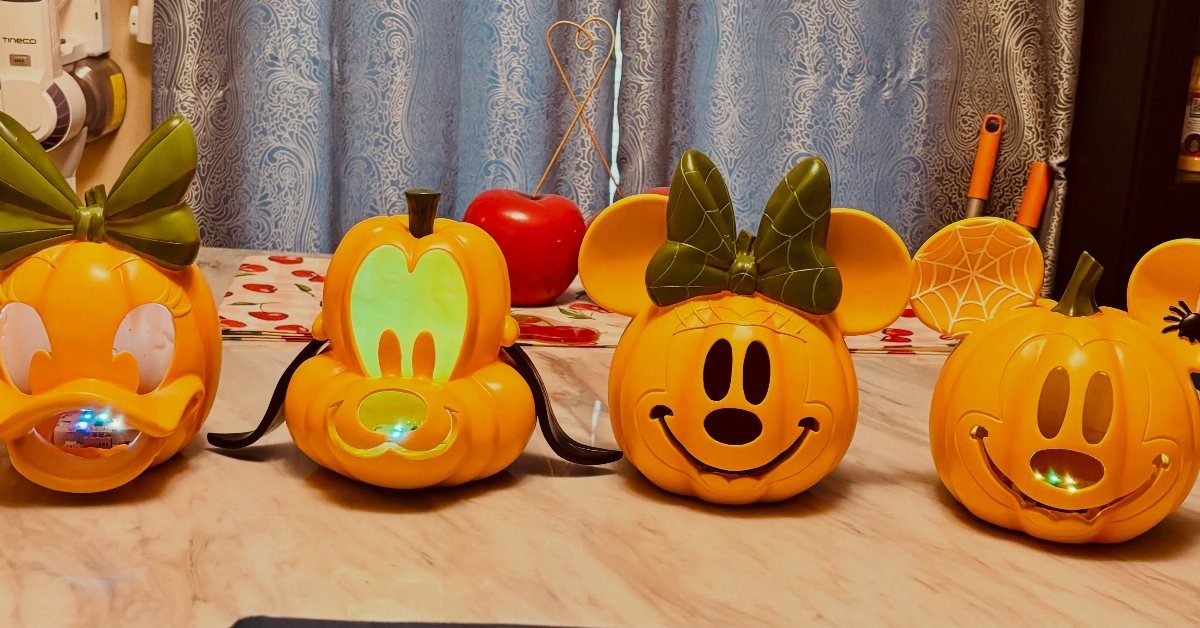
Mickey Mouse pumpkins use basic circles and curves that a child can trace or a parent can cut fast.
The same shapes carve clean into real pumpkins: two small upper circles for ears, two lower ovals for eyes, one nose arc. I would keep the mouth simple; a full grin fights the roundness that makes the character read.
This is the design for toddlers who cry at anything with teeth.
7. Creepy Textured Pumpkin
Peeling the skin off a pumpkin instead of cutting through gives a shriveled, aged look that gets nastier the longer it sits on your porch.
Carve a face into the exposed flesh underneath and the ridges and bumps do the rest of the work for you.
Leaving the stem intact and letting the pumpkin dry down gives it a look like it crawled out of a swamp.
This idea trades a clean, bright look for something genuinely unsettling. If you want a jack-o’-lantern that impresses adults more than kids, or you are tired of the same triangular eyes every year, the extra step of skinning pays off.
8. The Sanderson Sisters
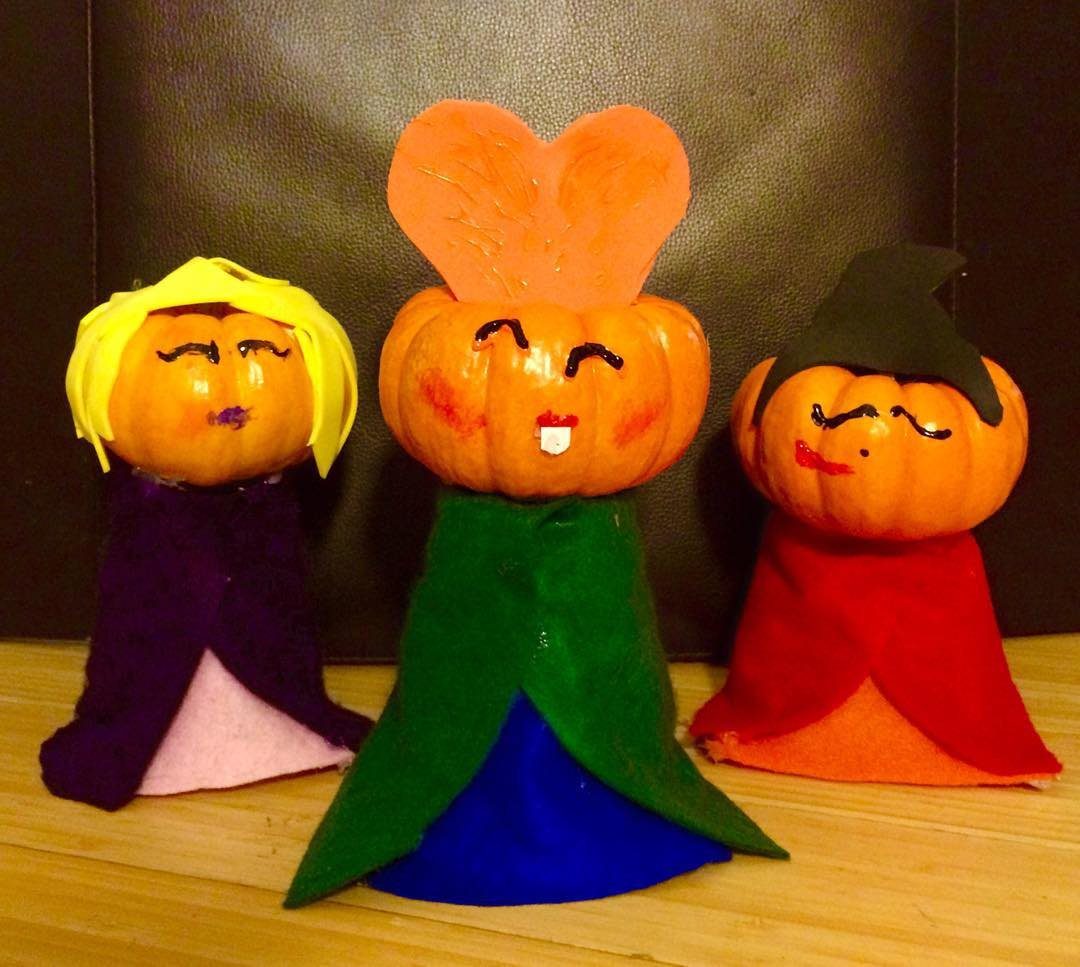
Three small pumpkins painted red, purple, and green become the Sanderson sisters from Hocus Pocus with fabric capes and cut silhouettes for faces.
You do not need advanced carving skills. The faces are simple cutouts, and the character comes from the color blocking and the costume pieces.
Paint holds better on smooth pumpkins than on deeply ridged ones.
This idea suits anyone decorating a porch table or a mantel who wants a recognizable group rather than one standout piece. The three pumpkins read as a single display from the street.
9. Tin Man Pumpkin
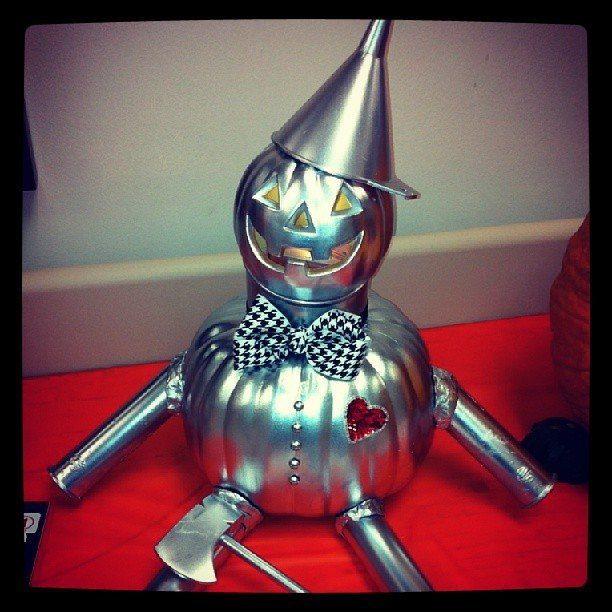
The limbs are simple attachments; the character is all in the paint and the props.
This is a design that reads instantly from a distance without requiring clean cut lines or interior lighting. Placing the heart dead center and tilting the hat just enough to catch light sells the character.
I would point this one at anyone who wants a conversation starter without spending the evening scraping pumpkin guts. A can of metallic spray paint and a few craft-store accessories get you most of the way there.
10. Nemo Pumpkin
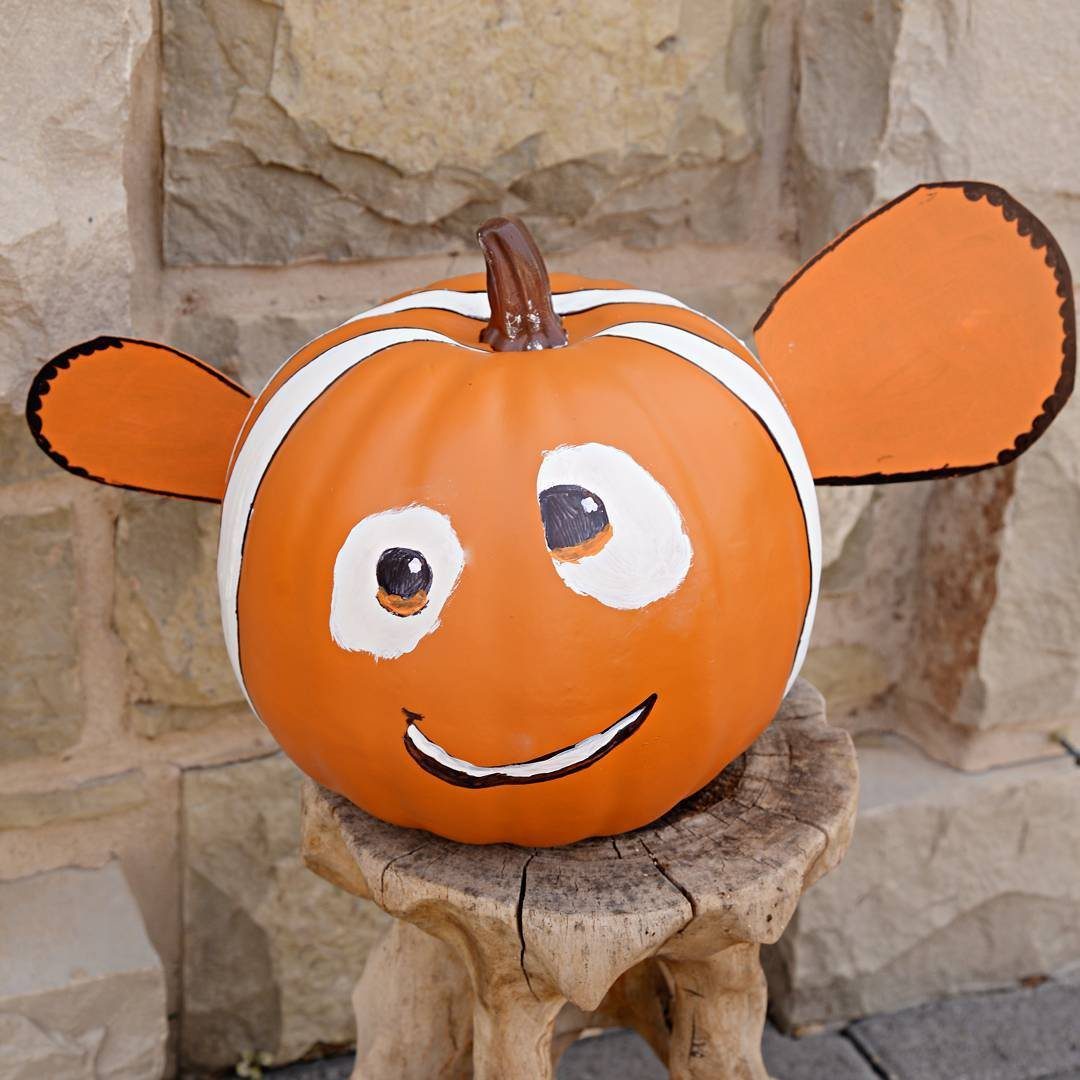
The shape is simple enough that kids can help with the painting, and the fins are the only piece that needs any assembly.
A real Nemo has one smaller fin; keeping both the same size makes the design easier to read from a distance.
This one is hard to mistake for anything else, which matters when you are handing out candy to parents who have seen a hundred generic grins.
The Disney reference still lands with parents who grew up watching it with their kids.
11. Tinker Bell Pumpkin
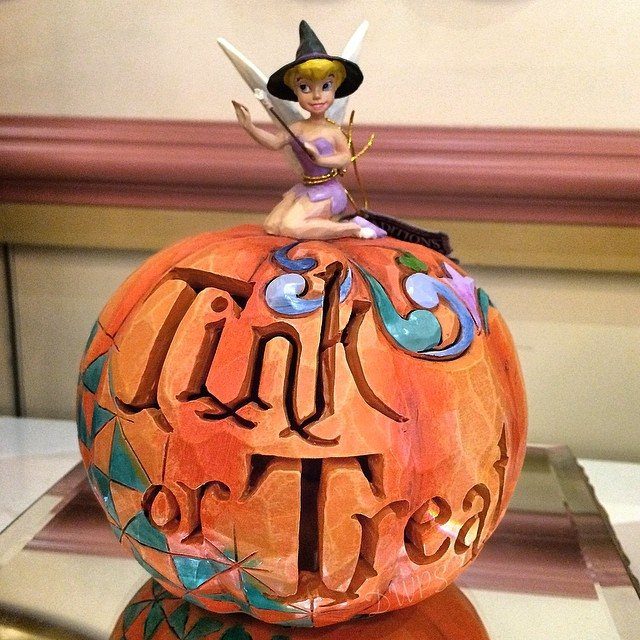
Carving words instead of a face gives you a pumpkin that reads from the sidewalk.
The figurine does the character recognition so the carving can stay simple. The lettering itself needs only a steady hand and a narrow blade.
A word-based pumpkin suits a spot where people walk past close enough to read. If your porch is set back from the street, this idea loses its punch and a big-face design works better.
Using Templates for Carving
A paper template taped to the pumpkin keeps the knife on track for eyes that match and a mouth that stays level.
I tape the cutout flat against the rind, then run a poker or the tip of a thin blade through the paper at each corner or curve so the lines transfer.
For the geometric designs in the list, a template is almost required; freehanding a straight hexagon or a clean triangle stack is harder than it looks.
Craft stores stock seasonal books of patterns, and education sites put up printable sheets this time of year. The Cheshire cat grin and similar character stencils work the same way: attach, trace, carve.
A folder of last year’s printouts saves time, since the templates that held up are worth pulling out again.
Tools for Carving Pumpkins
A kitchen paring knife will open a pumpkin, but it fights on curves and thick rind. A keyhole saw, the kind with a narrow blade and a handle that clears the shell, runs a tighter corner without wedging.
I add a fine-tooth saw for long straight cuts when a geometric pattern calls for them.
The same education-site stencils that guide the shape also mark where to cut; dotted lines on the paper show the order.
For the aerial Little Mermaid-style carvings, the artist behind those used tools that reach depth without breaking through, which means a thin blade and a light hand rather than force.
A poker, a small saw, and a scoop handle most jobs. Anything more specialized than that sits in the drawer until a pattern justifies it.
Frequently Asked Questions
What do you put inside a jack-o-lantern?
A candle or LED light goes inside to make the face glow through the cut sections.
I would use an LED for a design that sits out more than a few nights, since heat from a real flame softens the walls faster.
For the skinned or peeled pumpkins in the list, the light sits inside the hollow body the same way.
What are some unique pumpkin carving ideas?
Geometric patterns cut partway through the rind give a backlit glow without full cutouts. A candy-decorated pumpkin needs only a mouth slot and a hot glue gun.
The skinned pumpkin gets nastier as it dries, which is half the point.
A sugar skull design trades carving for paint and felt flowers, while character pumpkins like the Tin Man or Sanderson sisters rely on props and color blocking rather than clean cut lines.
Templates from craft stores or printable sheets help with the trickier shapes.
What are some DIY Halloween lantern ideas?
Every design here works with household or craft-store supplies: a drill for geometric holes, hot glue and candy from the pantry, or a vegetable peeler and a few weeks of patience.
A classic face needs only a kitchen knife and an hour, while the Sweet Tooth pumpkin uses candy pressed into a mouth slot.
Painted options like the sugar skull or Tin Man skip carving entirely, and the geometric pattern asks for a ruler and a small blade rather than freehand skill.