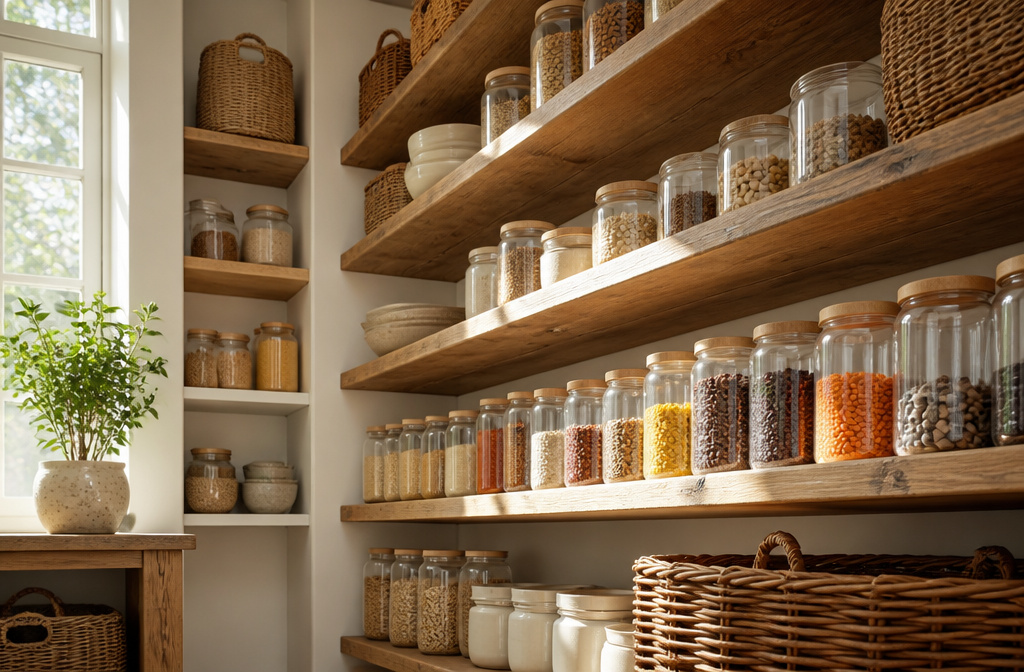
An organized pantry saves you the ten minutes you spend hunting for cumin and the duplicate can of black beans you bought because the first one was invisible.
The catch is that most systems collapse by week three, when putting groceries away becomes a choice between rotating stock and getting dinner on the table.
I learned that the hard way after my first FIFO attempt left a 2019 can of tomatoes three inches from my face every morning.
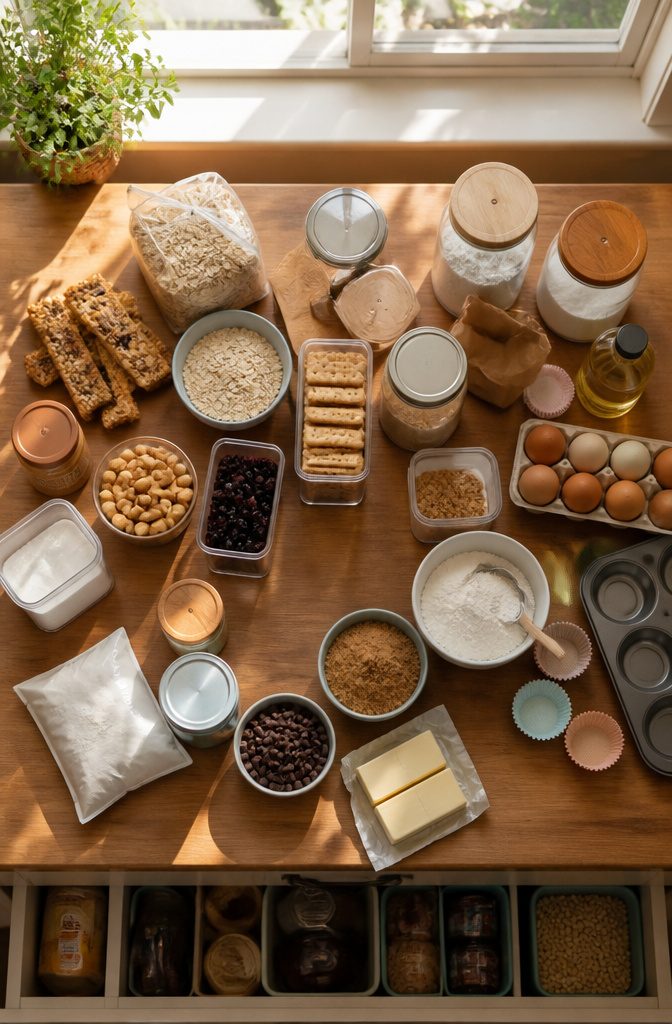
1. Empty the Pantry
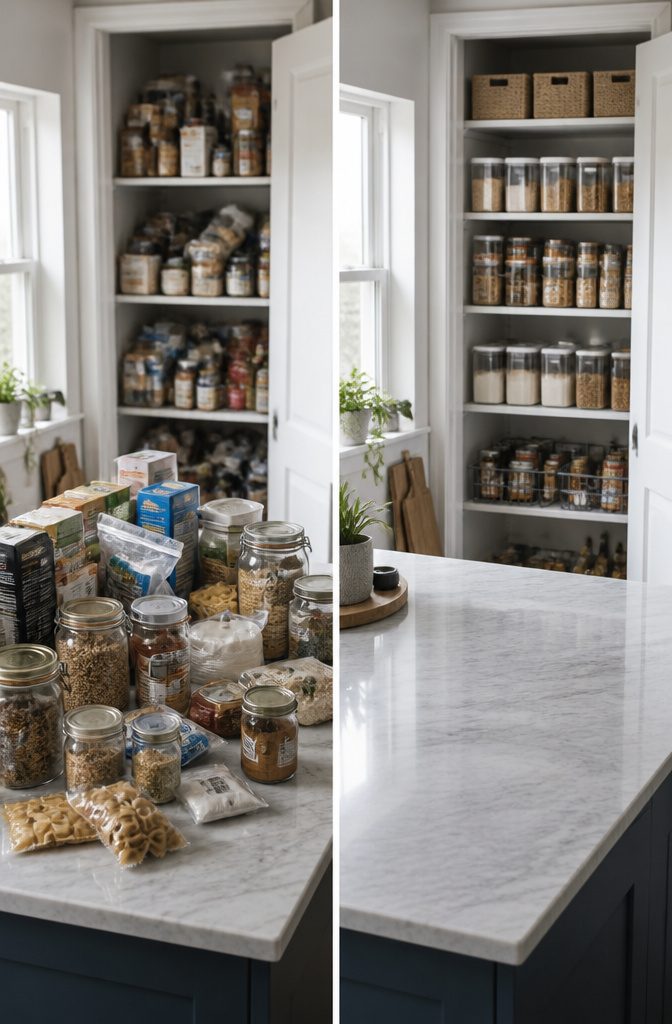
The only way to see what your pantry actually holds is to pull every single item out.
I learned this reading through a dozen guides that all start the same way, and the reason is practical: shelves hide what sits behind them, and corners collect things you forgot you bought. Spread it across the counter or table.
If the full haul feels overwhelming, tackle one shelf at a time, but get it out of the enclosure so you can wipe down the surfaces with a damp cloth and mild cleaner and let them dry completely.
Vacuum the floor while you are at it. The empty shelf reveals the real condition of the space, not the curated version you see when you open the door to grab pasta.
What stays and what goes is a decision for the next step; right now the job is seeing what is there and starting clean.
2. Purge Expired and Unwanted Items
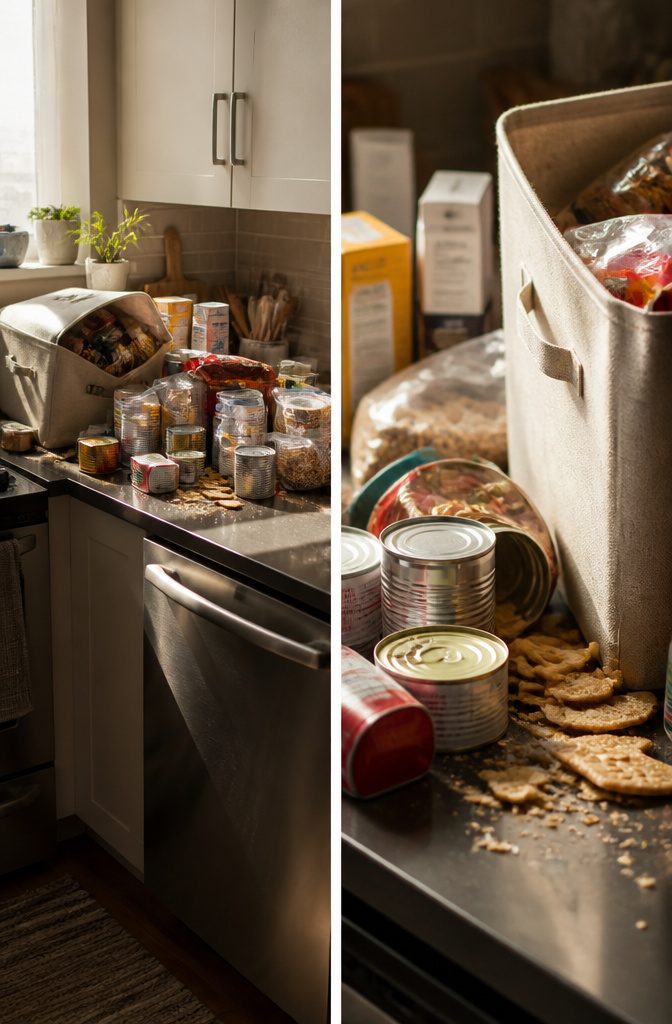
Expired cans and half-empty boxes of crackers you bought for a single recipe three years ago are the reason most pantries stay crowded no matter how many bins you add.
Toss anything past its date, stale, or untouched in the last year: the money is already spent, and keeping it costs shelf space every morning you open the door.
I like to do this right before a grocery trip, when the pantry is at its emptiest.
Pull everything onto the counter so you see it all at once, check dates, and be honest about whether that fancy grain or gift-basket jam is ever going to become dinner.
Donated unopened goods still leave you with less clutter than guilt.
3. Sort Into Categories
The first time I sorted my pantry by can size, I ended up with tomato paste on three different shelves and still couldn’t find the black beans.
Size grouping looks tidy from the outside, but it breaks down the moment you’re standing in front of it with a recipe open on your phone.
Grouping by how you actually cook wins. Breakfast items live together: cereal, oatmeal, granola bars in one zone.
Baking supplies in another: flour, sugar, chocolate chips, baking powder. Canned goods stack together, snacks cluster in baskets, oils and vinegars line up where you can grab them mid-sauté.
Two frameworks compete here. Meal-type sorting (breakfast, dinner, snacks) matches how most people plan their week.
Food-type sorting (grains, canned goods, spices) mirrors a grocery store aisle and helps when you’re mid-recipe scanning for "pasta" or "tomato sauce." A small pantry usually favors food-type: fewer categories, less hunting when shelf space is tight.
Either way, keep it loose enough to adapt. My "snacks" bin swallowed the granola bars that used to live in breakfast, and nobody filed a complaint.
4. Measure Your Space
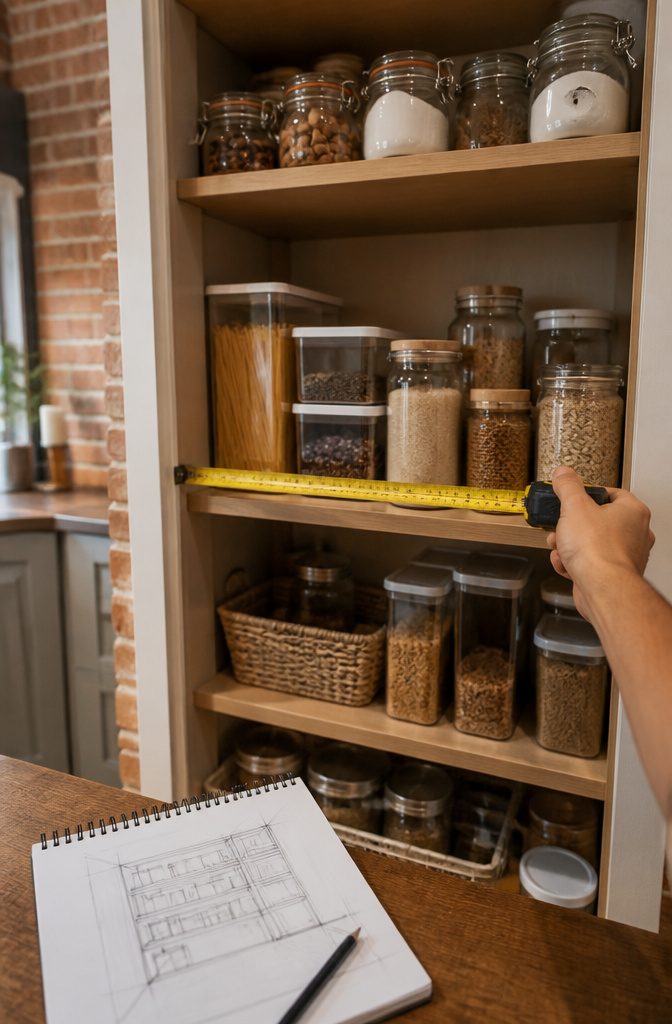
A tape measure pulled across the pantry shelf at 10 p.m. has saved me more regret than any container set ever caused.
Width, depth, and height all matter, because a bin that slides in perfectly front-to-back can still trap the door from closing by half an inch.
The real test is not whether three canisters fit in a row, but whether they fit after you account for the lip of the shelf above, the hinge swing, and the bag of rice you actually refill them from.
I keep a folded sketch in my phone case now: shelf heights written in pencil, updated when I move a bracket.
The drawing costs nothing and weighs less than the first basket I ever bought blind, the one that sat in my trunk for three weeks past the return window.
Measure width, depth, and height before you buy anything; the fifteen minutes of tedium beats reorganizing around a mistake you paid for.
5. Choose Storage Solutions
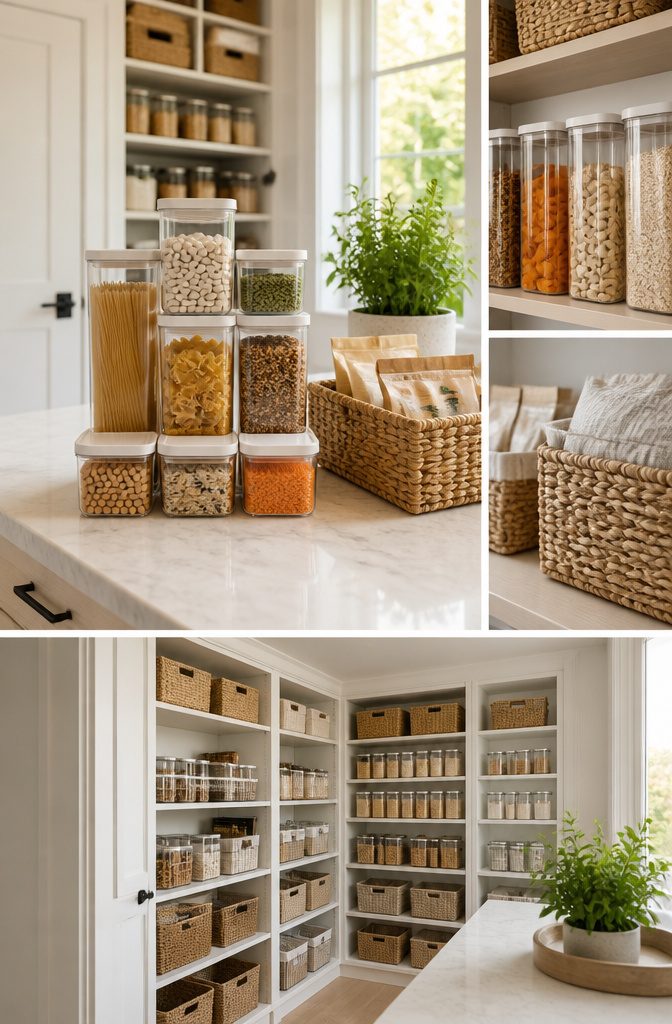
The Instagram pantry with matching white canisters looks expensive because it is. Water hyacinth baskets and airtight pop-top containers give that cohesive, designed feel, but filling a whole pantry with them runs past what a weekend project budget allows.
Spend the money where you will see it every day: the eye-level shelf. That is where clear containers matter, because you need to spot the oats before you open the flour.
I put plastic bins on the middle shelves and saved the woven baskets for the bottom, where they hide the backup snacks and bulk bags I buy on sale.
Some items do not need a new home at all. Sturdy original packaging, zip-sealed bags used quickly, and anything in a decent canister stay put.
The real test is whether you will actually decant. If the habit does not stick, you have bought expensive storage for the recycling bin.
For a no-cost trial, deli and takeout tubs stack well and seal tight, though their tapered round shape wastes space between them and nothing larger than a quart fits a standard four-pound bag of sugar.
6. Decant Dry Goods
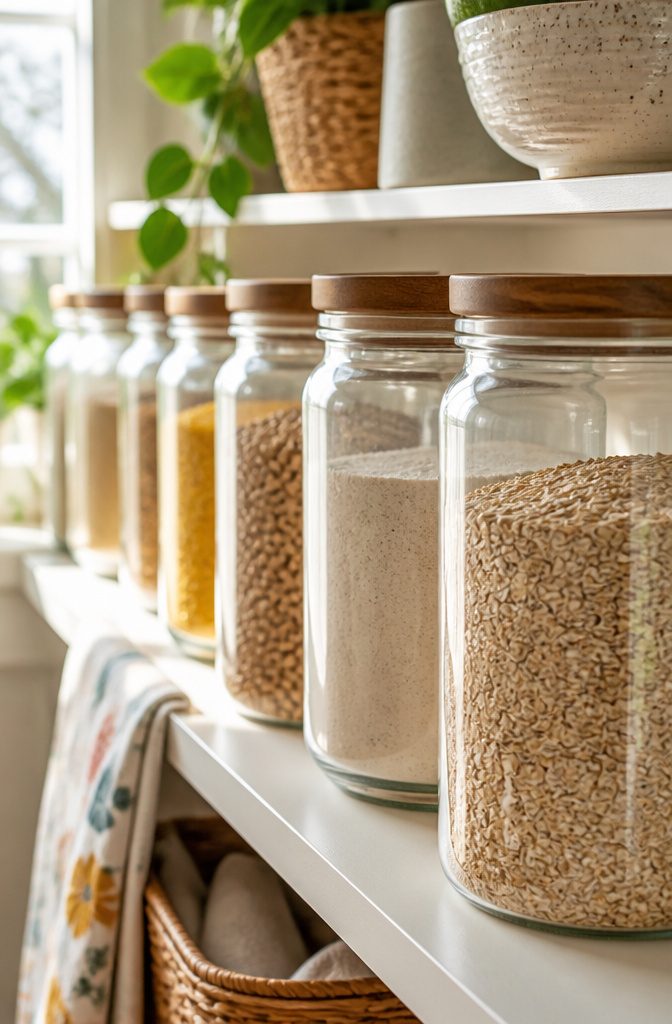
Clear containers changed how I use my pantry, but in a small closet-style space, decanting only the staples you reach for daily is what pays off.
Flour, oats, nuts, and loose snacks like granola move into airtight jars because their original packaging wastes inches with bulky corners and empty headroom.
I skip the cereal box if it stacks fine on its own, and I skip anything I buy once a year.
The freshness part is real.
A Bormioli Rocco Fido jar seals tight enough that rice doesn’t pick up the humidity that turns it gummy, and seeing the level through glass means I stop buying a fourth bag of flour I already own.
When I refill a not-yet-empty canister, I pour the old contents out, drop the new stock underneath, and top it off with what was there. First in, first out, no system needed.
For items you go through fast, the extra step of decanting can feel like a chore rather than a help. The budget call is yours: if containers aren’t in the budget this weekend, this step waits.
7. Label Everything
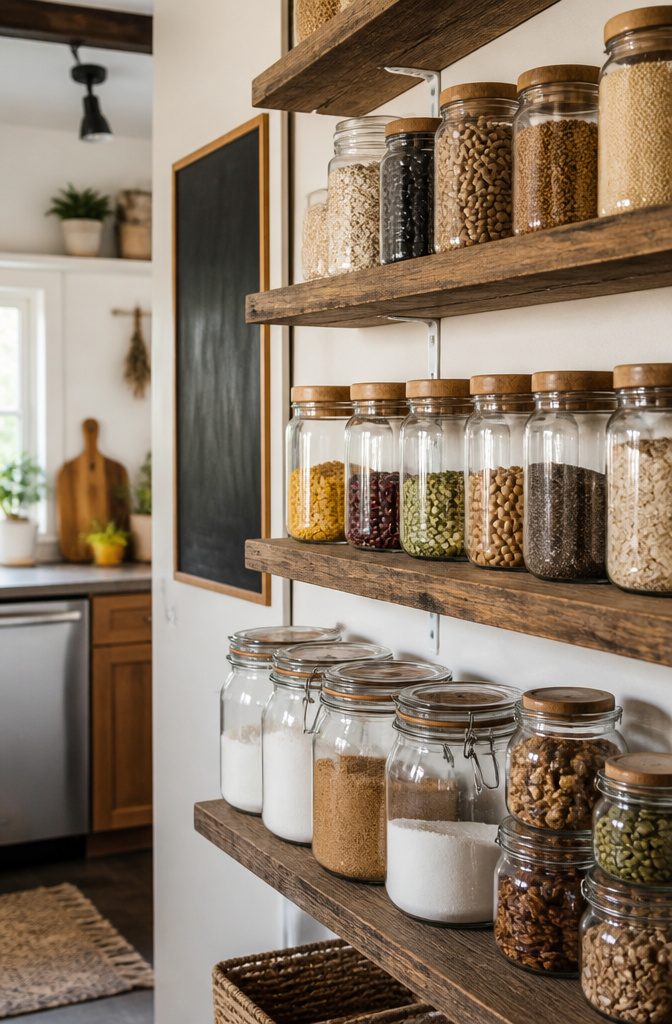
Labels turn a system that lives in your head into something the whole household can actually use.
Painter’s tape and a Sharpie will get you there faster than a label maker you have to learn, and it peels off clean when the contents change.
The sources split hard on this: some swear by pre-printed tags or Cricut-cut custom labels for the finished look, others stick to masking tape or freezer tape because moisture loosens paper over time and you want the name on the lid where you can still read it.
I have watched the no-label trap from both sides. You decant rice into a jar, sure you’ll remember, and three weeks later you’re squinting at grains trying to tell quinoa from millet.
One source calls it "labelitis," the condition of thinking your memory is better than it is. For families, the stakes are higher.
Picture cards on bins help pre-readers put snacks back in the right place, and a labeled "smoothie basket" that pulls out whole keeps the morning from turning into a hunt through powders and protein tubs.
The practical middle ground: mark the name and a best-by date, not expiration, because those dates are looser than they look.
Chalkboard stickers let you rewrite. The Brother P-Touch Cube Plus with one-inch tape gets mentioned for durability, but the real win is getting everyone else to maintain what you built, not just admiring it for an afternoon.
8. Create Zones
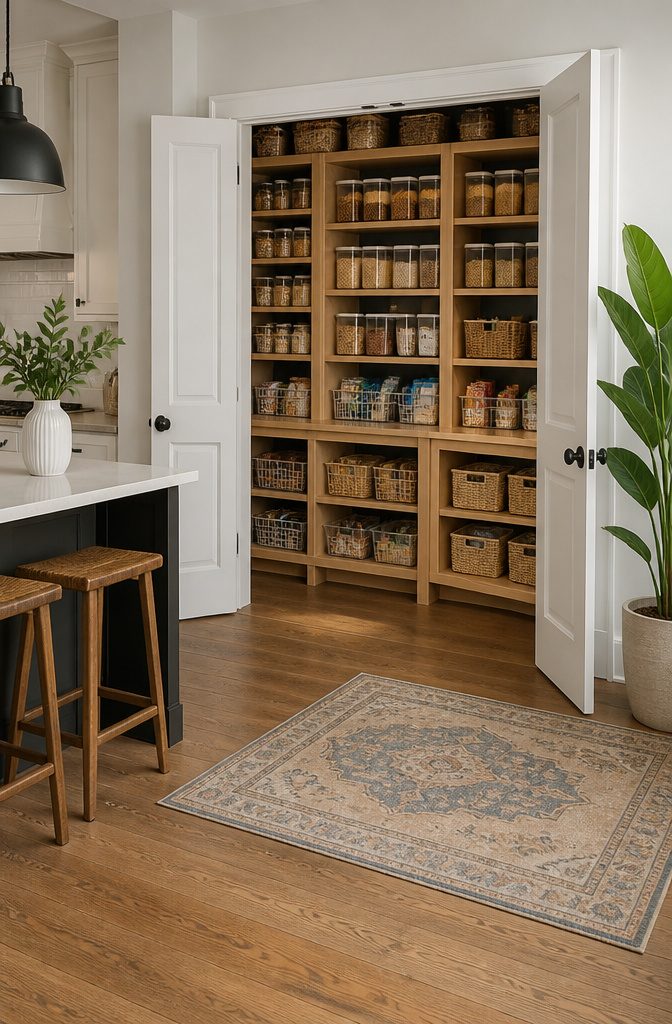
A closet pantry works best when you treat it like a mini grocery store.
Everyday items go at eye level where you can grab them without looking, while heavier or bulky items live lower and rarely used supplies stay up top.
The shift to zones matters most in a small pantry, where everything needs a clear home and limited sight lines mean you really do need to see it all.
Deep shelves can hide what sits behind, so clear bins help keep the view open from front to back.
You don’t need a million categories.
Breakfast foods, baking supplies, grains and pasta, canned goods, snacks, and drinks cover most households, though the space each zone gets should match what you actually eat. Snacks might expand; baking might shrink.
For zones that won’t fill a whole shelf, handled plastic bins run about $5 at The Container Store and clean easily when spills happen.
Uline Plastic Stackable Bins come in enough sizes and colors to fit awkward gaps. Measure before you buy — a tape measure saves the second trip back to exchange what doesn’t fit.
If you run out of room, combine groups into broader zones. Spaghetti ingredients, tuna salad fixings, and rice-and-bean supplies can share a "staple meals" shelf.
Kids get their own zone on the lowest shelf for self-serve snacks, and one catch-all bin up high handles the holiday candies and impulse buys you’d otherwise forget.
9. Maximize Vertical Space
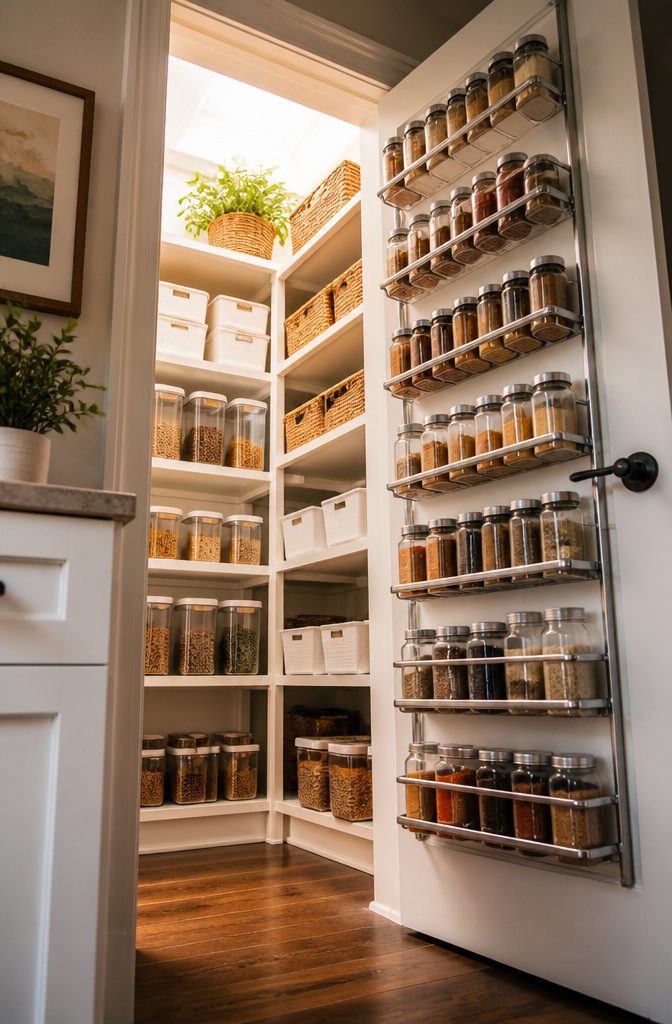
The back of a pantry door is usually dead space, which makes it the first place to look when square footage is tight.
Over-the-door racks or shallow baskets add a full extra layer of storage for spices, snack packs, or condiment jars without stealing a single inch from the shelves themselves.
Inside the cabinet, stackable bins and clear containers let you build upward instead of outward. Shelf risers do the same for taller fixed shelves, creating a second level for cans or jars so nothing hides behind anything else.
In a small pantry, the move is to treat every vertical surface as fair game: door, walls between shelves, even the inches above the top shelf if you can reach it safely.
Stackable canisters work especially well for bulk dry goods like cereal or rice, since uniform shapes waste less headroom than the original bags and boxes.
10. Maintain the System
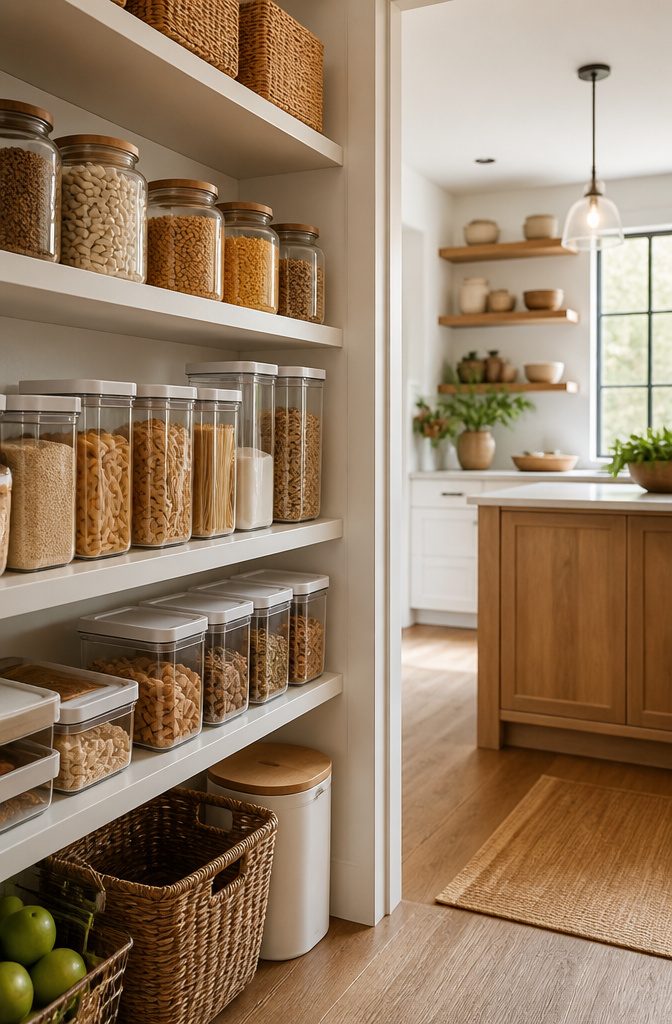
A pantry that runs out of order runs out of money. The FIFO system fixes that by forcing older cans, grains, and dried goods forward so they get used first.
New groceries go behind what is already open or already aging. Rotation takes an extra thirty seconds during unpacking and pays back in fewer discoveries of expired tomato paste two years past its date.
Clear containers make FIFO practical because you can see the contents and read the dates without unstacking. A container you have to open to inspect becomes a container you will not inspect.
Maintenance breaks into three rhythms.
Weekly, put things back where they belong after a grocery trip. Monthly, check expiration dates and remove what will not be used or has crumbled to dust.
Seasonally, reassess whether the current organization still matches how you actually cook. The seasonal reset catches category drift: snacks migrating into the grain zone, baking supplies colonizing the snack shelf.
What I Actually Buy
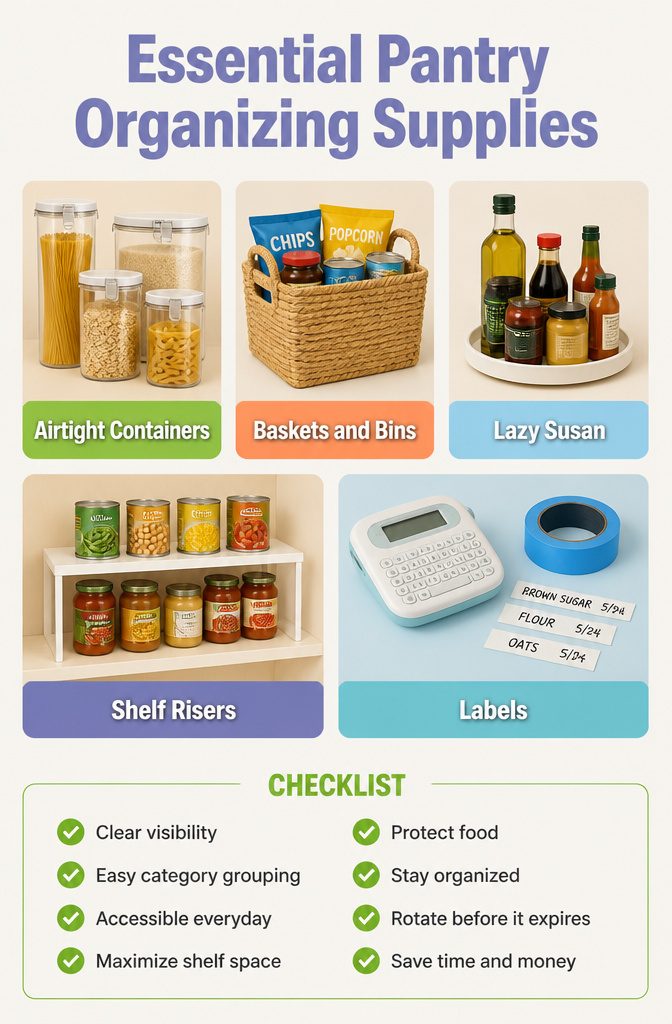
The five storage items I keep buying for every pantry redo are straightforward, and none of them cost more than a few hours of the project budget.
Airtight containers are where I start with dry goods. Pasta, rice, grains, and cereals go straight from the store bag into clear ones so I can see the contents at a glance and keep pests out.
Baskets and bins handle the grouping problem. I use one for snacks, another for baking supplies, and a third for canned goods so I can pull a whole category down instead of hunting across shelves.
A Lazy Susan sits wherever oils, sauces, and condiments collect. Bottles that never need decanting spin within reach instead of hiding behind each other.
Shelf risers earn their space on taller shelves by adding a second level for cans and jars. Everything stays visible instead of stacking into an opaque wall.
Labels close the loop.
I mark what’s inside and the date it went in, because three weeks from now I will not remember whether that jar holds breadcrumbs or panko, and the best-by date helps me rotate before I open a dusty can five years later.
Painter’s tape works. A label maker works better.
Why Bother Organizing
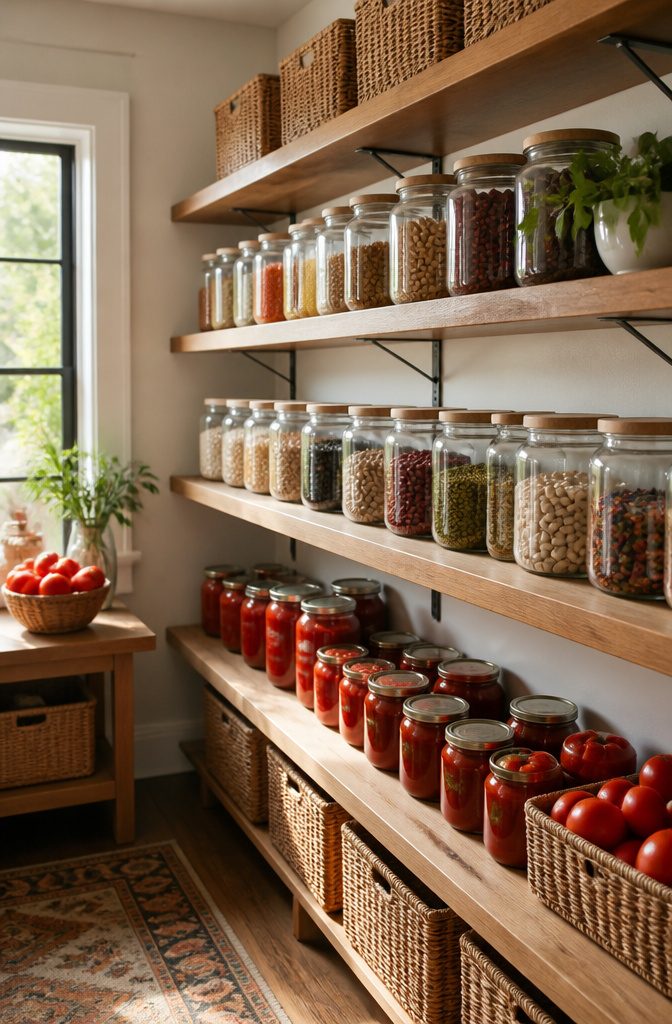
The morning after I finished my last pantry reset, I made chili without buying a single thing. Dried beans were already decanted in the glass jar I keep at eye level.
Canned tomatoes sat one shelf down, grouped with the rest of my tomato products. The cumin was exactly where it belonged, not hiding behind a bag of rice I forgot I had.
That is what an organized pantry actually pays back: not the look of it, but the ten minutes you do not spend hunting, and the duplicate you do not buy.
Most of us have felt the other version.
A can of black beans gets pushed to the back behind cereal boxes. Six months later you buy another can, because the first one is invisible.
The sources I read while planning this project all landed on the same math: a cluttered pantry makes you overbuy, and overbuying makes more clutter. One writer put it plainly, every extra box and duplicate can adds up fast.
Meal prep changes too. When ingredients live in categories, not scattered wherever they fit, you see possible dinners before you open a recipe app.
The night I sorted by meal type instead of by size, I stopped defaulting to the same three pastas just because the shapes were the only things I could locate.
An organized pantry does not give you more time. It just stops stealing it.
What I Got Wrong
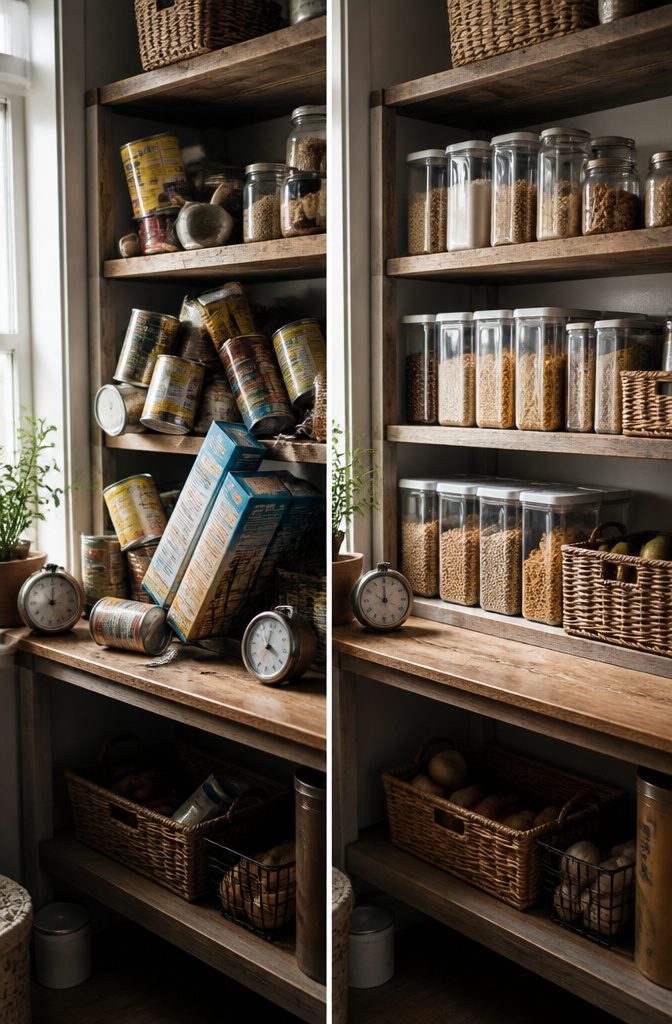
I thought FIFO would solve my pantry chaos the first time through. Older cans to the front, newer ones behind, check the dates every few months.
The mistake was treating FIFO like a one-and-done label job instead of a habit. Within two months I was shoving groceries in anywhere they fit, and a can of tomatoes from 2019 sat three inches from my face every single day.
The magazine holder trick went better, at least after I learned what not to put in them.
Foil and parchment paper slide in neatly, but boxed grains tipped forward and spilled if the holder sat on anything but a flat shelf.
A magazine holder only earns its space if the surface beneath it is level; on wire shelving it becomes a tipping hazard.
What actually broke my first system was the gap between organizing day and living with it.
Sources that call for monthly maintenance checks sound reasonable until you notice that real maintenance happens in thirty-second decisions: do I rotate this new bag of rice now, or do I close the door and cook dinner?
The answer is almost always dinner. A pantry that demands perfection collapses by week three.
Frequently Asked Questions
How do I organize a pantry with very little space?
Focus on pantry staples you actually use and group items into clear categories. Use vertical storage like over-the-door racks, stackable bins, and shelf risers to build upward instead of outward.
The back of the door alone can add a full extra layer for spices, snacks, or condiment jars without stealing a single inch from the shelves.
Is it worth decanting food in a small pantry?
Yes, but only for the staples you reach for daily. Flour, oats, nuts, and loose snacks move into airtight jars because their original packaging wastes space with bulky corners and empty headroom.
Skip the cereal box if it stacks fine on its own, and skip anything you buy once a year.
The extra step of decanting can feel like a chore for items you go through fast, so let your budget and habits decide.
What’s the best way to organize a closet pantry?
Treat it like a mini grocery store. Everyday items go at eye level where you can grab them without looking, heavier or bulky items live lower, and rarely used supplies stay up top.
Deep shelves hide what sits behind, so clear bins keep the view open from front to back. You do not need a million categories; breakfast foods, baking supplies, grains and pasta, canned goods, snacks, and drinks cover most households.