A clean pantry that stays organized past March takes about two hours, a tape measure, and the willingness to throw food away. Most people skip the weekly reset, which is why the system collapses by spring.
The ProKeeper Premium 10-Piece Bakers Set handles the staples you decant, but skip transferring anything you burn through in a week; the friction breaks the habit faster than the space savings are worth.
1. Purge the Pantry
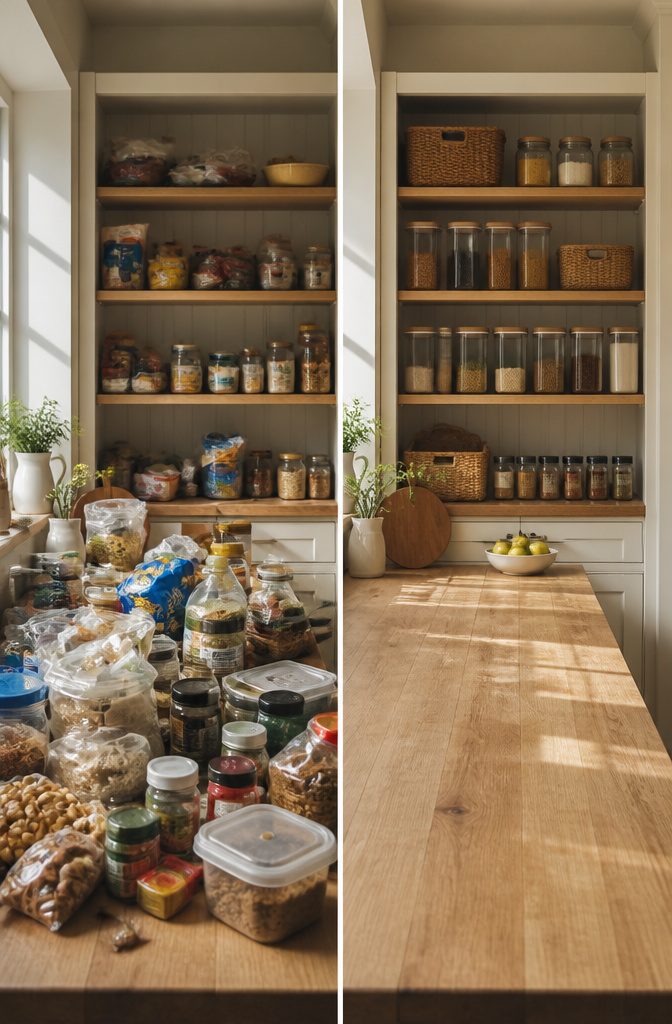
Every item comes out of the pantry before anything goes back in. Spread it across the counter or table so you can see the full inventory at once.
That single view usually reveals the problem: three half-empty bags of rice, the spice you bought for one recipe and never touched again, the crackers that went stale months ago.
Check every expiration date, then get honest about what you actually eat.
If something has sat untouched for a year, you are not going to eat it. The money is already spent; keeping it only burns space you need.
Be ruthless here. Organized clutter is still clutter, and it defeats the whole purpose of the project.
Anything unexpired but unwanted can go to a food pantry. The rest goes in the trash.
This purge takes about thirty minutes if you move fast and stop negotiating with yourself. The shelves get wiped down only after they are completely empty, which is the clean slate that makes the rest of the work feel intentional.
2. Create Pantry Zones
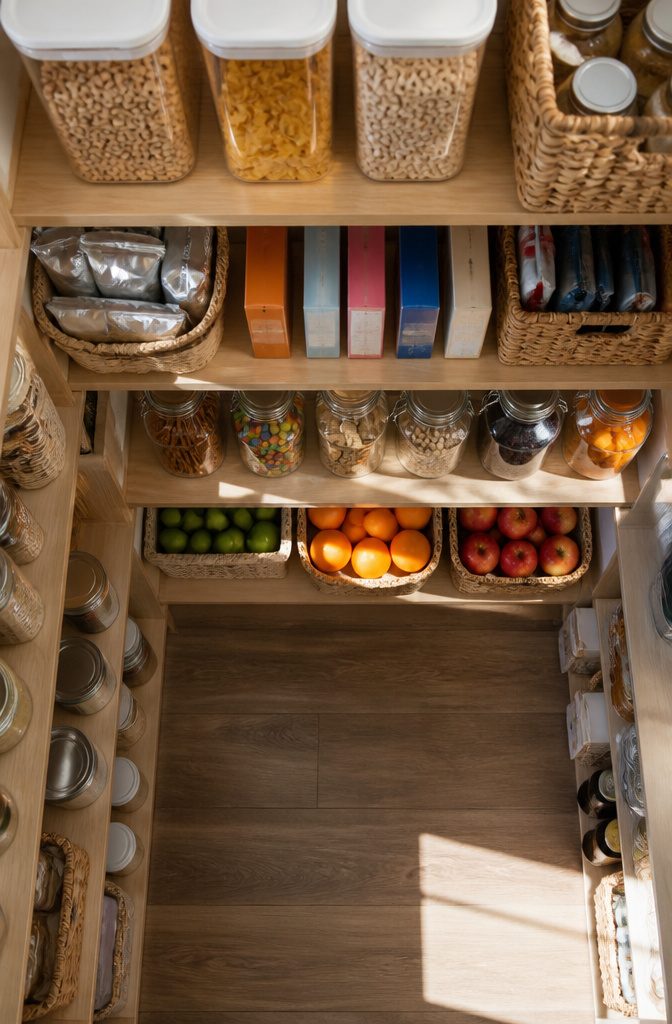
Zoning a pantry works best when you borrow the logic from a grocery store floor plan. Group breakfast items with breakfast, baking with baking, snacks where you can see them.
In my own kitchen, that shift took about fifteen minutes of sorting and deciding what categories actually matched how I eat, not how a magazine thinks I should.
The visibility part matters more than the labels. Deep shelves hide anything that slides backward, so I plan the front real estate for what I reach for daily.
Less-used categories, the holiday baking supplies or backup drinks, earn the high shelf or the floor-level spot where bending is the price of admission.
If kids grab their own snacks, the zone they use belongs at their height and within their reach. Otherwise the system trains you instead of the other way around.
3. Measure the Space
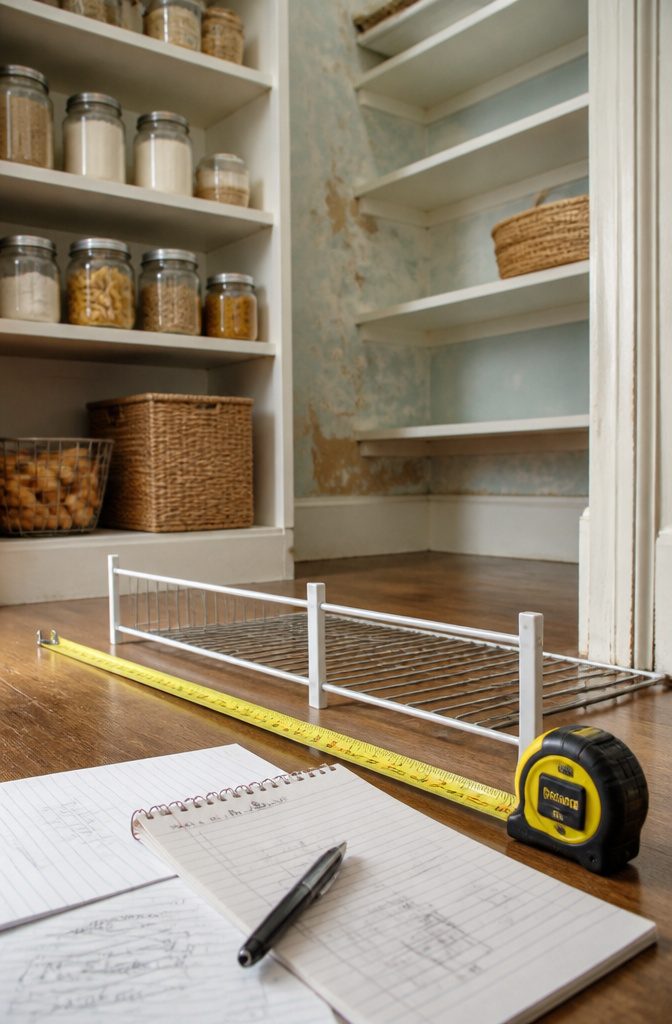
A tape measure and fifteen minutes of your afternoon will save you from the most expensive mistake in pantry work: shelving that does not fit.
Width, depth, and height all matter, because a basket that slides in neatly on paper can wedge against a door frame or block air vents you forgot were there.
I learned this the hard way on my first pantry redo, when two supposedly standard wire racks arrived and the deeper one stopped two inches short of the back wall.
The gap ate shelf space for months until I replaced it. Depth is the dimension people skip most often, and it is the one that kills the clean look.
Write every measurement down before you browse products. A shelf rated for "up to 36 inches" means 36 inches at the brackets, not 36 inches of usable width between walls that are not quite square.
Round your own numbers down by a half inch for clearance, and you will stop guessing whether the thing ships back on your dime.
4. Order and Acquire Organizing Products
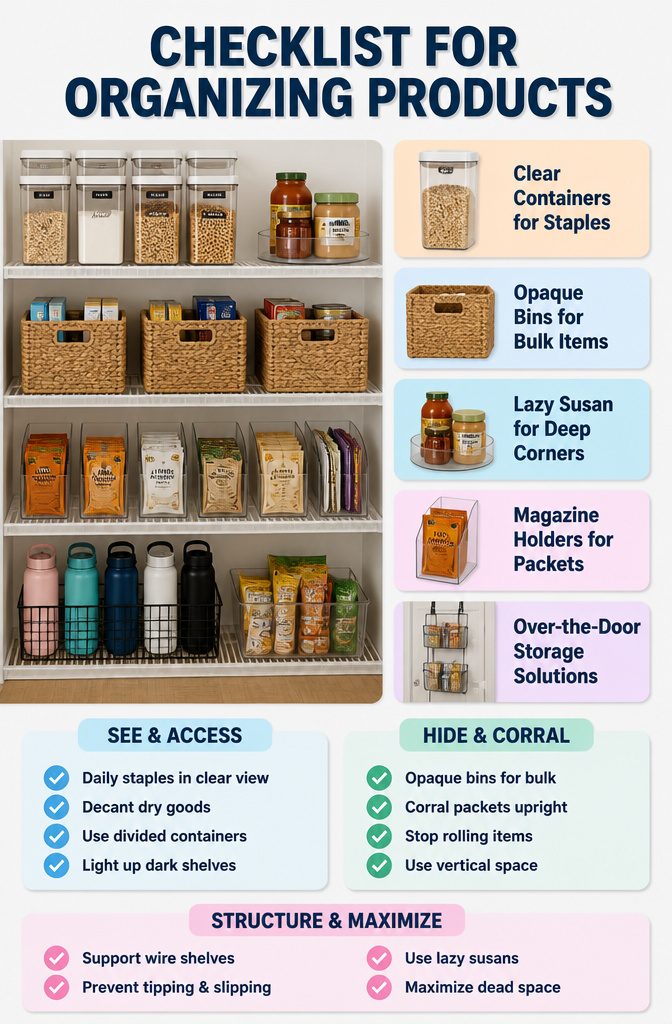
With measurements and zones mapped out, the actual shopping takes about thirty minutes. I keep two strategies in mind: buy clear containers only for what you need to see, and use opaque bins for everything else.
Clear storage containers earn their place on staples you track daily, flour, oats, granola, snacks. The ProKeeper Premium 10-Piece Bakers Set handles decanted dry goods well, and divided storage containers keep loose bars or goldfish from vanishing into crumpled bags.
For hard-to-reach corners, a clear iDesign Divided Lazy Susan or the Home Edit Three Tier Shelf puts items in view without pulling half the pantry forward.
Water Hyacinth bins hide the visual noise of backup stock and bulky boxes.
Magazine holders corral packets upright; water bottle holders stop that rolling avalanche by the door. Over-the-door storage and battery-powered lighting turn dead space into usable square footage you already paid rent on.
Wire shelves especially need the structure that bins and shelf organizers provide.
Loose items tip or slip through gaps otherwise. Lazy Susans suit deep corners where static shelving fails.
The choice between seeing your food and hiding it depends on what you reach for most, most clients I have read about prefer clear, but the bins stay in my own cart for the cereal boxes and overflow cans.
5. Decant Dry Goods
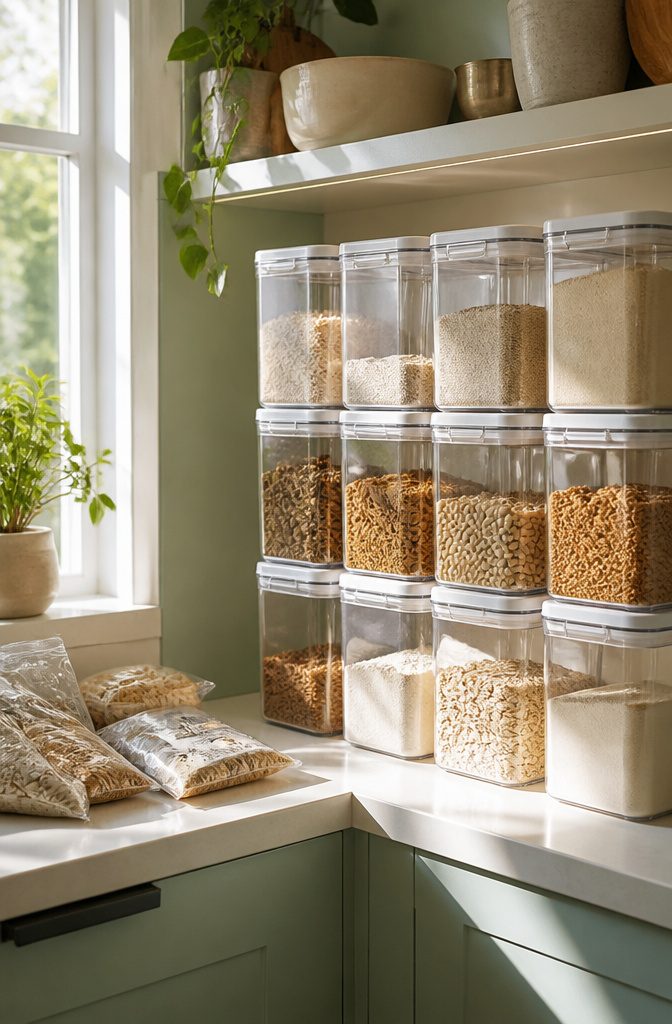
Clear containers turn half-empty bags of flour and granola into something you can actually see, which means you stop buying a third bag by accident.
The ProKeeper Premium 10-Piece Bakers Set handles the staples that sit around: flour, oats, nuts, the stuff that goes stale in its original packaging.
Skip the decanting for anything you burn through weekly, because transferring it every few days becomes one chore too many.
In a closet-style pantry especially, the space savings are real; bulky cardboard boxes eat shelf depth that square containers give back.
The whole swap takes about fifteen minutes once you have the containers on hand, and the airtight seal keeps dry goods fresher longer than a folded bag clip ever managed.
6. Label Everything
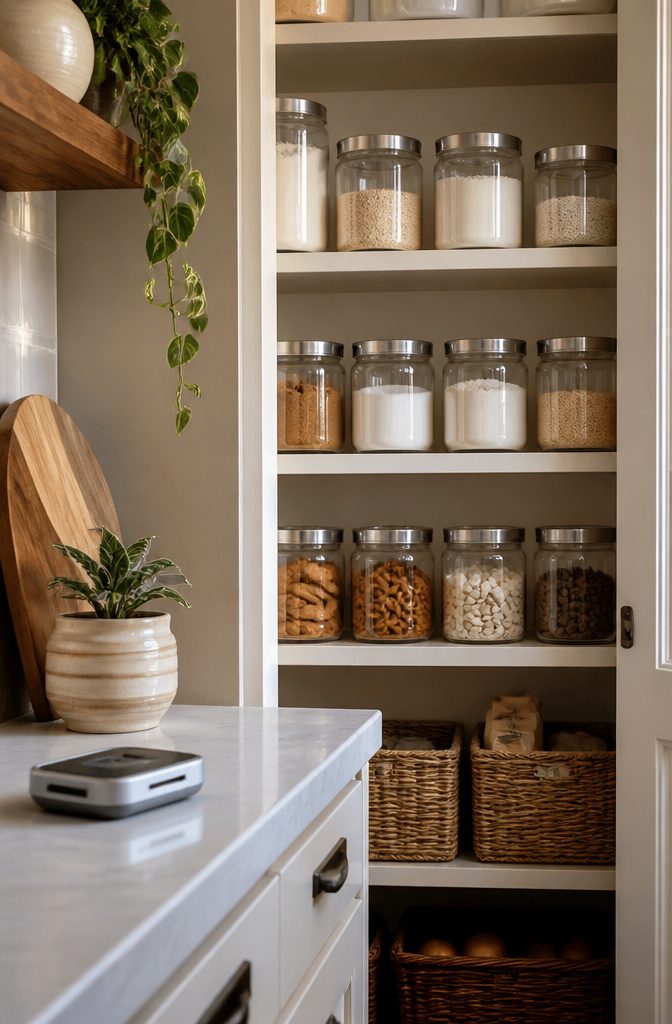
Labels turn a tidy pantry into a system that survives past Saturday afternoon.
Fifteen minutes with a label maker is the difference between a reset that lasts a month and one that lasts until the next time someone else puts away groceries.
I used to skip this step, figuring I would remember that the tall jar on the left held bread flour and the shorter one all-purpose. Three weeks later I was opening three containers to find cornstarch.
The Brother P-Touch Cube Plus with one-inch tape fixes this for about the same effort as brewing coffee. Pre-made labels work if you want something faster; a Cricut makes sense only if you already own one.
The real payoff is not your own memory. A partner or kid who puts cereal back in the wrong zone undoes the whole project in one rushed morning.
A label on the shelf edge, not just the bin, tells them exactly where that box lives. Expiration dates on baking supplies are worth adding too, since you decanted them out of their original packaging and lost the printed stamp.
Without labels, you have organized storage. With them, you have a pantry that stays organized while you are at work and other hands are moving through it.
7. Place by Frequency of Use
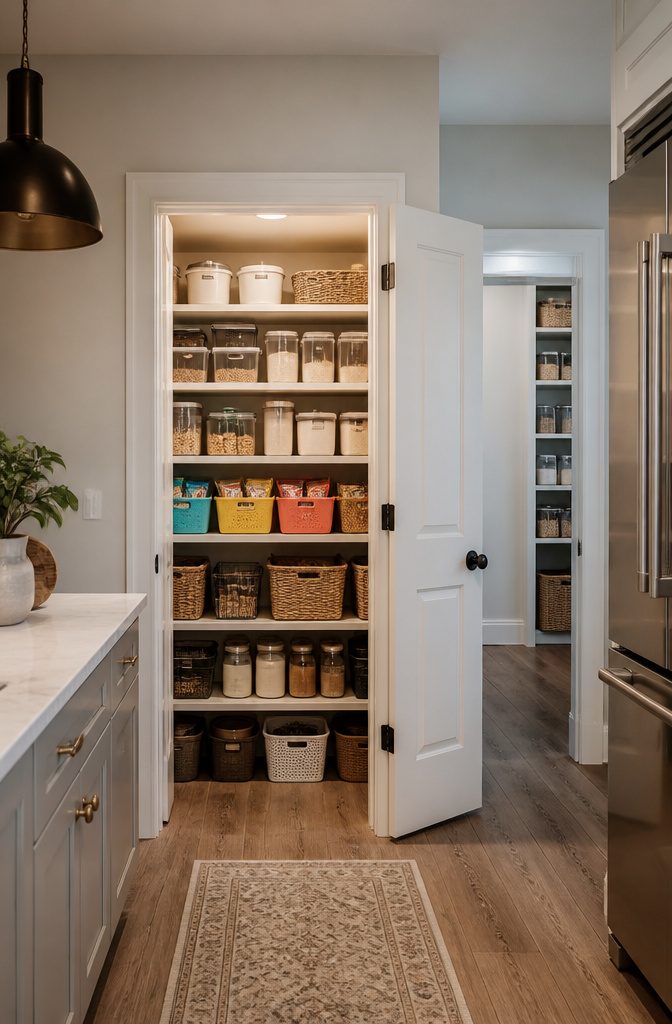
A closet pantry works best when you treat it like a mini grocery store.
Everyday items belong at eye level, where you reach without thinking. Breakfast cereal, the pasta you cook twice a week, the snack bins your kids raid after school.
These are the daily drivers, and keeping them in the line of sight means you actually use what you buy instead of rebuying it.
Less-used categories climb higher or drop lower. Baking supplies, bulk grains, the canned goods you stock for storms.
In a deep closet pantry, this placement matters even more because you already have limited vision. Storing rarely touched items up top keeps the middle ground clear for what you need now.
The back of the door earns its keep here too. Extra storage in that dead zone frees up prime shelf real estate for the daily rotation.
Add a battery light if the closet lacks one; seeing the back corner without a phone flashlight changes whether you trust the space or start stuffing things elsewhere.
Small Pantry Strategies
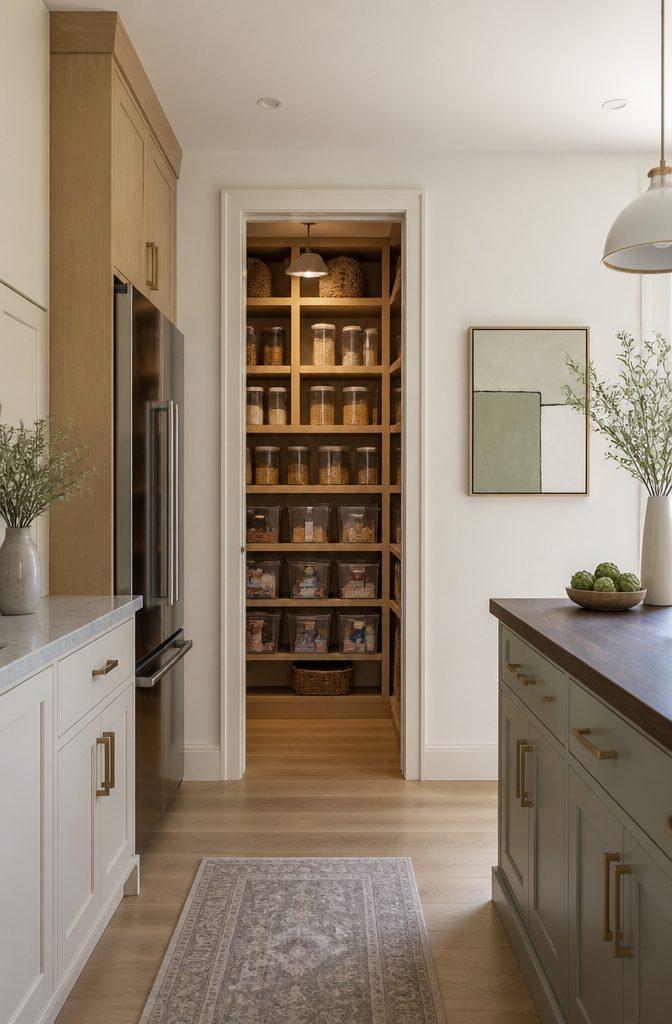
A small pantry forces you to decide what earns the shelf space.
I keep only the staples I actually reach for, group them into clear categories, and use vertical storage as much as possible. Clear containers and bins help me see what I have so nothing gets forgotten in the back.
Decanting is worth it in tight spaces, especially for items that sit on shelves longer. Dry goods in clear containers save space and make everything easier to find.
I stick to decanting everyday staples like granola, or products that are harder to store in their original packaging, and skip it for items I only buy occasionally or that fit well in their box, like cereal or pasta.
For those longer-staying items, the ProKeeper Premium 10-Piece Bakers Set works well. I don’t bother decanting things I go through quickly; the extra step gets annoying fast, and the real payoff is preventing duplicates and keeping slower-moving goods fresh.
Maintenance Routines
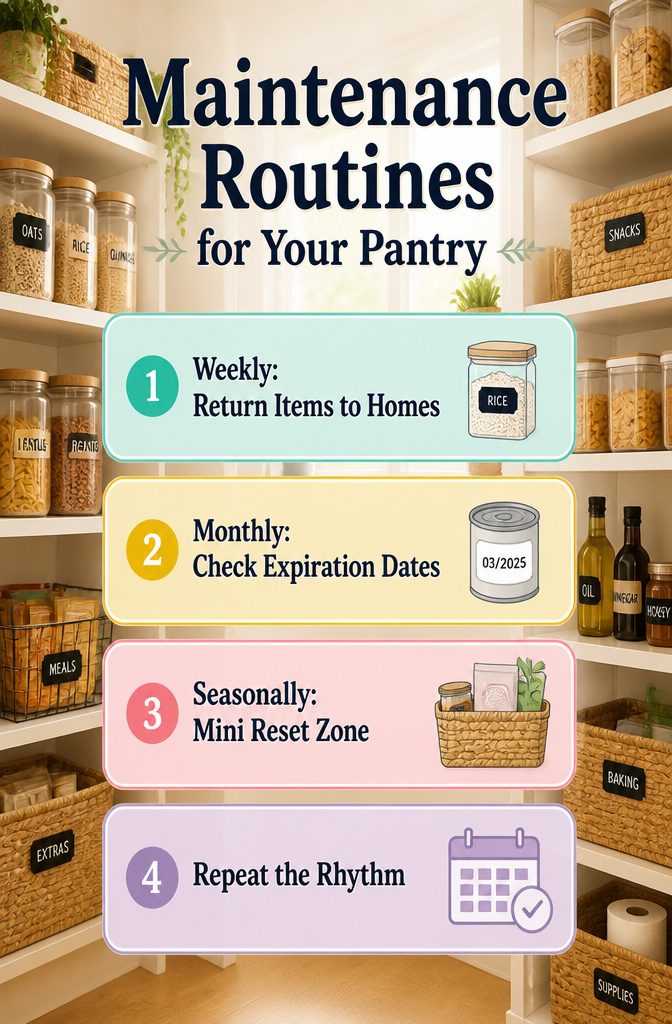
A pantry system falls apart in the gap between organizing it and living with it.
The sources that skip this part, or mention "maintenance" without naming what that means, leave readers with a pretty shelf that turns back into a mess by March.
I set two repeating checks on my phone, and that rhythm has kept the last two systems intact longer than any before them.
Weekly, the task is just returning things to their labeled homes. The damage happens after grocery runs, when the new bag of rice gets shoved in front instead of decanted or the snack boxes land on the nearest shelf.
Ten minutes before dinner, ideally the same day as the trip, fixes it. No sorting, no cleaning, just relocation.
Monthly means pulling anything with a date and deciding whether it is getting used or going out.
The donate-or-toss call is the whole job. Sources that suggest "checking expiration" without the second step leave you staring at a can of pumpkin from 2019 and putting it back.
Seasonally, I do a mini reset: one zone that has stopped working, one category that has shifted. The full reorganization is not annual, and treating it that way is how you end up redoing the whole pantry every January.
Decanting: Original Packaging or Not
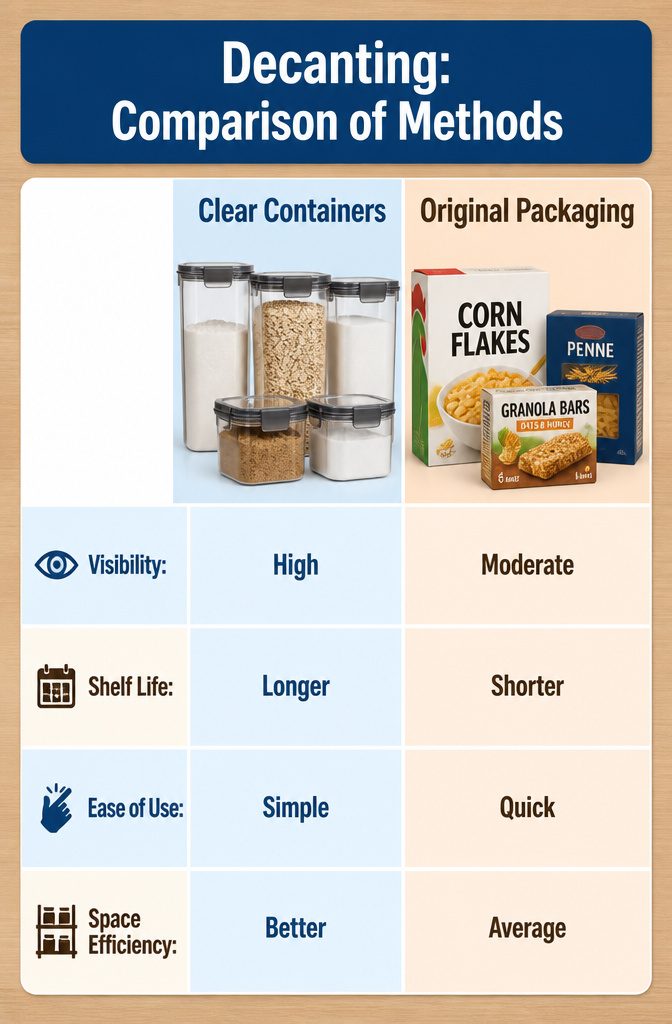
Clear containers turn a pantry into something you can read at a glance. Flour, oats, and sugar sit at uniform heights, so you stack without the dead space that boxes leave around their shoulders.
The ProKeeper Premium 10-Piece Bakers Set handles the staples that linger, and the seal matters more than the look: dry goods stay fresh longer once the original bag is open and clipped.
Original packaging has its place. Cereal boxes pour fine as-is, and pasta sleeves stack flat in a drawer.
The time spent transferring something you finish in two weeks rarely pays back. Granola bars are the exception worth making, because the individual wrappers inside a torn box become a jumble that eats shelf depth.
Skip decanting for anything you move through quickly. The step becomes friction, and friction breaks the habit of a tidy pantry.
For closet-style spaces where every inch counts, the swap earns its keep on visibility alone: you see the level drop and you buy the next bag before the container empties, not after you’ve opened a fourth duplicate.
Over-the-Door and Vertical Storage
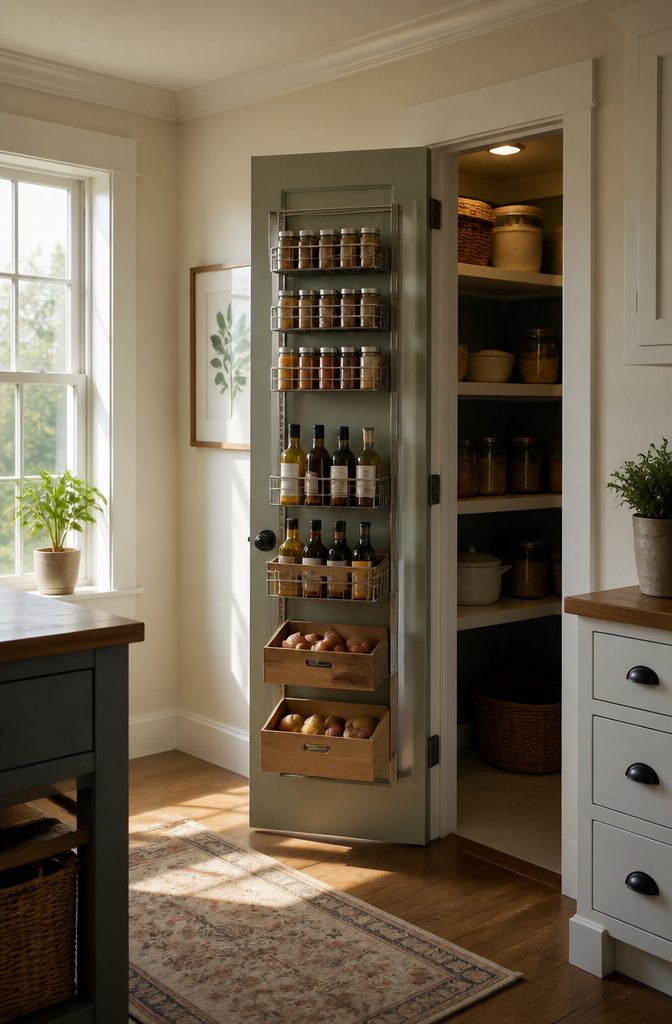
The back of a pantry door is storage space most renters never touch, and that is a mistake. A wire rack hung there holds oils, vinegars, or the spice collection that otherwise crowds the main shelves.
In a closet-style pantry, vertical space matters even more; the height above eye level is where wooden boxes or baskets corral loose items that would topple on wire shelving or slip through the gaps.
A water bottle holder mounted high keeps those awkward cylinders from rolling across every other surface.
Dark corners waste that vertical investment.
A battery-powered puck light stuck to the underside of a shelf reveals what you actually own before you buy duplicates. The whole setup comes down in minutes when the lease ends, and the deposit stays intact.
Frequently Asked Questions
How do you organize a pantry with very little space?
Focus on pantry staples you actually use, group them into clear categories, and use vertical storage as much as possible.
Clear containers and bins help you see what you have so nothing gets forgotten in the back. Decanting dry goods also saves shelf depth that bulky boxes waste.
Is it worth decanting food in a small pantry?
Yes, especially for items that stay on shelves longer.
Clear containers save space and make everything easier to find in a closet-style pantry. Skip decanting for anything you burn through weekly, because transferring it every few days becomes friction that breaks the habit of a tidy pantry.
What’s the best way to organize a closet pantry?
Treat it like a mini grocery store, with everyday items at eye level where you reach without thinking. Less-used categories climb higher or drop lower, and the back of the door earns its keep for extra storage.
Add battery-powered lighting if the closet lacks it, since seeing the back corner without a phone flashlight changes whether you trust the space.